TR7600 SIII_Camera_Calibration_en_v_2_0_2.pdf - 第20页
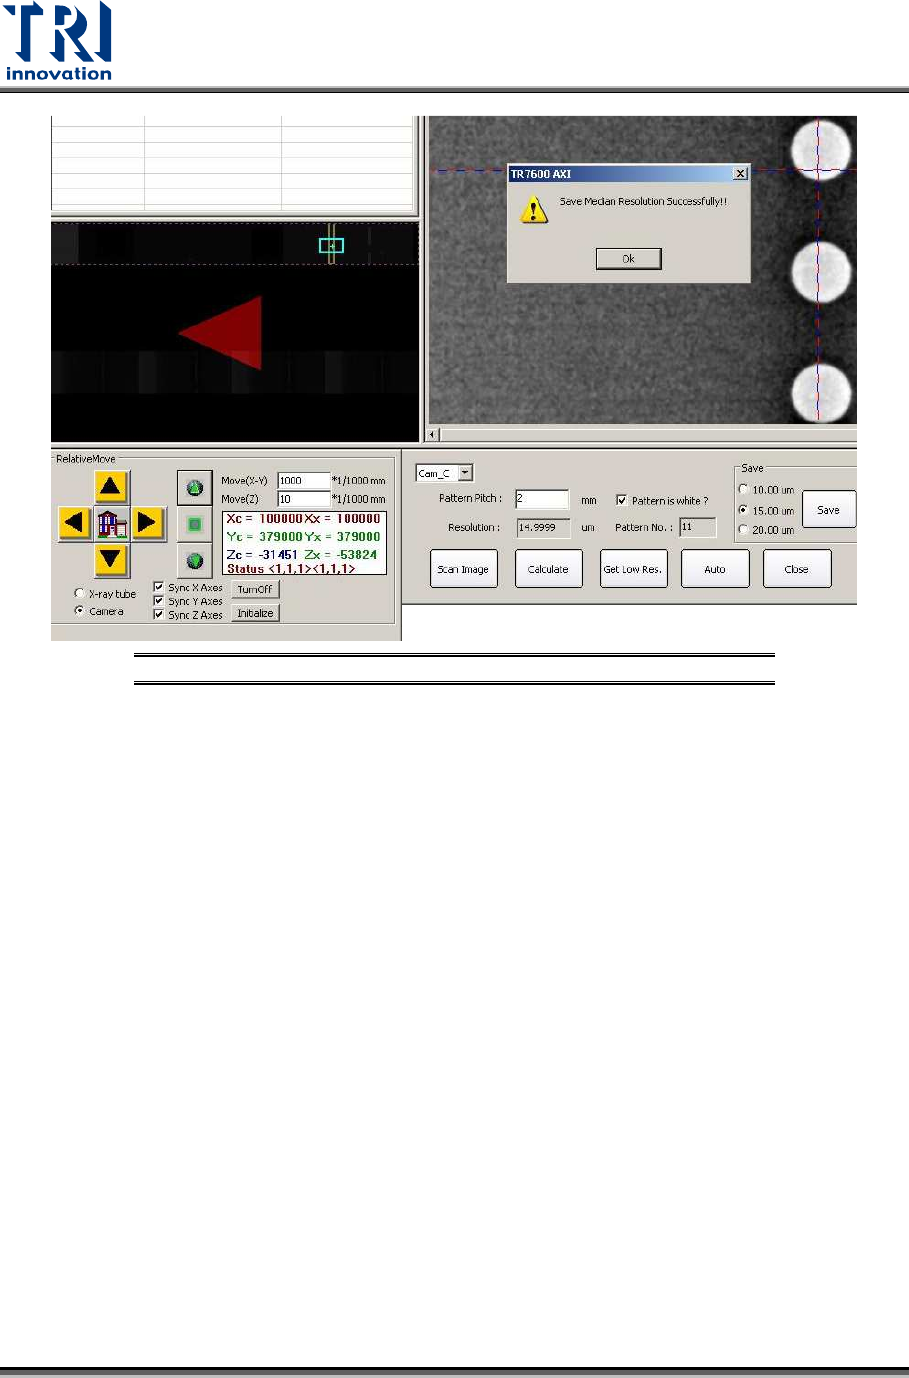
Test Research, Inc. 14 TR7600 SI II Series User Guide – Camera Ca libration Figure 15: Resolution Calibration Su cceeds
Test Research, Inc.
TR7600 SIII Series User Guide – Camera Calibration 13
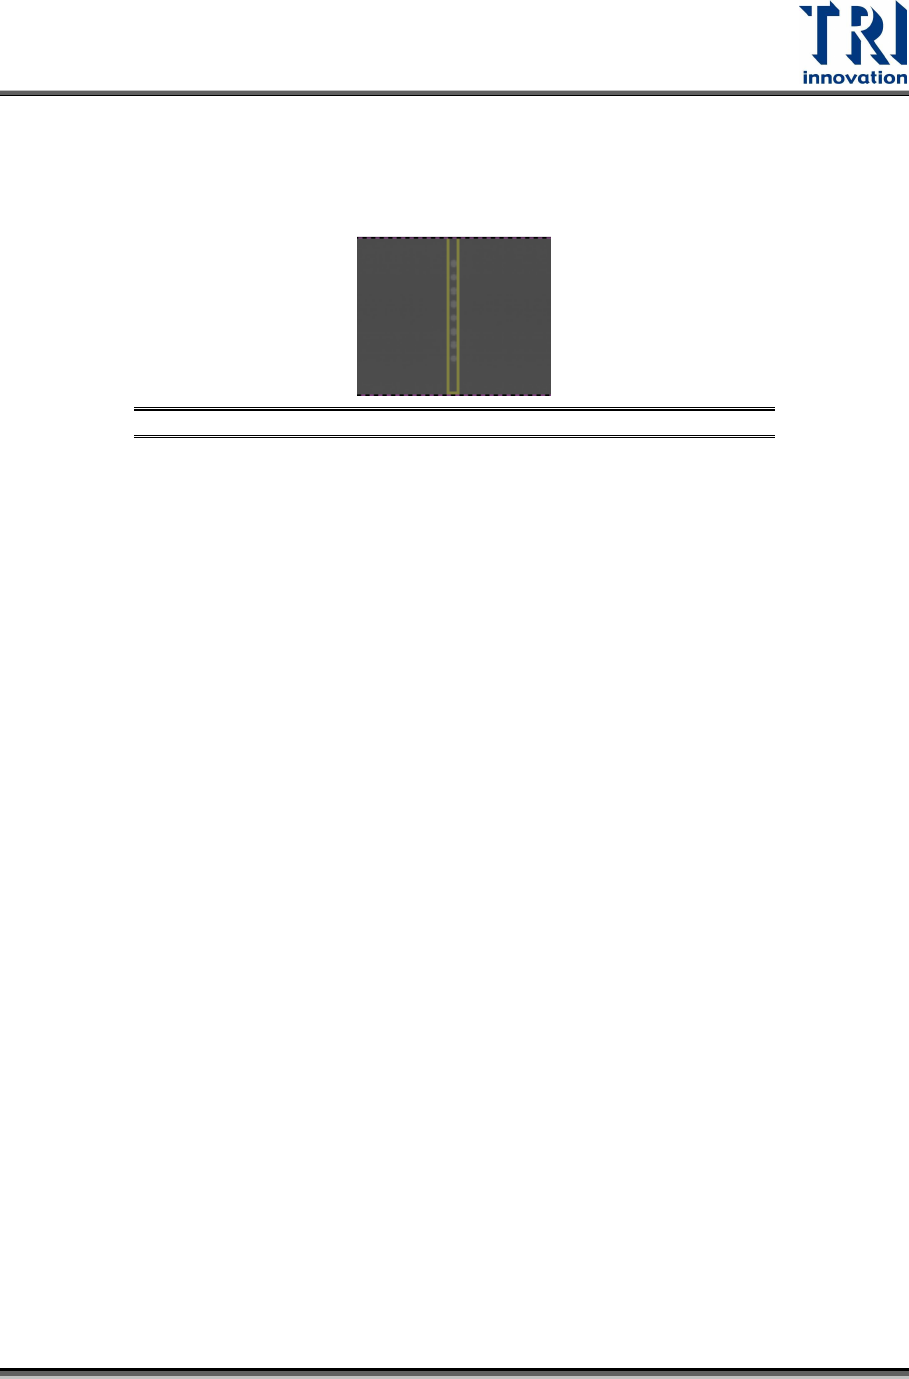
4) Use the “yellow frame” to enclose a row of white holes in the left hand side window.
Don’t make the yellow frame too big.
Note: There should be only round patterns with black background inside yellow
frame or it may cause failed counts in [Pattern No.].
Figure 14: Enlarged View of Step 4
5) Click “Calculate” to calculate the resolution.
6) Check the resolution value in the [Resolution] dialogue.
7) If the resolution value is below 20 µm, input a number in the Move (Z) dialogue and
click [Up Arrow Button] (No.8 in the below figure). Then repeat the step (2)-(6) until the
resolution is within 0.01 of 20 µm.
8) If the resolution value in the [Resolution] dialogue is over 20 µm, input a number in the
Move (Z) dialogue (No.7 in the below figure) and click [Down Arrow Button]. Then
repeat the step (2)-(6) until the resolution is within 0.01 of 20 µm.
9) Click [Save] and continue to calibrate other resolutions.
10) After calibrating the 7 µm, 10 µm, 15 µm, and 20 µm resolutions, click [Close] to
complete the Resolution Calibration.
Note: In order to prevent the actual resolution is different from the selected
resolution, try to alternatively switch between different resolutions in step (1)
before start step (2). For example to calibrate 20 µm, first choose 20 µm --> then
choose 15 µm--> wait until the camera and tube move to the correct height -->
choose back to 20 µm again--> wait until the camera and tube move to the correct
height-->start to calibrate.
Test Research, Inc.
14 TR7600 SIII Series User Guide – Camera Calibration
Figure 15: Resolution Calibration Succeeds
Test Research, Inc.
TR7600 SIII Series User Guide – Camera Calibration 15
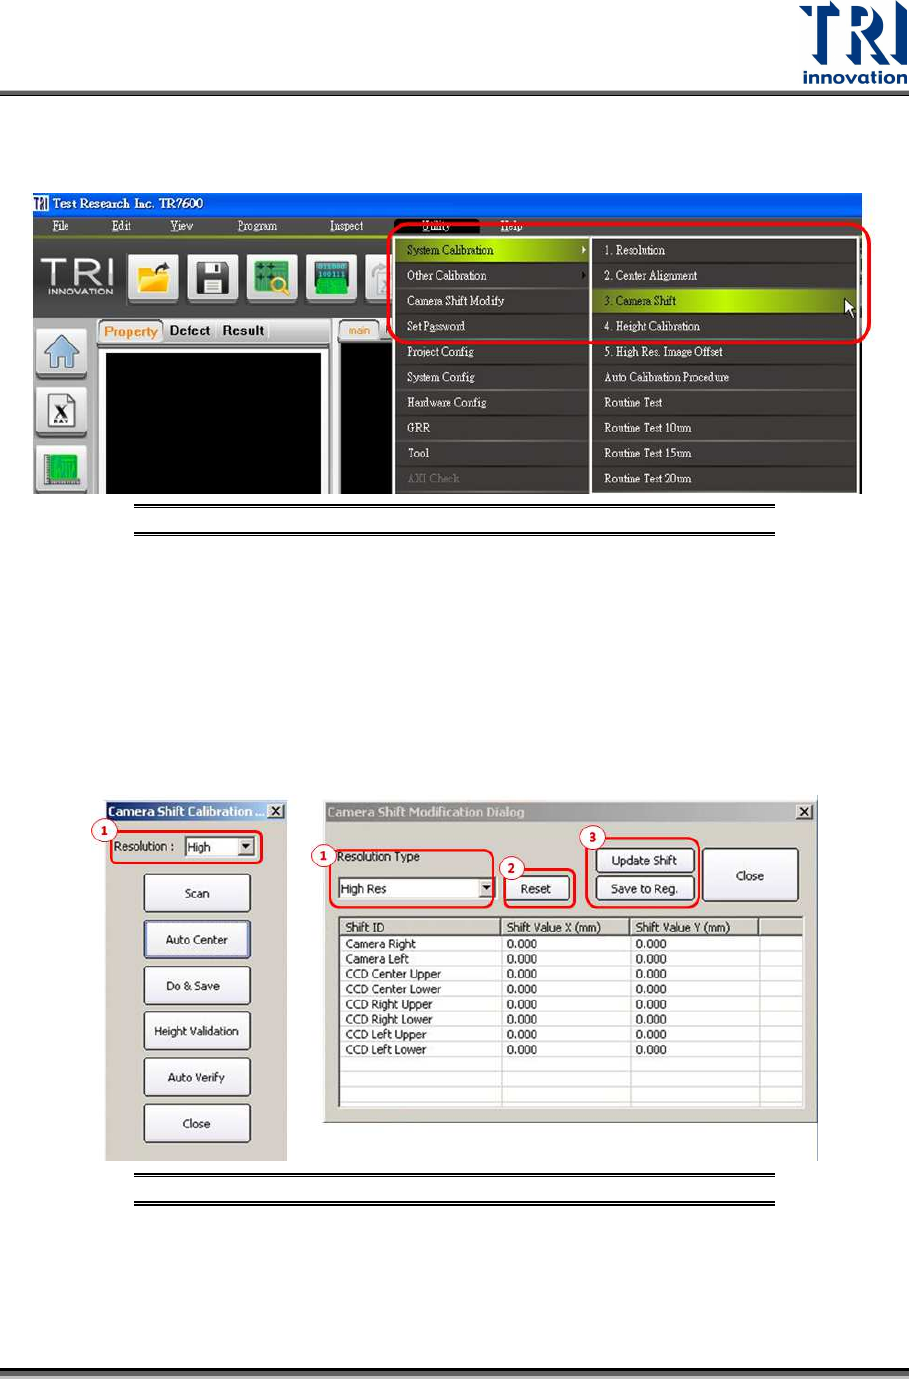
2.2 Camera Shift Calibration
Go to [Utility] [System Calibration] [Camera Shift]
Figure 16: Utility/System Calibration/ Camera Shift
Calibrate low, median and high resolution (20, 15, 10µm) one by one by following the
procedure below which takes high resolution as an example.
1) Click [High Resolution] in Camera Shift Calibration dialogue and Camera Shift
Modification Dialogue.
2) Press [Reset].
3) After press [Update Shift] and [Save to Reg.] in sequence, every value in Camera Shift
Modification Dialogue will become zero.
Figure 17: Camera Shift Calibration Steps