00193697-01.pdf - 第43页
SIPLACE S oftware Guide SR.504.xx 3 Graphical user interface Issue 01/03 E N 3.3 User interface - views and menus 43 Configuring T raceability 3 This fu nction i s only active when th e T race ability option is install e…
3 Graphical user interface SIPLACE Software Guide SR.504.xx
3.3 User interface - views and menus Issue 01/03 EN
42
PCB barcode... 3
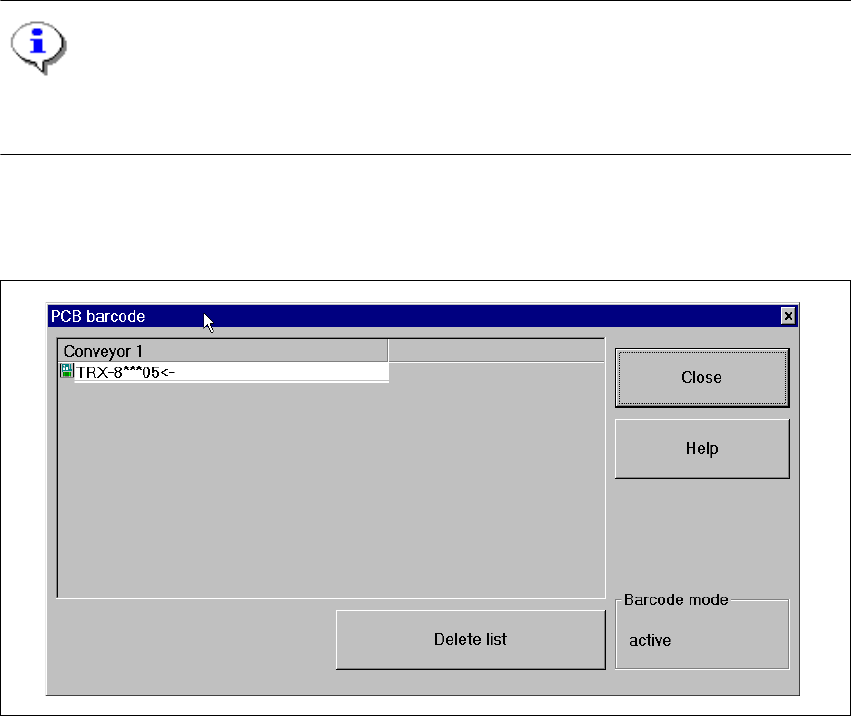
You use this item to display a dialog box with a list of the barcodes most recently read by the PCB
barcode reader.
This dialog box also informs you if an error occurred while reading the barcode, if the file format
is incorrect or if no data is available. 3
NOTE
You cannot call the "PCB barcode..." menu item unless the PCB barcode reader has been in-
stalled in the machine and has been activated in the machine options. 3
Å Click the PCB barcode... menu item.
The "PCB barcode" dialog box is opened.
3
Fig. 3.3 - 13 "PCB barcode" dialog box (example: only 1 conveyor)
Å Click the Delete list button if you want to delete all the entries in the list.
Å Click the Close button to close the dialog box.
3
SIPLACE Software Guide SR.504.xx 3 Graphical user interface
Issue 01/03 EN 3.3 User interface - views and menus
43
Configuring Traceability 3
This function is only active when the Traceability option is installed on the machine. Traceability is
an optional upgrade. This option allows you to generate traceability data during production on all
mentioned machines. 3
In printed circuit board production, traceability means the tracing back of production over a long
period of time. For example, traceability allows you to determine which components out of what
batches have been used for the in-line assembly of a specific printed circuit board. 3
See also "Traceability" option on page 79. 3
3
3 Graphical user interface SIPLACE Software Guide SR.504.xx
3.3 User interface - views and menus Issue 01/03 EN
44
3.3.2.4 "Settings" menu
The "Settings" menu is only available in the main view. The options in this menu can be used to
set whether a particular action must be confirmed again before it is executed. Or whether, when
a particular event occurs, a dialog box containing the relevant information is to be displayed and
then, similarly, confirmed by the user. 3
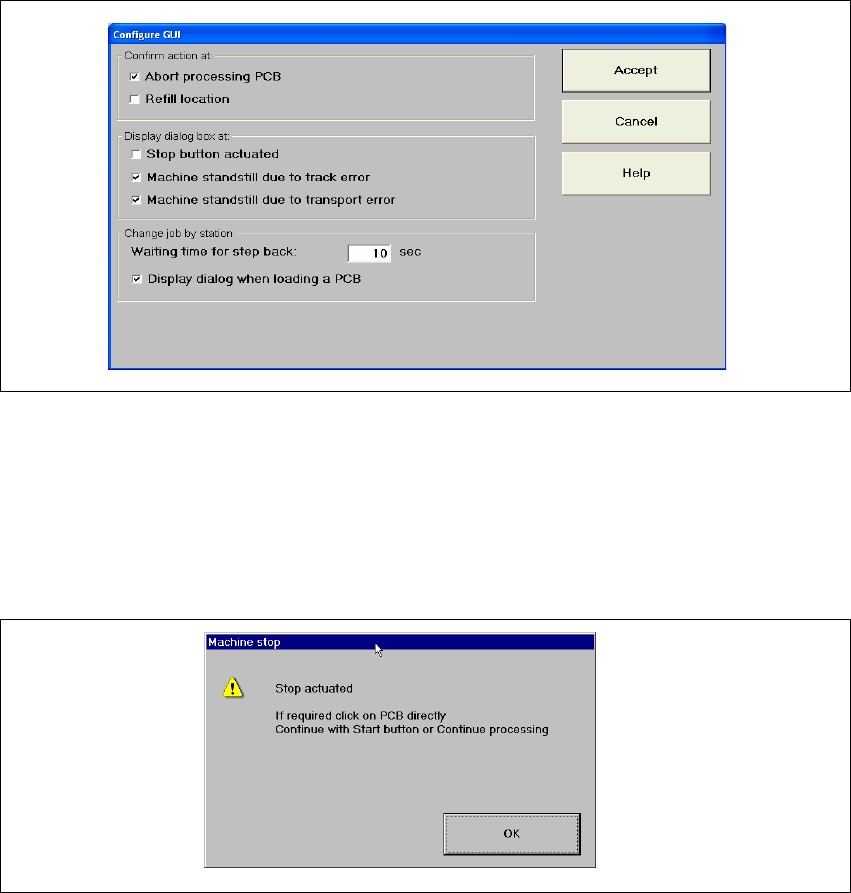
Å Click the Configure GUI... menu item.
This displays the following window.
3
Fig. 3.3 - 14 "Configure GUI" dialog box
Å Activate/deactivate the check box for the required options.
Å Click Accept to save the settings.
Example:If the stop button is activated and the "Stop button actuated" box is checked,
the following dialog box is displayed and must be confirmed. 3
3
Fig. 3.3 - 15 "Stop button actuated" check box
If the box is not checked, the dialog box does not appear. 3