DEK INFINITY USER MANUAL.pdf.pdf - 第45页
INFINITY 0$&+,1 (352*5 $00,1* 67$*(& '( ',&$7(' 722/,1* Soft ware Ver sion 7 User Manual 1.43 14. Close the front printhead cover . 15. Pr ess the Sys tem button. 16. Se lect Board W idt…

INFINITY
0$&+,1(352*5$00,1*
67$*(&'(',&$7('722/,1*
1.42 User Manual Software Version 7
9. If required, slide additional magnetic pins beneath the plate assembly to fully
support it when printing wide boards.
10.Select Lower Head (F2).
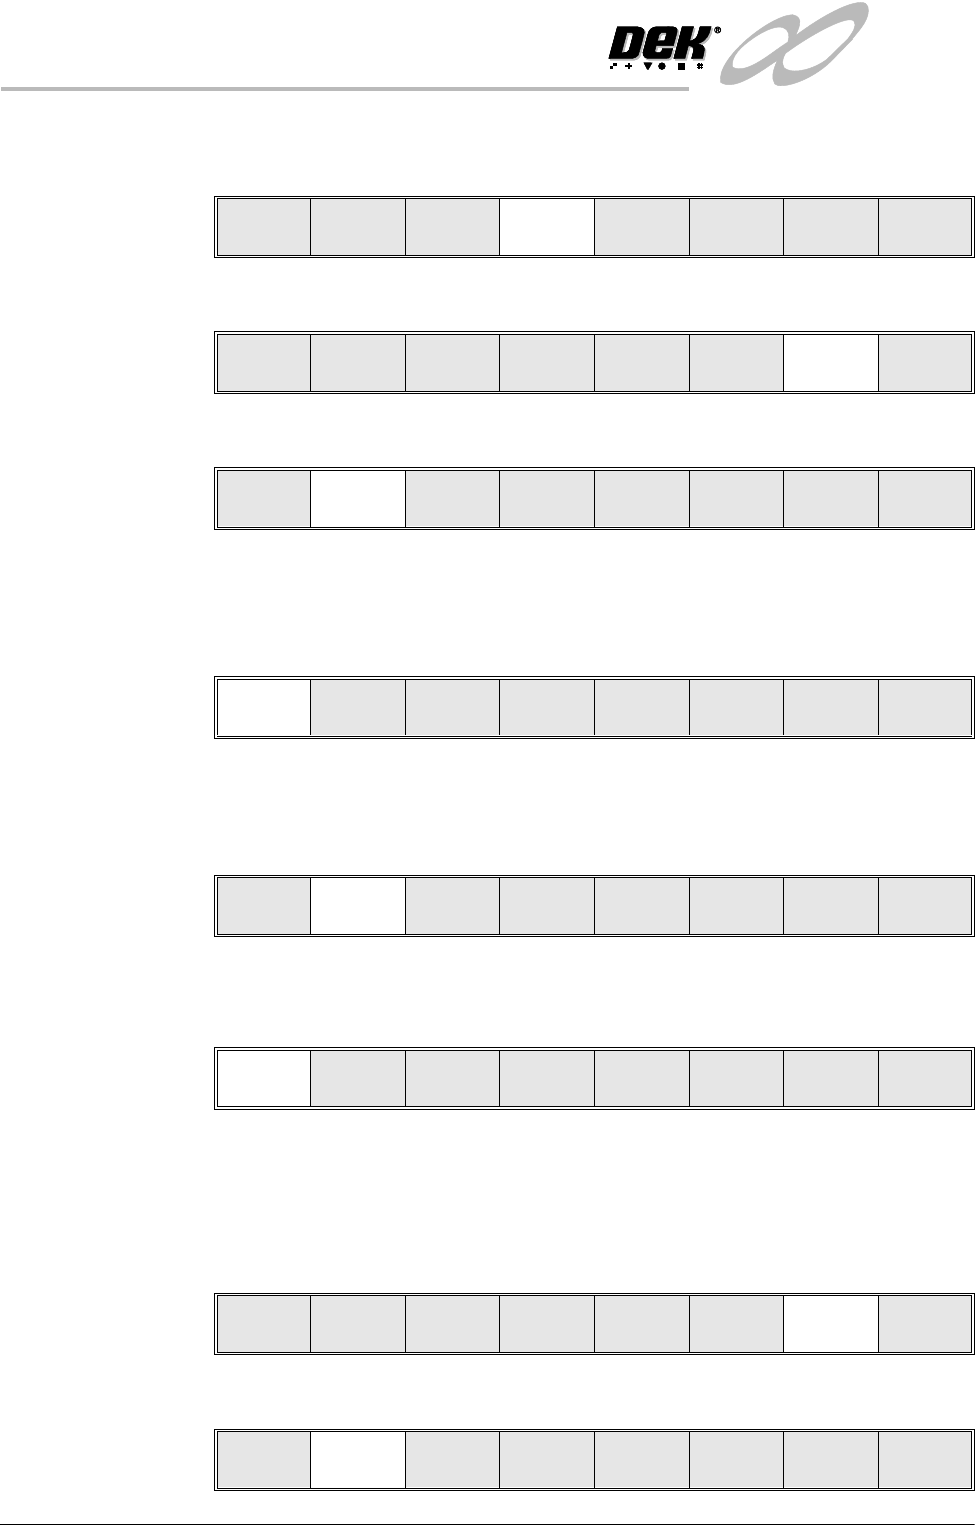
The following window and menu bar is displayed:
11. Remove the Head Prop.
12.Select Confirm (F1).
13.Lower the printhead using two button control.
Adjust
Lower
Head
Board
Clamps
Set
Stop
Hazardous Operation
The head is about to be lowered
Remove the Head Prop and confirm that
everyone is standing clear.
Confirm Cancel
Confirm Cancel

INFINITY
0$&+,1(352*5$00,1*
67$*(&'(',&$7('722/,1*
Software Version 7 User Manual 1.43
14.Close the front printhead cover.
15.Press the System button.
16.Select Board Width (F5).
17.Select Board Stop (F4). The camera moves to the board stop position. The
board stop on the camera extends.
18.Select Raise Head (F2).
19.Raise the printhead using two button control.
20.Fit the head prop.
21.Press Confirm (F1).
22.Select Board Clamps (F3), to open the clamps.
23.Slide a board along the rails to abut the board stop.
24.Select Board Clamps (F3), to close the clamps.
25.Select Lower Head (F2).
26.Remove the Head Prop.
27.Select Confirm (F1).
28.Lower the printhead using two button control.
29.Close the front printhead cover.
Adjust
Raise
Head
Remove
Cleaner
Board
Stop
Board
Width
Load
Width
Print
Height
Exit
Adjust
Raise
Head
Remove
Cleaner
Board
Stop
Full
Width
Load
Width
Print
Height
Exit
Adjust
Raise
Head
Remove
Cleaner
Home
Camera
Full
Width
Load
Width
Print
Height
Exit
Confirm
Lower
Head
Adjust
Lower
Head
Board
Clamps
Set
Stop
Adjust
Lower
Head
Board
Clamps
Set
Stop
Adjust
Lower
Head
Board
Clamps
Set
Stop
Confirm Cancel
INFINITY
0$&+,1(352*5$00,1*
67$*(&'(',&$7('722/,1*
1.44 User Manual Software Version 7
30.Press the System button.
31.Select Home Camera (F4).
32.Select Print Height (F7).
33.Select Raise Head (F2).
34.Raise the printhead using two button control.
35.Fit the head prop.
36.Press Confirm (F1).
37.Check that the setup of the tooling is adequate for the board, adjust as
necessary.
38.Select Lower Head (F2).
39.Remove the Head Prop.
40.Select Confirm (F1).
41.Lower the printhead using two button control.
42.Close the front printhead cover.
43.Press the System button.
44.Select Home Position (F7).
45.Select Raise Head (F2).
Adjust
Raise
Head
Remove
Cleaner
Home
Camera
Full
Width
Load
Width
Print
Height
Exit
Adjust
Raise
Head
Remove
Cleaner
Board
Stop
Full
Width
Load
Width
Print
Height
Exit
Raise
Head
Home
Position
Exit
Confirm
Lower
Head
Adjust
Lower
Head
Board
Clamps
Set
Stop
Confirm Cancel
Raise
Head
Home
Position
Exit
Adjust
Raise
Head
Remove
Cleaner
Board
Stop
Full
Width
Load
Width
Print
Height
Exit