00197461-01_AI_Portaltausch_X-Serie_S_INTERN_de_en.pdf - 第55页
Installation Preparatory Steps Gantry Exchange Portaltausch 55 3 3 I n s t a lla t io n Installation This chapter describes the removal of the old gantry, the removal o f pa rts from the old gantry an d insta l - lation …
Brief Description
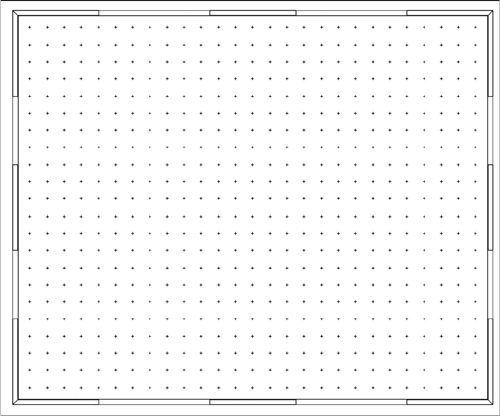
Tools and Equipment Required 2.4.1 Mapping Test Plate 560x460 mm [03076118-xx]
54 Gantry Exchange Portaltausch
2.4
2.4 Tools and Equipment Required
Tools and Equipment Required
▪ Standard tools
▪ Loctite 243 [02101037-xx]
▪ 2x (per gantry) setscrew
DIN 913 - M 6 x 50-ST [03005958-xx] or
DIN EN ISO 4026 - M6 x 50-45H [03106014-xx]
▪ If needed, 2x dummy plugs (plastic covers) [00368931-xx]
▪ Mapping test plate 560x460 mm [03076118-xx]
▪ 2x M8 nuts
▪ Torque wrench, basic tool, 5Nm - 50Nm [00386175-xx]
▪ Insert ratchet 1/4 inch [00386178-xx]
▪ Unlocking tool for Q8 [03047090-xx]
▪ Unlocking tool for QSC-10H [03051853-xx]
▪ 2x plastic wedge, 65 x 180mm [03097870-xx]
▪ Copper hammer, 750 g SX2 additional [03097897-xx]
▪ 5x (per gantry) box lid for magnet 150x64-128 [03105100-xx]
▪ Second person
▪ Ethanol
Isopropanol – IPA can be used as an alternative.
▪ If needed, assembly instructions "Smart Pin Support - X-Series S" [DE+EN: 00197394-xx]
▪ If needed, assembly instructions for "Vacuum Pump" [DE+EN: 00196845-xx]
▪ Service manual HF/X-Series (internal version) [00195654-xx]
▪ Service manual for your machine [DE: 00197041-xx] [EN: 00197042-xx]
2.4.1
2.4.1 Mapping Test Plate 560x460 mm [03076118-xx]
Mapping Test Plate 560x460 mm [03076118-xx]
2.5
2.5 Required Working Time
Required Working Time
The complete installation will take approx. 4 hours per gantry.
Mapping plate 560x460 mm

Installation
Preparatory Steps
Gantry Exchange Portaltausch 55
3
3 Installation
Installation
This chapter describes the removal of the old gantry, the removal of parts from the old gantry and instal-
lation of those parts in the new gantry and the installation of the new gantry in the machine.
3.1
3.1 Preparatory Steps
Preparatory Steps
Data backup
Perform the following data backup runs in the exact order listed:
► Back up the conveyor machine data.
► If there is an MTC fitted, back up the MTC machine data.
► Back up the machine data. (menu: "Save the Machine Data")
Changeover Table
► Move the component trolleys/MTC out of the machine.
NOTICE
Replacement of multiple gantries at the same time
In principle, it is possible for multiple gantries to be replaced at the same time by several mem-
bers of staff. If you want to replace multiple gantries, we always recommend that you process
one placement area after the other and do not remove more than two gantries at the same time.
There is otherwise a risk of space conflicts when stowing the different trailing cables.
In addition, this means that you always have one completely installed gantry available.
CAUTION
Keep to the order specified!
Installation
Removing the Gantry
56 Gantry Exchange Portaltausch
3.2
3.2 Removing the Gantry
Removing the Gantry
To remove the gantry, perform the following steps:
Removing the cover on the hood guide
Dismantling the side cover
Removing the placement head
► Dismantle the placement head. Read the service manual for your machine first.
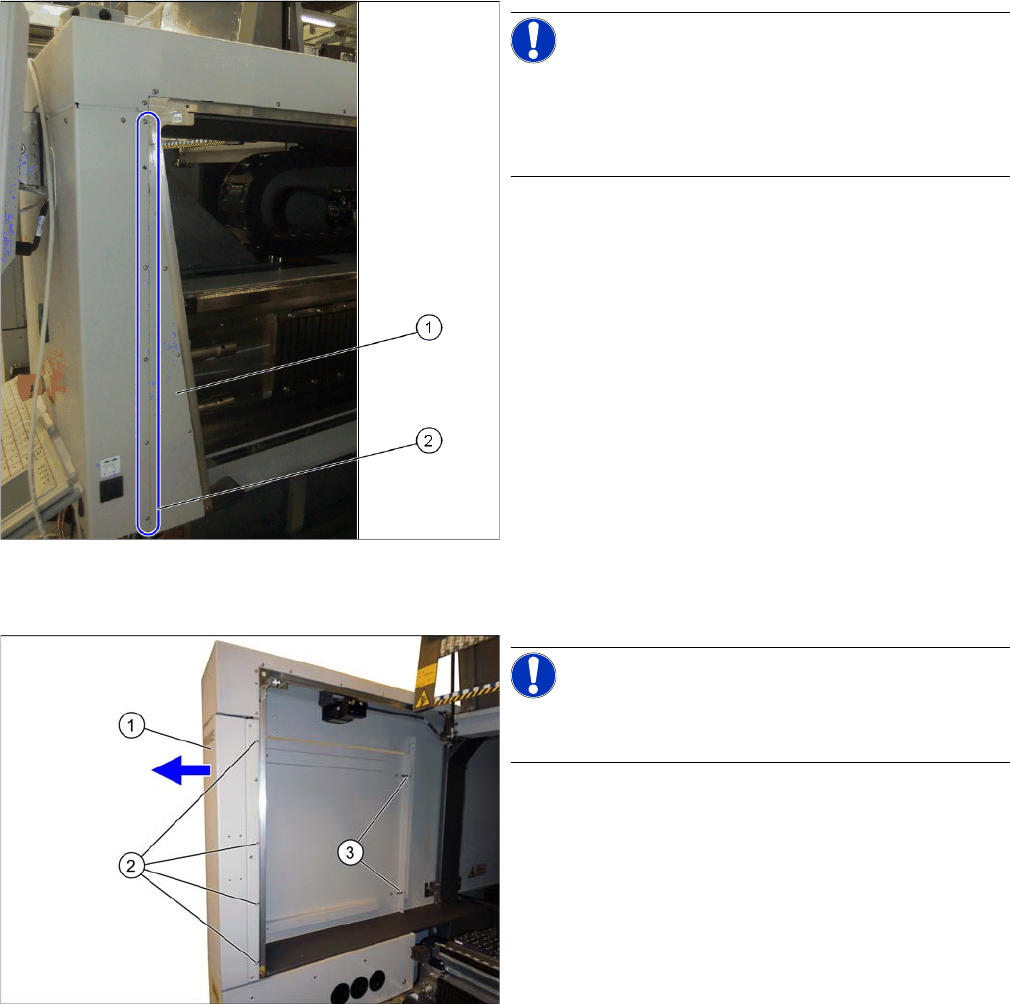
NOTICE!
As an option, the SIPLACE X-Series S machines have
covers on the hood guides. If your machine has a cover
on the hood guide, you will need to remove this cover on
the hood guide.
► Loosen the screws (2) fastening the cover on the
hood guide (1).
► Pull the cover on the hood guide off the machine.
NOTICE!
If there is a service flap fitted at the relevant location, this
item does not apply.
► Loosen the screws (2) fastening the side cover (1)
and pull this off the pins (3).