4OM-1505-004_w.pdf - 第98页
4OM-1505 1-47 4. Maintenance Method : Chap.1 (2) Press the [ST AR T] button on the front operation panel. (The PEC recognition and stencil holder sections move to the front side of the machine.) F4A42 (3) Press the cover…
4OM-1505
1-46
4. Maintenance Method : Chap.1
4.3 Replacement of Cleaning Paper
(How to change the cleaning paper width)
CAUTION
Press the cover lock switch and open the transparent
cover to work.
Only the person in charge of maintenance should
perform this work.
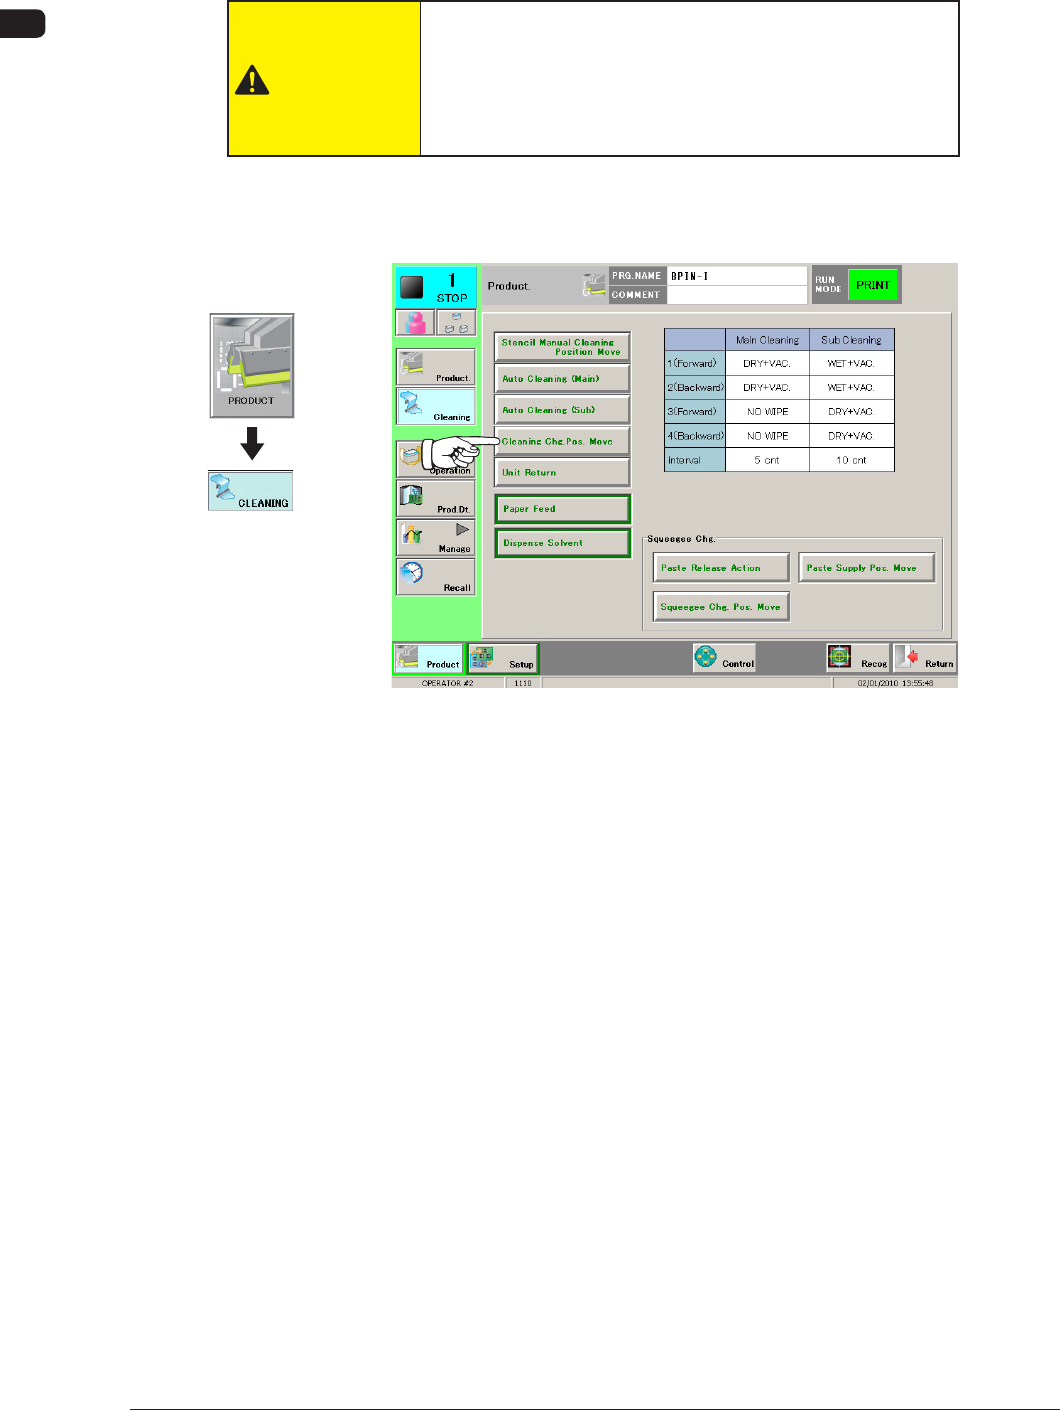
(1) Press the [Cleaning Chg. Pos. Move] button in the "CLEANING" window.
When it is selected, the button ashes green.
F4A41
1002-002
Graphic
Development
4OM-1505
1-47
4. Maintenance Method : Chap.1
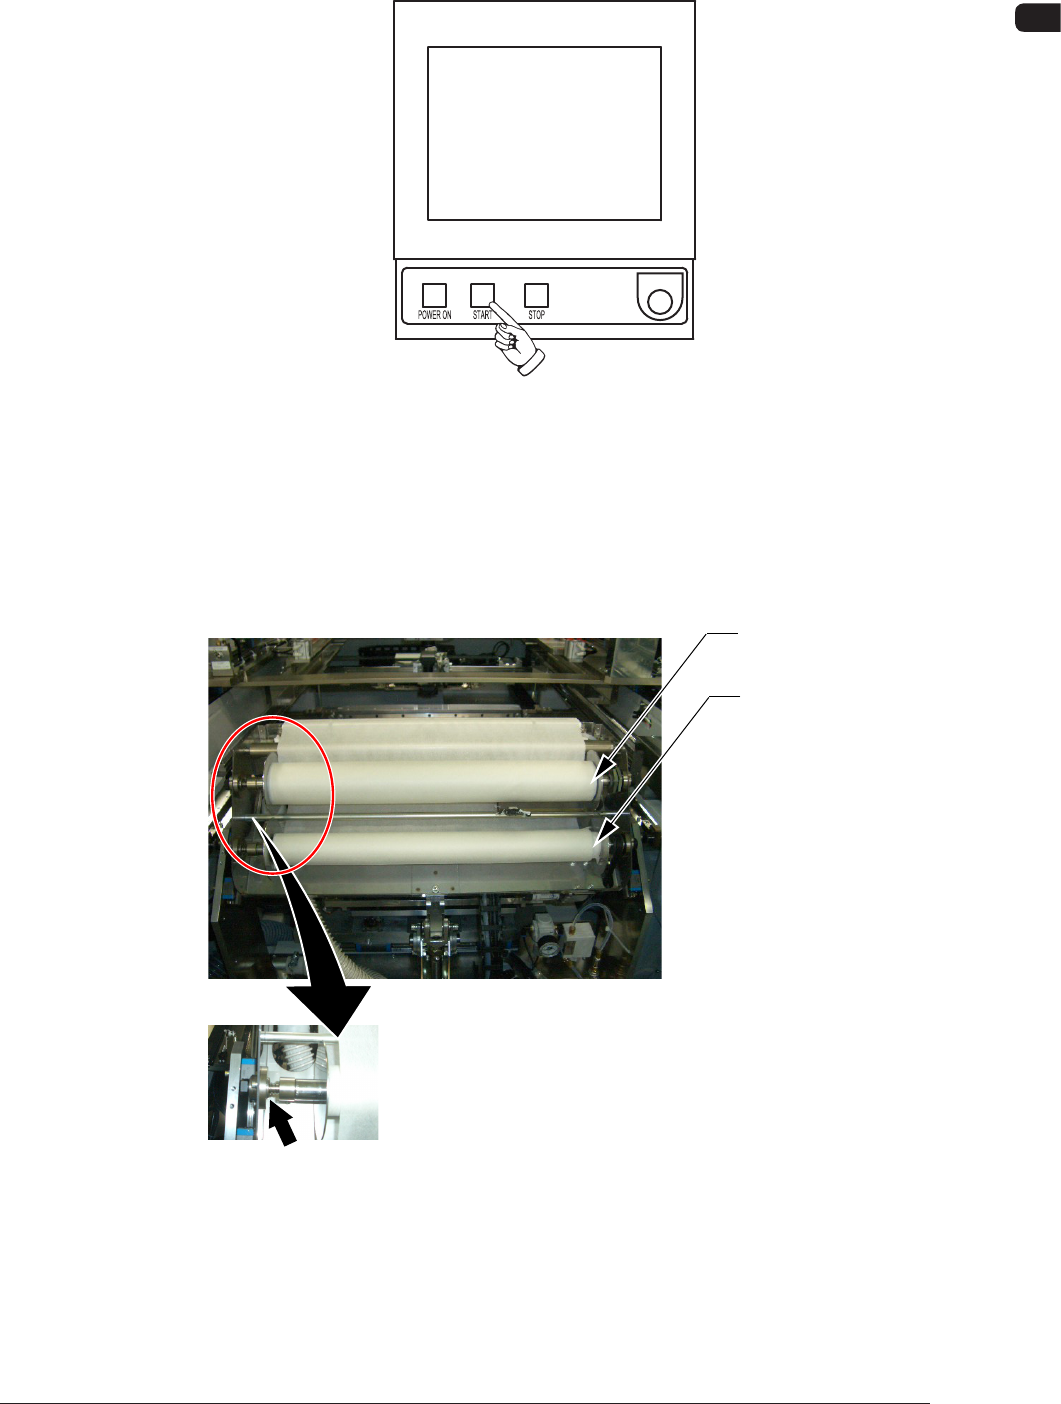
(2) Press the [START] button on the front operation panel.
(The PEC recognition and stencil holder sections move to the front side of
the machine.)
F4A42
(3) Press the cover lock switch on the front of the machine to open the front
transparent cover.
(4) Push up the levers of the take-up and supply rollers and pull out each roller
to the front side to detach from the cleaning unit.
Supply Roller
Take-Up Roller
Press it to the left.
F4A43
1002-002
4OM-1505
1-48
4. Maintenance Method : Chap.1
(5) Remove the right adaptor and replace the roller with a new one.
(6) After pressing-in the roller so that the roll end closely contacts the left
adaptor ring, attach the right adaptor.
Right Adaptor
F4A44
Note
(a) The left adaptor is integrated with the shaft.
(b) When the right adaptor is attached, attach the ring rst.
(7) Set the new roller on the supply side, supporting it so that the left adaptor
can be inserted into the hole on the left side of the cleaning unit. Set it up
by pressing the roller against the left adaptor and aligning the right ange
groove with the right adaptor.
(8) Thread the cleaning paper in the order of "*1" to "*3".
*3
*2
*1
Paper End
Front View of Cleaning Section Top View of Cleaning Section
F4A45
Note
Note the rolling direction of the paper.
1002-002