00198142-01_AI_Stationary-Camera-25-33_TX_de_en.pdf - 第69页
Installation Converting the Reject Box Stationary Camera Typ e 25/33 Stationäre Kamera Typ 25/33 69 3.2 3 . 2 C o n v e r t in g t h e R e je c t B o x Converting the Reject Box NOTICE Before installing the camera It is …
Installation
Preparatory Steps
68 Stationary Camera Type 25/33 Stationäre Kamera Typ 25/33
3.1
3.1 Preparatory Steps
Preparatory Steps
► Move the component trolley at location 1 out of the machine.
Switch off the machine, disconnect it from the power supply and ...
► Switch off the machine, disconnect it from the power supply and secure it to prevent unauthorized
reactivation. Observe the instructions in section "1.2 Preparatory Work..." [ ➙ 56].
► If a stationary camera is already present, remove it.
For removing a stationary camera follow the installation instructions in reverse order.
Refer to the relevant installation chapter in this manual.
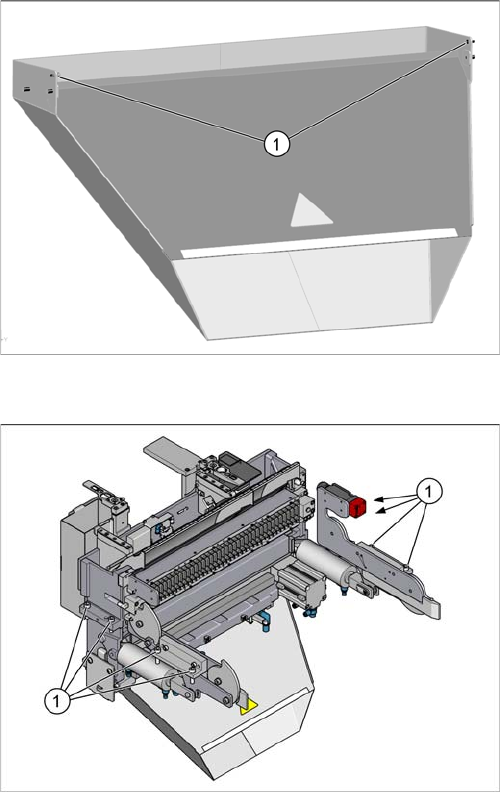
Used tape chute
► Loosen the two safety screws (1) on the used tape
chute and unhook the used tape chute.
► You may want to mark the position of the COT insert
to be able to install the COT insert at the same posi
-
tion later on.
► Remove the eight fastening screws (1) of the COT in
-
sert.
► Pull the COT insert out of the machine a bit for a bet
-
ter access to the installation position.
Installation
Converting the Reject Box
Stationary Camera Type 25/33 Stationäre Kamera Typ 25/33 69
3.2
3.2 Converting the Reject Box
Converting the Reject Box
NOTICE
Before installing the camera
It is recommended to convert the reject box before installing the camera.
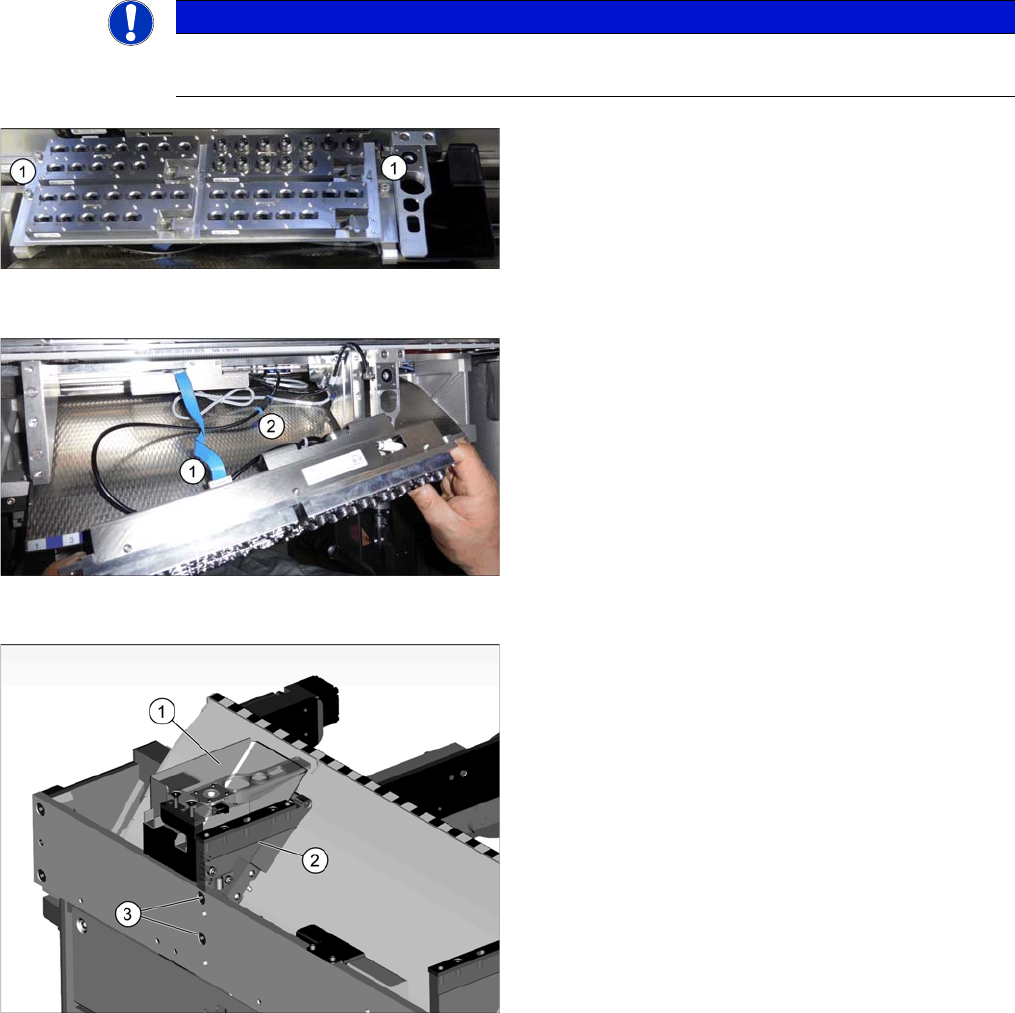
Dismantling NC 1
► Remove the four fixing screws (1) of the nozzle
changer (NC).
Dismantling NC 2
► Unplug the electrical (1) pneumatical connections (2)
of the nozzle changer and put the NC aside.
Dismantling the NC holder
► Remove the reject bin (1).
► Remove the fastening screws (3) of the right NC
holder (2) and lift off the NC holder.
Installation
Converting the Reject Box
70 Stationary Camera Type 25/33 Stationäre Kamera Typ 25/33
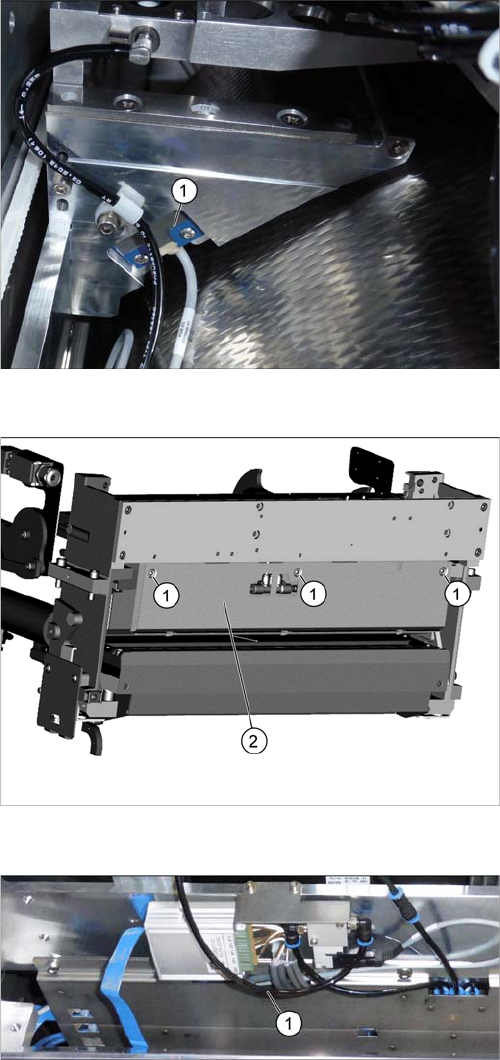
Dismantling the sensor
► Dismantle the sensor (1) on the right NC holder.
Dismantling the rear cover
► Remove the three screws (1) fastening the rear
cover (2).
Move the cover a bit to the side and lift it off. Thus, it is
easier to thread the sensor cable.
Converting the sensor
► Push the sensor through the opening (1) on the front
cover.