PCP-Manual-REV-C.pdf - 第19页
PCP Series Manual Revision B / October 2021 Page 19 of 56 11. Remove the o-rings from the fluid block assembly. 12. Examine t he o-rings for damage. Save it if it is not damaged. Replace it if it is damaged. Figure 11 : …
PCP Series Manual
Revision B / October 2021
Page 18 of 56
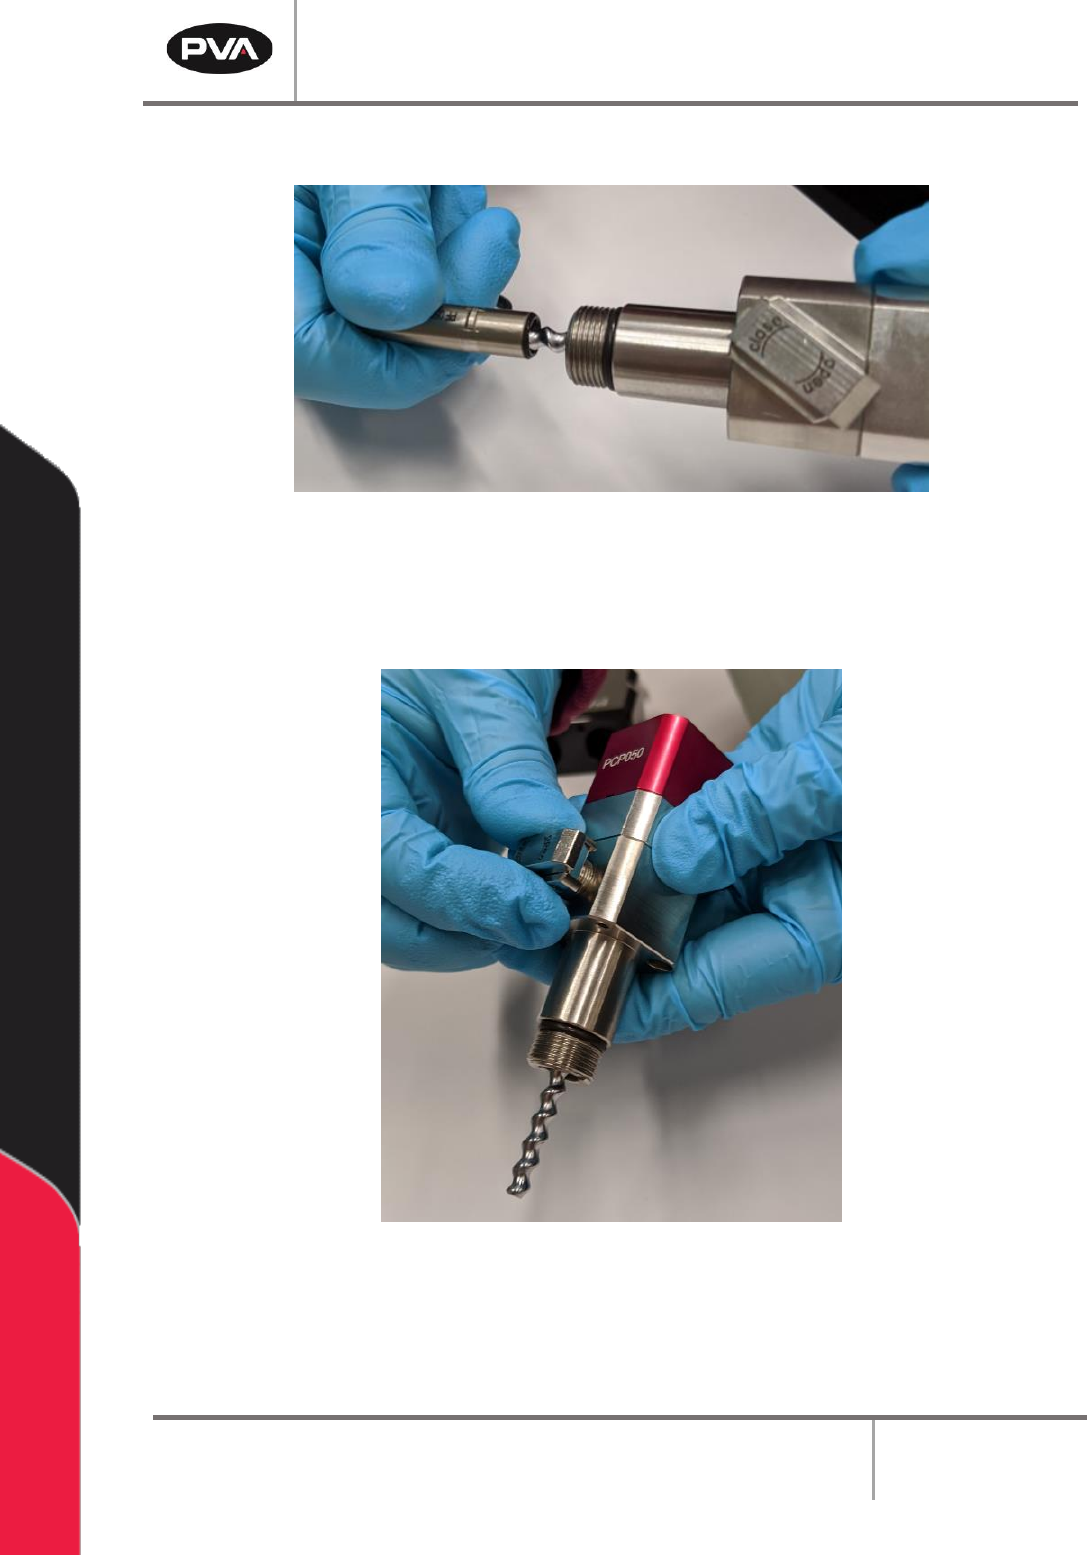
9. Hold the stator tool to stabilize and twist counterclockwise to remove the stator.
Figure 9: Remove Stator
10. Twist to remove the bleed clip from the vent port.
Figure 10: Remove Bleed Clip
PCP Series Manual
Revision B / October 2021
Page 19 of 56
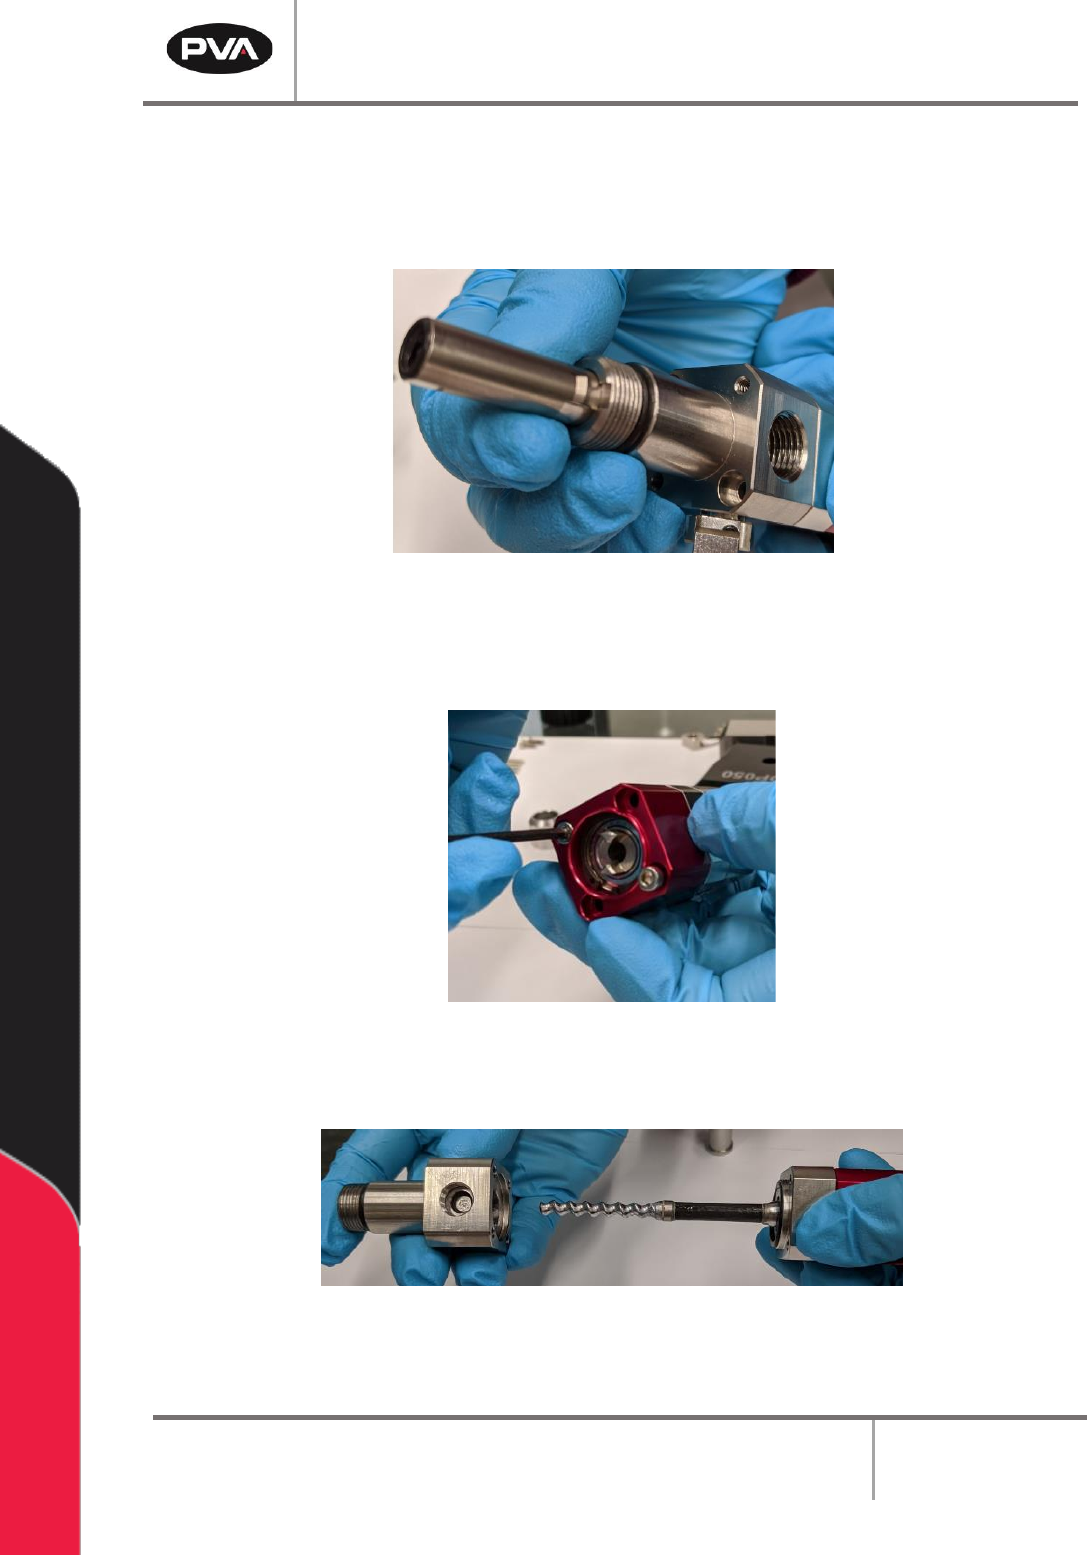
11. Remove the o-rings from the fluid block assembly.
12. Examine the o-rings for damage. Save it if it is not damaged. Replace it if it is
damaged.
Figure 11: Remove O-Ring
13. Use a 2.5 mm hex key to remove the two M3 x 35 mm socket head cap screws from
the rotor assembly.
Figure 12: Remove Screws from Rotor Assembly
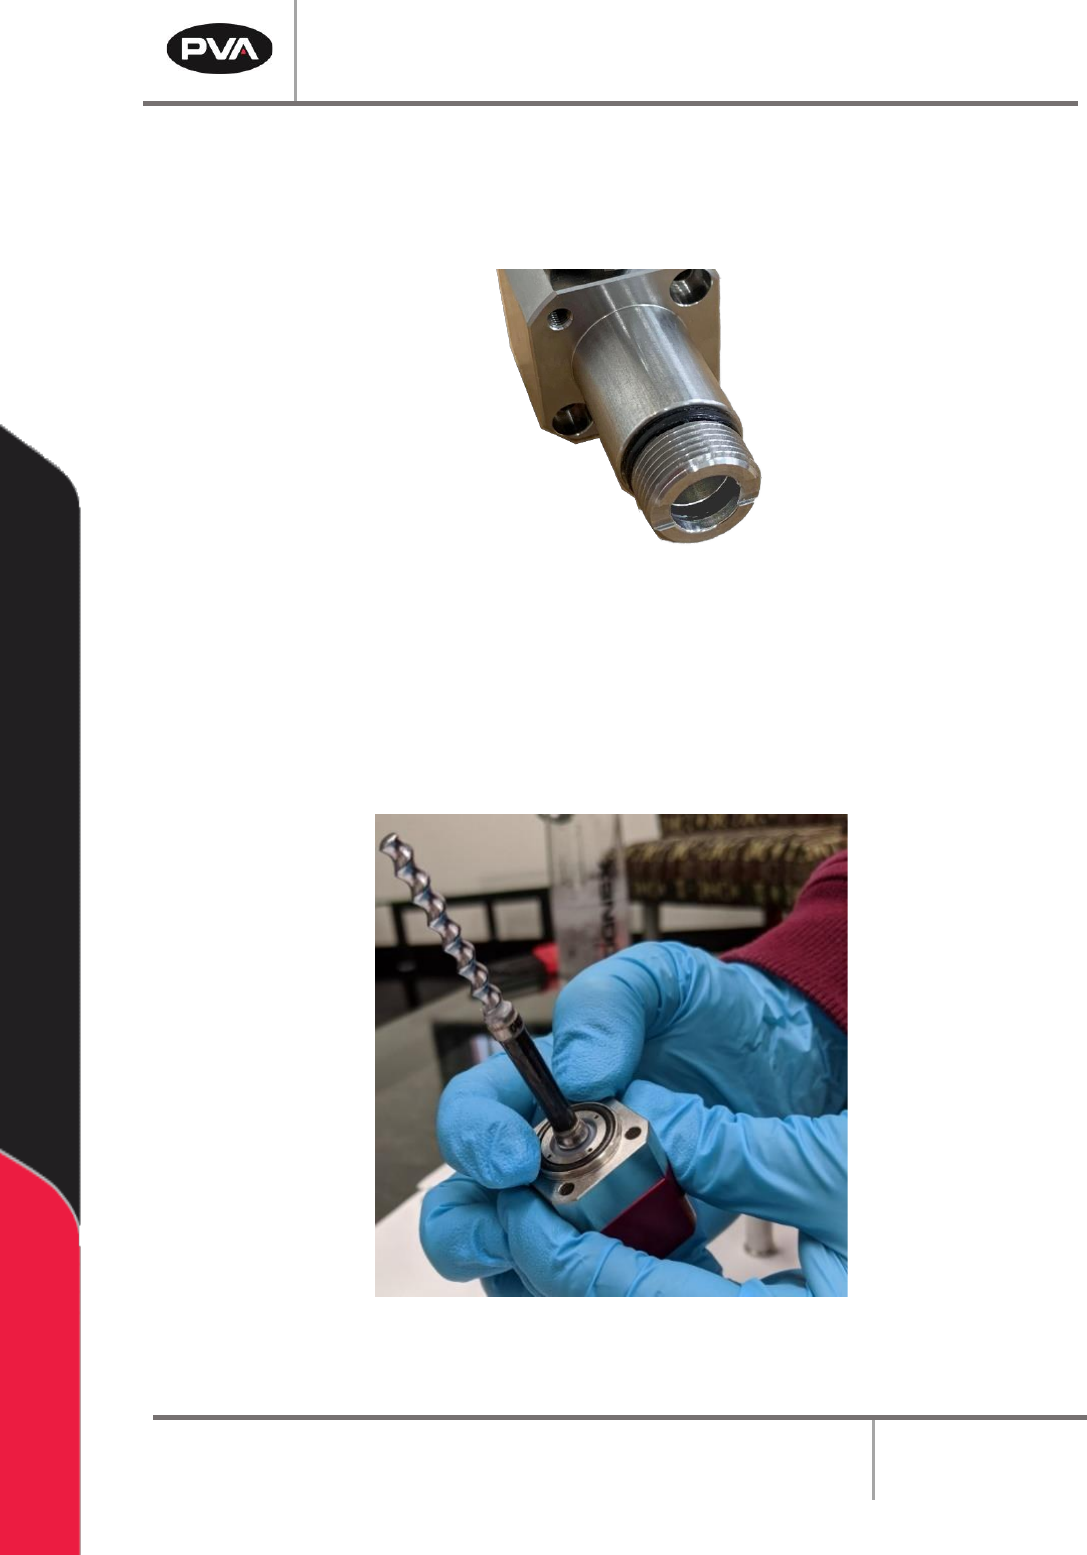
14. Separate the fluid block from the seal block/rotor assembly.
Figure 13: Separate Fluid Block
PCP Series Manual
Revision B / October 2021
Page 20 of 56
15. Remove the o-ring from the fluid block.
16. Examine the o-ring for damage. Save it if it is not damaged. Replace it if it is
damaged.
Figure 14: Remove O-ring from Fluid Block
17. Remove the o-ring from the seal block.
18. Examine the o-ring for damage. Save it if it is not damaged. Replace it if it is
damaged.
Figure 15: Remove O-Ring from Seal Block