PCP-Manual-REV-C.pdf - 第21页
PCP Series Manual Revision B / October 2021 Page 21 of 56 19. Separate the seal bl ock from the rotor assembly. Figure 16 : Remove Seal Block Clean All Wetted Parts • Wear gloves when you use solvents. • Cover the work s…
PCP Series Manual
Revision B / October 2021
Page 20 of 56
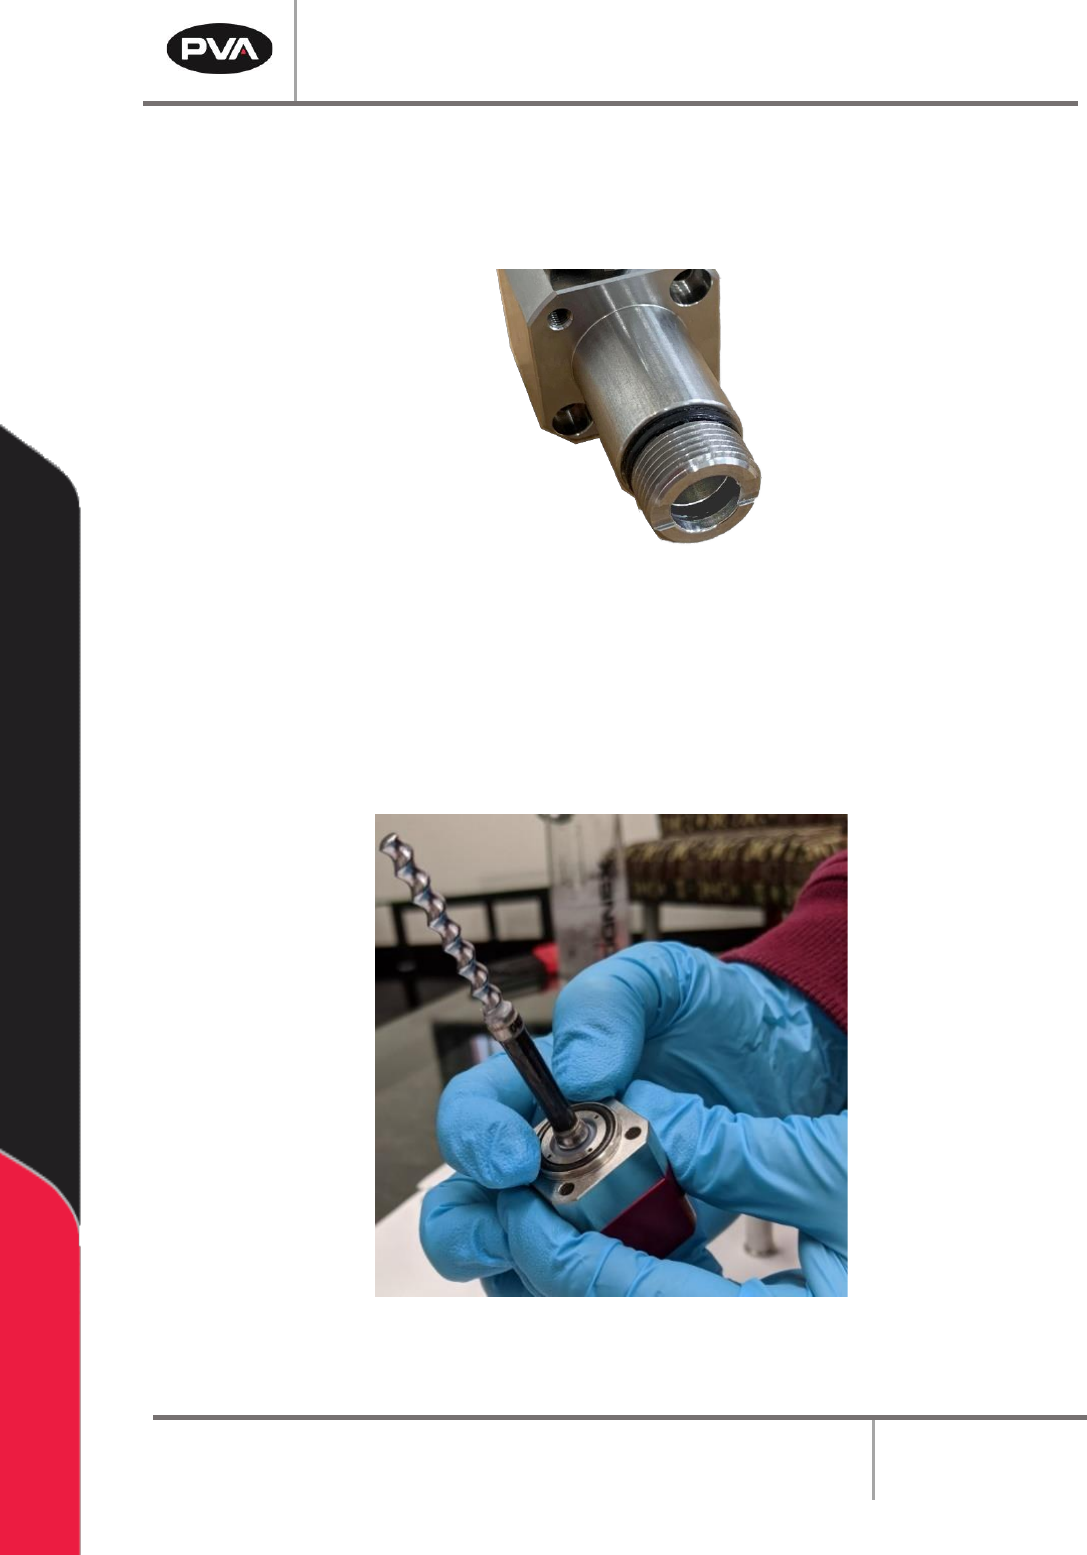
15. Remove the o-ring from the fluid block.
16. Examine the o-ring for damage. Save it if it is not damaged. Replace it if it is
damaged.
Figure 14: Remove O-ring from Fluid Block
17. Remove the o-ring from the seal block.
18. Examine the o-ring for damage. Save it if it is not damaged. Replace it if it is
damaged.
Figure 15: Remove O-Ring from Seal Block
PCP Series Manual
Revision B / October 2021
Page 21 of 56
19. Separate the seal block from the rotor assembly.
Figure 16: Remove Seal Block
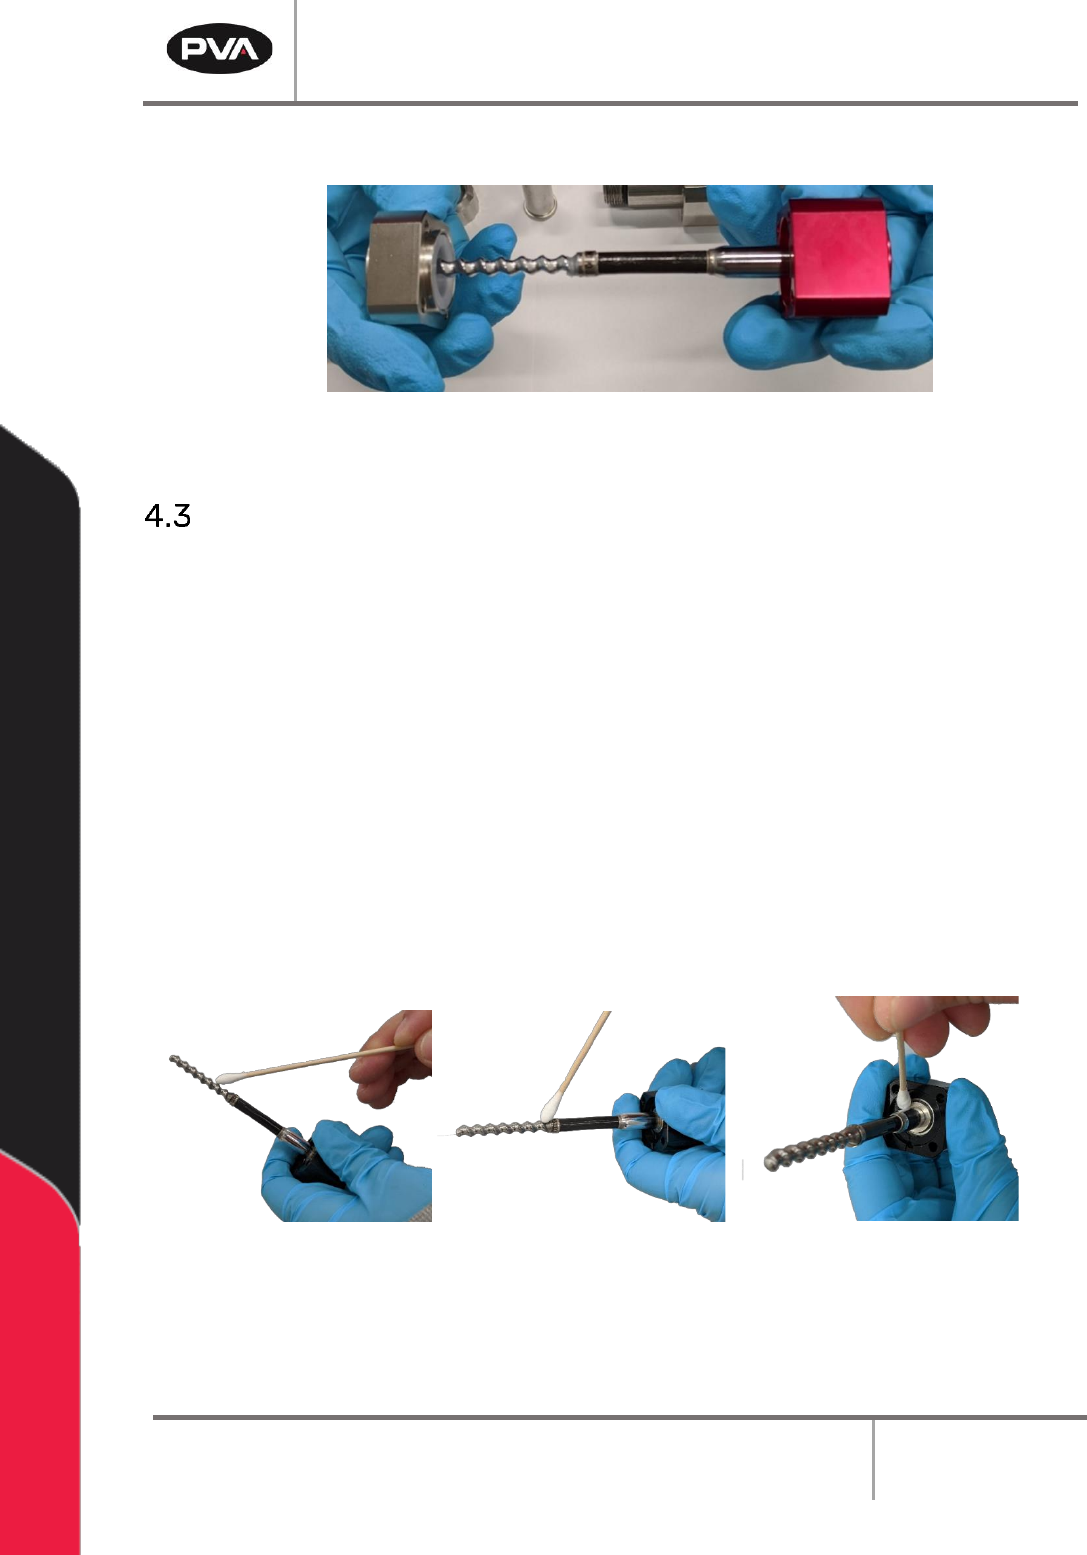
Clean All Wetted Parts
• Wear gloves when you use solvents.
• Cover the work surface so the solvent and material does not damage it.
• Only use appropriate solvents.
1. Use solvent, cotton tipped applicators and lint free disposable towels to clean all
wetted parts of the pump. When cotton tipped applicators and towels get dirt and
material on them, discard them and use a new one. Do not mix the materials.
2. Make sure all material is removed from the inside and outside.
3. Clean the fluid port.
4. Make sure all material is removed from the rotor and the groove at the base of the
rotor.
Figure 17: Clean Rotor
Note: Do not flush the rotor assembly with any material or put it in solvent as the
bearings may be damaged as a result. Clean only with cotton tipped applicators, a
cloth, and/or a soft brush.
PCP Series Manual
Revision B / October 2021
Page 22 of 56
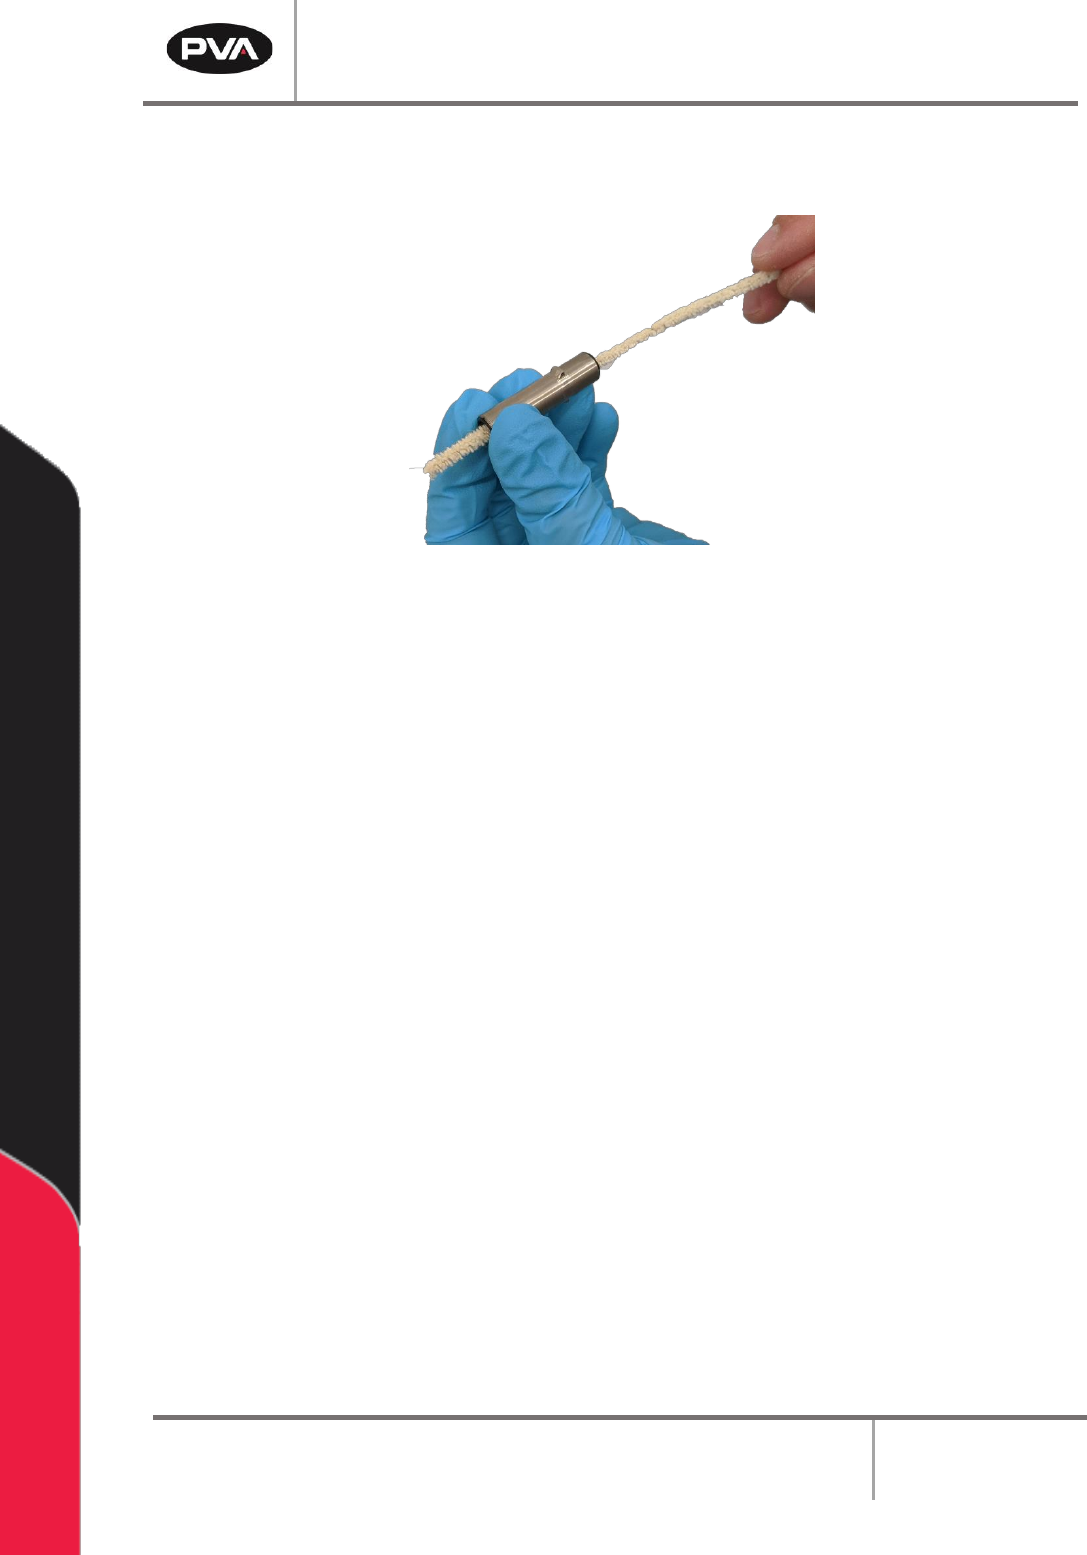
5. Make sure all material is removed from the inside and outside of the stator using a
pipe cleaner.
Figure 18: Clean the Stator
6. Make sure material is removed before assembling the pump.
7. Clean both the mix clip and manifold with solvent, cotton tipped applicators and lint
free disposal wipes.