PCP-Manual-REV-C.pdf - 第33页
PCP Series Manual Revision B / October 2021 Page 33 of 56 Maintenance Interval Action Daily • Examine the material outlet for contamination and cured material. • Make sure the volume and flow rate of the material is corr…
PCP Series Manual
Revision B / October 2021
Page 32 of 56
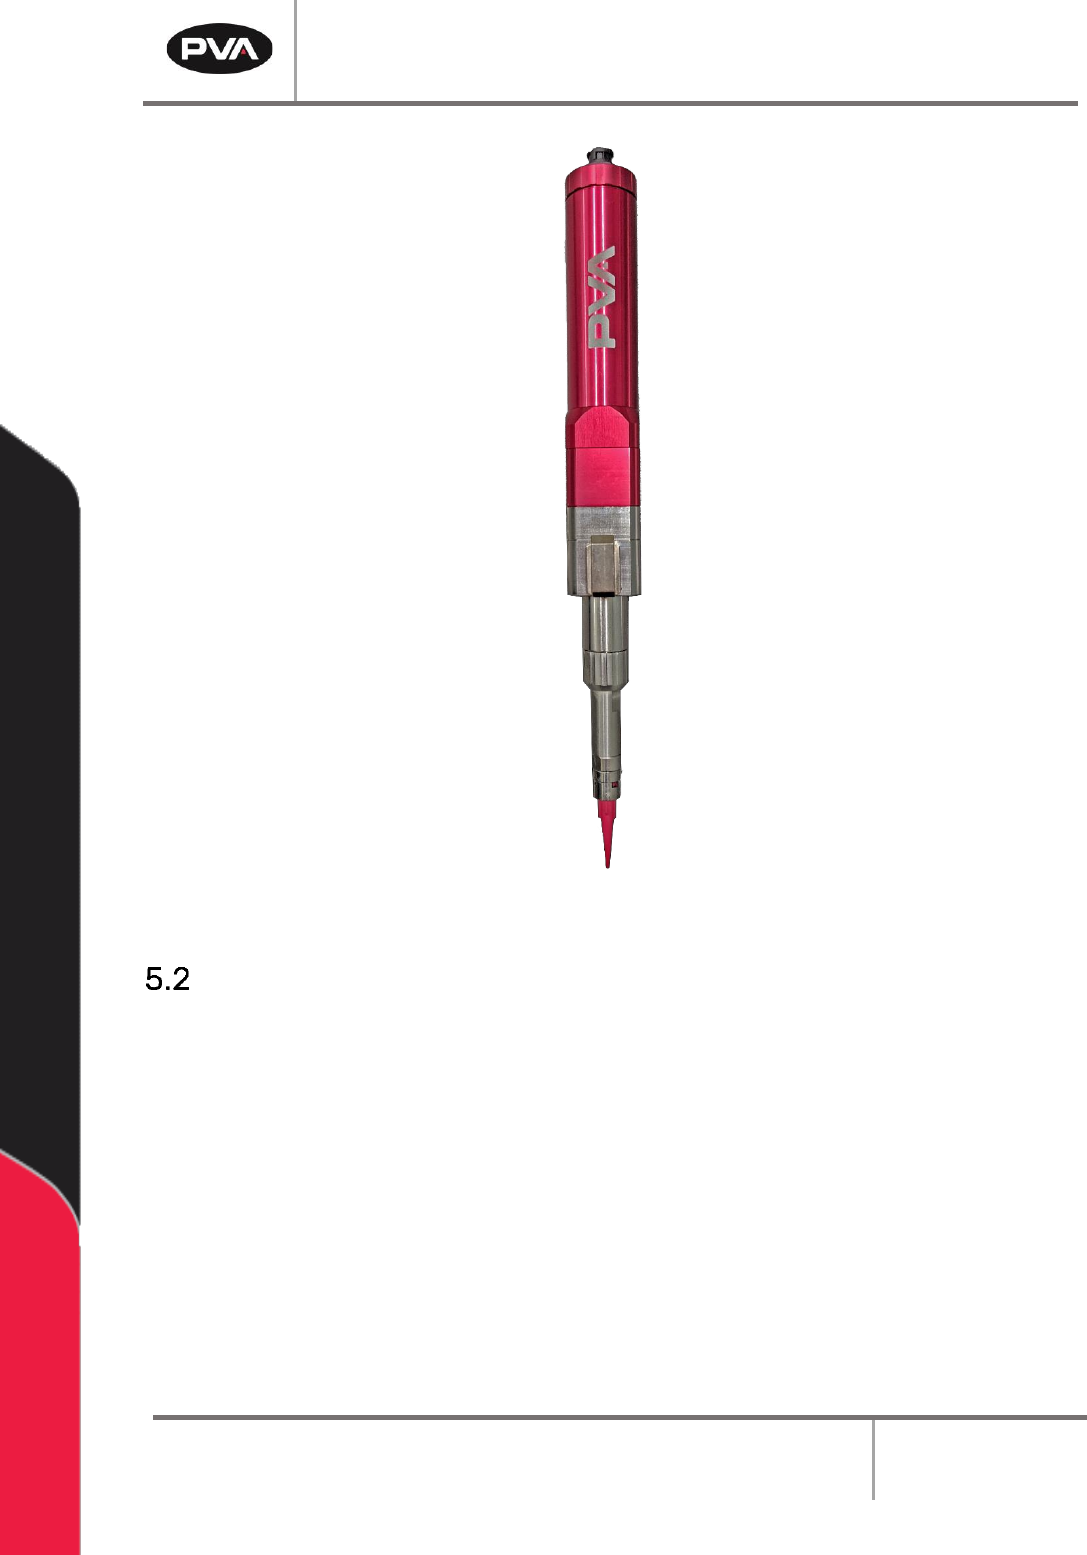
Figure 40: PCP Assembled
Install the Pump on the Workcell
1. Install the bolt through the mount plate into the back of the fluid body.
2. Connect the material fitting to the fluid body.
3. Install the new luer lock dispense tip onto the stator sleeve.
4. Turn the luer lock dispense tip clockwise until it is tight.
5. Attach the motor connection.
PCP Series Manual
Revision B / October 2021
Page 33 of 56
Maintenance
Interval
Action
Daily
• Examine the material outlet for contamination and cured material.
• Make sure the volume and flow rate of the material is correct.
• Examine the motor cable and material supply hose for signs of
wear, kinks, or twists.
Weekly
• Examine the material container or cartridge for signs of cured or
dried material.
• Replace filters if necessary.
• Examine the motor cable and material supply hose for signs of
wear, kinks, or twists.
Replace the Dispense Needle
It is necessary to change the dispense needle when the pressure goes out of range. How
frequently you change the dispense needle depends on the type of material being
dispensed and the number of cycles done per day. Each time the dispense needle is
changed it is necessary to clean the material outlet on the manifold.
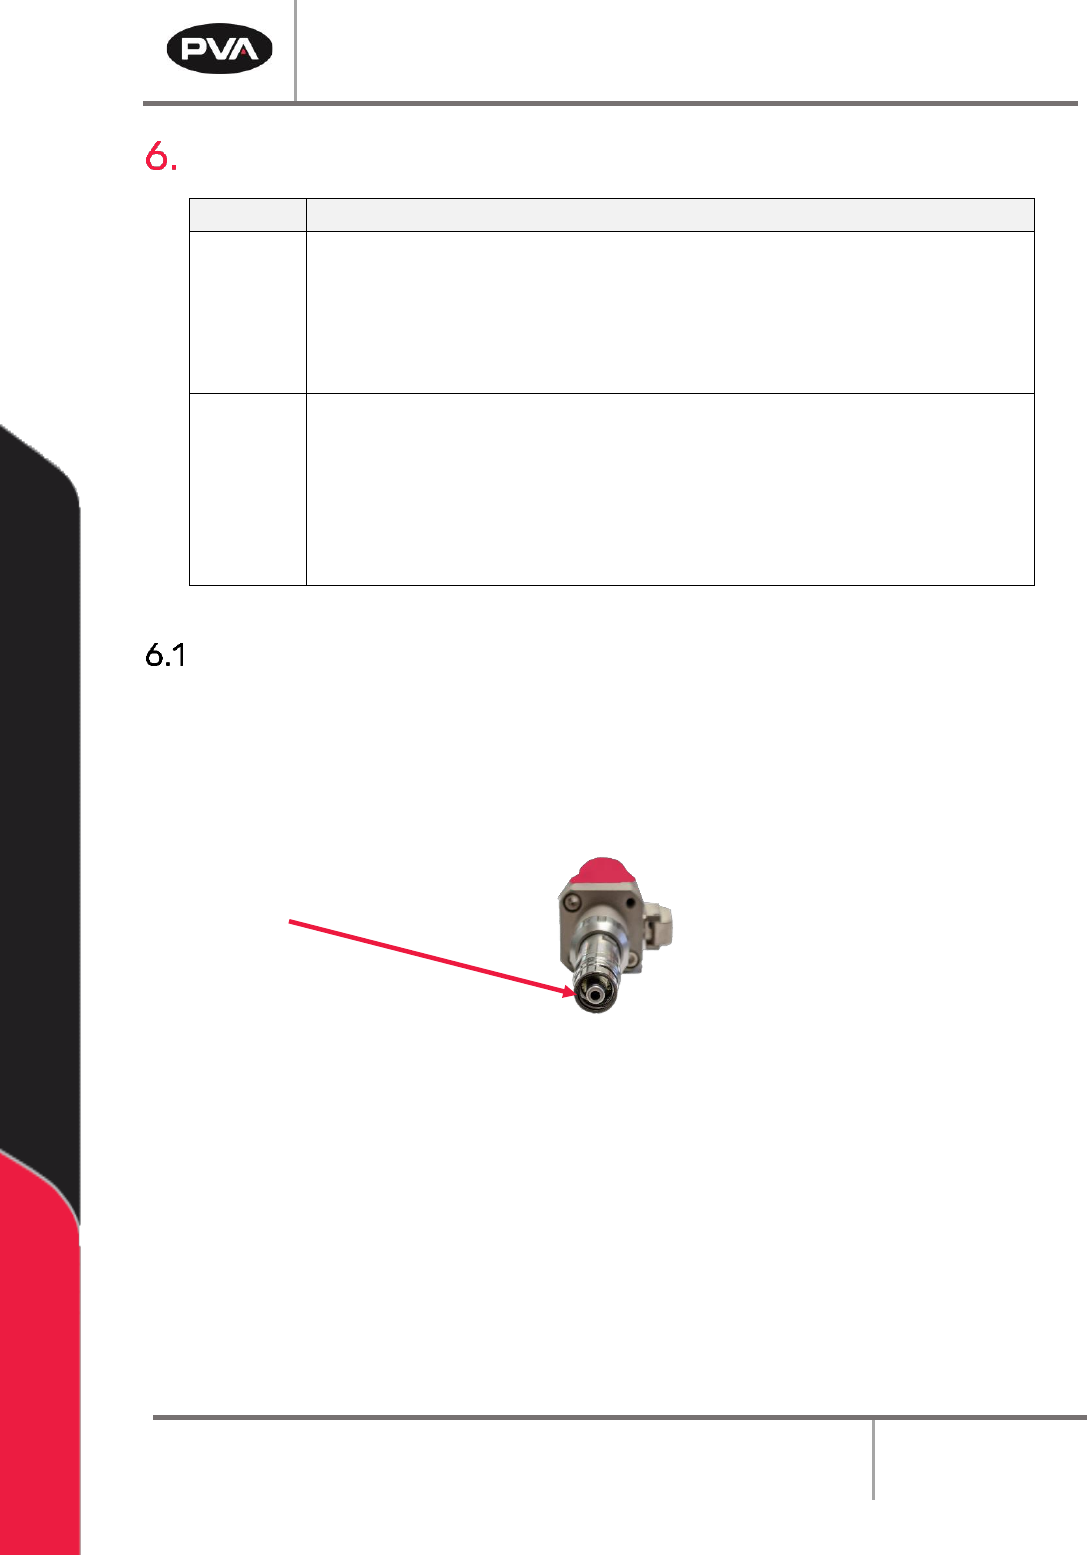
Figure 41: Material Outlet
1. Turn the luer lock dispense tip counterclockwise and pull to remove the dispense
needle.
2. Discard the luer lock dispense tip.
3. Clean the material outlet. Use solvent, cotton tipped applicators and lint free
disposal wipes.
4. Install the luer lock dispense tip and turn it clockwise until it is tight.
5. Purge the pump.

PCP Series Manual
Revision B / October 2021
Page 34 of 56
Replace the Star Shaped Coupling
1. Examine the star shaped coupling in the bearing block. If it is damaged, replace it.
2. Use a pick to remove the star shaped coupling.
3. Put the new star shaped coupling in the bearing block.
4. Use the pick to position it correctly.
5. Push on the coupling to make sure it is correctly installed.
Figure 42: Replace Coupling
Replace the Stator
1. Perform the procedure to disassemble and clean the pump. Discard the used stator.
2. Install the new stator.
3. Assemble the pump and install it in the workcell.