Micron Technical Reference V9 Volume 4.pdf - 第140页
TRANSPORTATION - MINOR RELOCATION MACHINE HEIGHT AND LEVELLING 42.20 Technical Reference Manual Chapter Issue 2, Ju l 16 30. Rotate the stopper bolts by hand until they make cont act with the opposing block, and then sec…
TRANSPORTATION - MINOR RELOCATION
MACHINE HEIGHT AND LEVELLING
Chapter Issue 2, Jul 16 Technical Reference Manual 42.19
12. Move the engineering level along the centre row of screws running from front
to back.
13. Change the orientation of the Level and adjust the front centre mounting foot
(6) to level the machine in the Y direction.
14. Adjust the front centre mounting foot (6) to level the machine in the Y
direction.
15. Repeat Steps 11 to 14 until the machine is level in both directions.
16. Carefully lower the front left mounting foot (1) so that it is in contact with the
floor.
17. Recheck the machine level has not been disturbed.
18. Carefully lower the front right mounting foot (2) so that it is in contact with
the floor.
19. Recheck the machine level has not been disturbed.
20. Lower the front centre mounting foot (6) so it is not in contact with the
machine.
21. Remove the front centre mounting foot (6) and store in a safe place.
22. Tighten mounting feet locknuts.
23. Recheck the machine is level.
24. Recheck the machine height has not been disturbed.
25. Remove the engineering level from the machine.
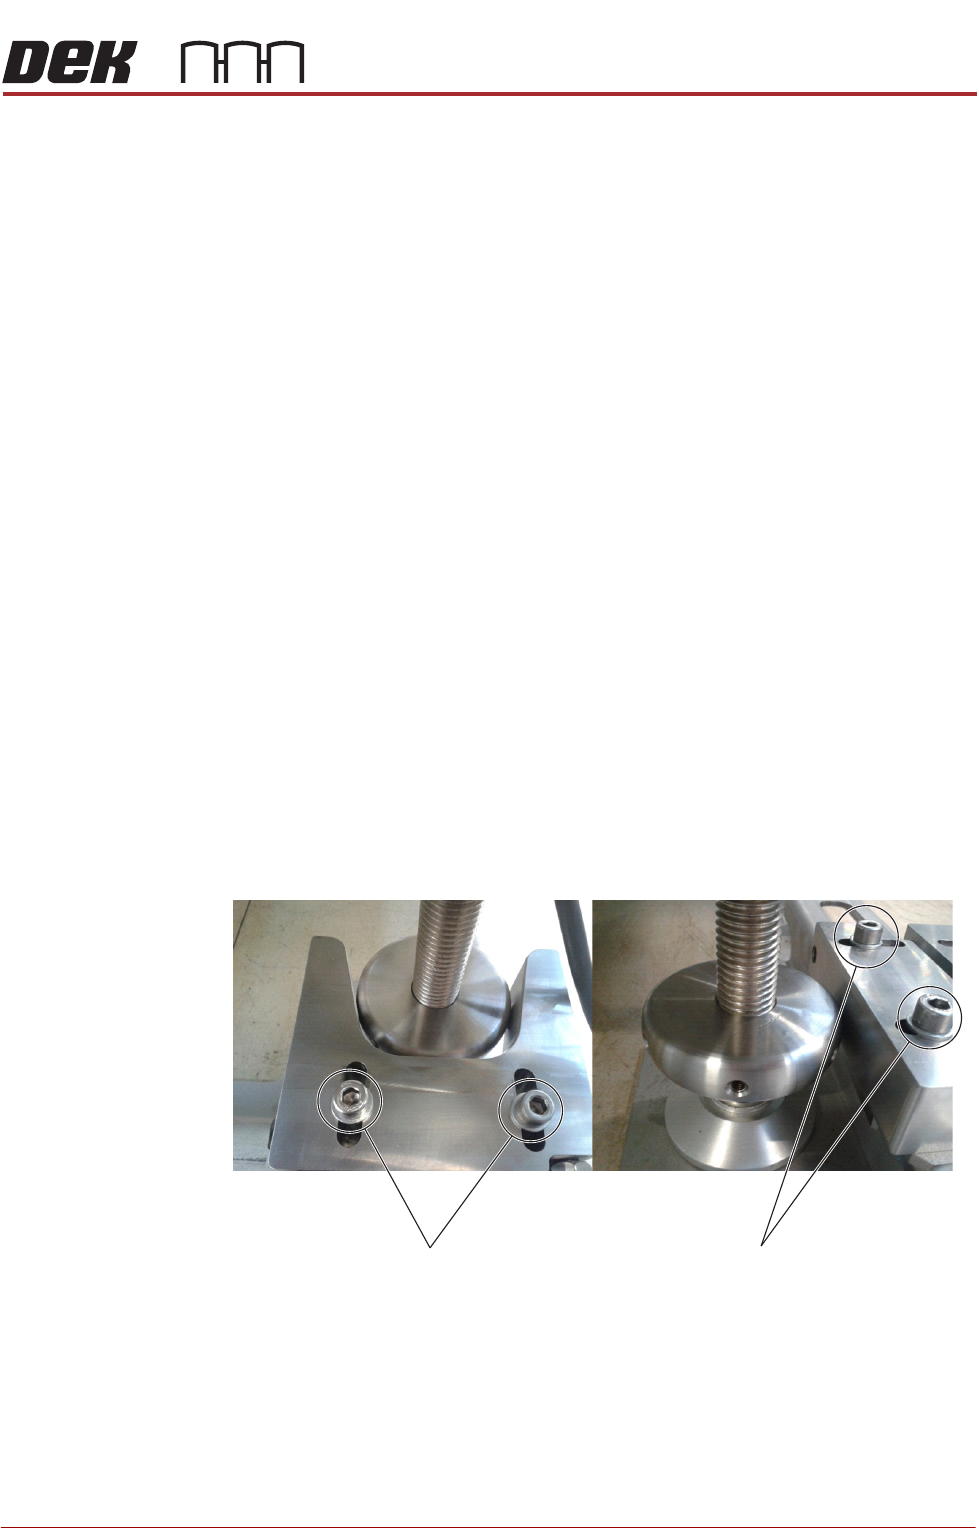
26. Position the V-block so contact is made with the locating collar on foot (4).
27. Position the location block so contact is made with the locating collar on foot
(3).
28. Fully tighten the fixing screws securing both location blocks.
29. Position the locator blocks for Machine B to achieve maximum adjustment,
and ensure parallel to the locator blocks for Machine A.
V-Block
Fixing Screws
Location-Block
Fixing Screws
TRANSPORTATION - MINOR RELOCATION
MACHINE HEIGHT AND LEVELLING
42.20 Technical Reference Manual Chapter Issue 2, Jul 16
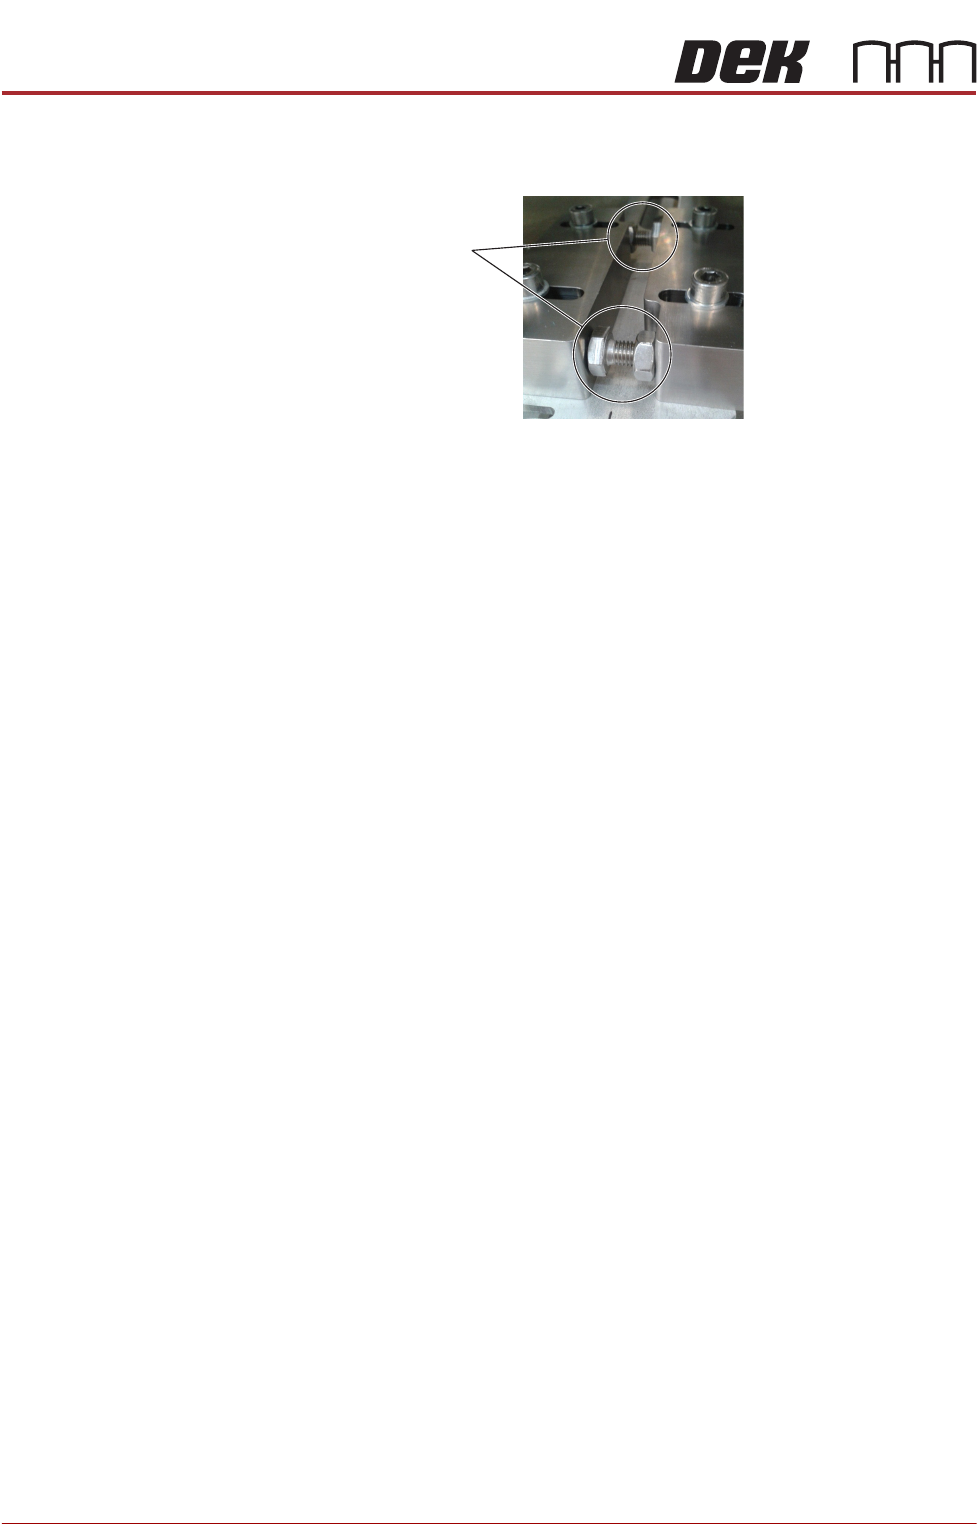
30. Rotate the stopper bolts by hand until they make contact with the opposing
block, and then secure them using the locknuts.
31. Move Machine A back into position locating foot (3) into V-Block.
32. Position locating foot (4) against Locating Block.
33. Recheck the machine is level.
34. Recheck the machine height has not been disturbed.
Power Up On completion of relocation, carry out the procedure in the Transportation -
Power Up chapter.
Stopper Bolts

TRANSPORTATION - MAJOR RELOCATION
PREPARATION
Chapter Issue 2, Jul 16 Technical Reference Manual 43.1
CHAPTER 43 TRANSPORTATION - MAJOR RELOCATION
PREPARATION
The following chapter describes the recommended procedure to prepare the
machine for transportation from its originally installed position to minimize the
risk of damage to the machine during transportation.
This procedure is fully detailed, illustrating every aspect of transporting a
machine safely when:
• Machine relocation is to another site outside the original factory
• The machine is being stored
• If the machine has to experience any substantive shocks or vibration
NOTE
If the machine is being stored or moved to another location, it is recommended
that the machine is packaged in its original packing crate.
Machine Prior to installing transit brackets to the machine ensure the following:
1. With power applied to the machine:
a. Drive the rails to 40mm board width.
b. Home the stencil actuators.
2. Shut down the printer software.
3. Switch off and disconnect the electrical power.
4. Disconnect the air supply.
5. Remove/open the rear printhead cover.
6. On Style 1 or 2 cover machine, remove the two upper side panels as detailed
in the Covers chapter.