00196062-03_SM_LDU-X_EN.pdf - 第52页
4 Service Work 4.2 Replacing Spare Parts 52 Service Manual SIPLACE LDU-X Linear Dipping Unit 11/2017 4.2.25 Replacing the flap Overview Flap assembly (with adhesive label) [03062032--xx] Equipment required ● Standard too…
4 Service Work
4.2 Replacing Spare Parts
Service Manual SIPLACE LDU-X Linear Dipping Unit 11/2017 51
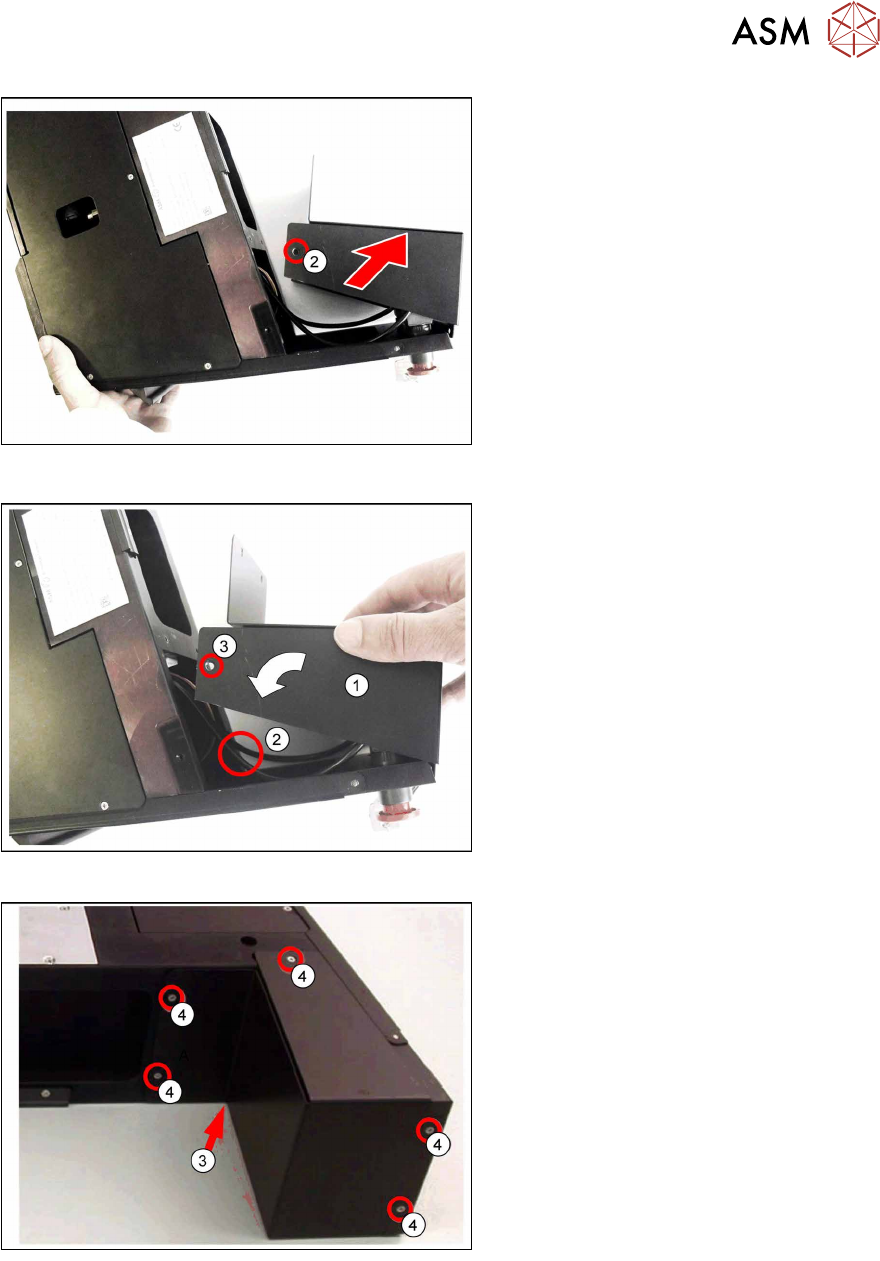
► Place the LDU-X down on its left-hand
side, on a stable, clean and even sur-
face.
► Remove the screw shown in the dia-
gram(2).
► Lift the LDU a little.
► Remove the cover panel(3) in the dir-
ection of the arrow.
Installation
Installation is performed by following the
above instructions in the reverse order.
► Place the LDU-X down on its left-hand
side, on a stable, clean and even sur-
face.
► Push the cover panel(1) on the LDU-
X, as shown in the diagram.
► Make sure that the switch cable(2)
does not get caught when you fit the
cover panel.
► Coat one of the screws used to fit the
cover panel with "Loctite 222 locking
varnish".
► Fix the cover panel into place with this
coated screw(3).
► Place the LDU-X down on its right-
hand side, on a stable, clean and
even surface.
One screw(3) was already fastened, as
the LDU-X was lying on its other side.
► Coat the other 5 screws used to fit the
cover panel with "Loctite 222 locking
varnish".
► Fix the cover panel into place with the
5 screws marked in the diagram(4).
4 Service Work
4.2 Replacing Spare Parts
52 Service Manual SIPLACE LDU-X Linear Dipping Unit 11/2017
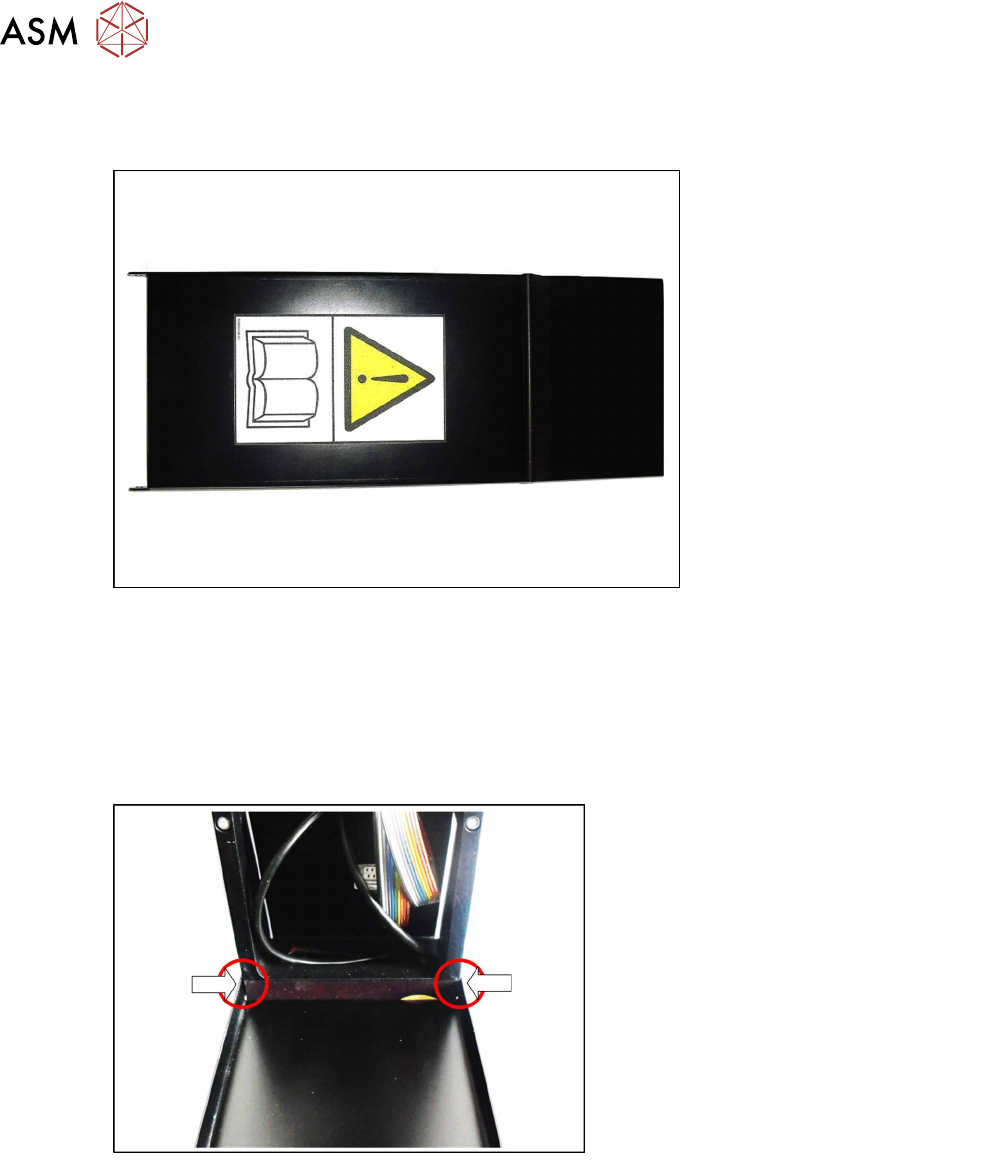
4.2.25 Replacing the flap
Overview
Flap assembly (with adhesive label) [03062032--xx]
Equipment required
●
Standard tools
●
Allen key, sizes 5, 3 , 2 and 1.5
●
Spare part: flap assembly [03062032-xx]
Removal
The flap is flexibly mounted on two pins, on
the left and right.
4 Service Work
4.2 Replacing Spare Parts
Service Manual SIPLACE LDU-X Linear Dipping Unit 11/2017 53
► Press the flap slightly outwards,
above the pin, so that you can unhook
it on this side.
► Carefully turn the flap to one side and
unhook it on the other side as well.
► Remove the flap.
Installation
Installation is performed by following the above instructions in the reverse order.
► Make sure that the replacement flap has been fitted with all the required safety labels and the
handle.
► First hook the flap into place at the pin on one side.
► Push the other side of the flap slightly apart (apply slight pressure) over the second pin.
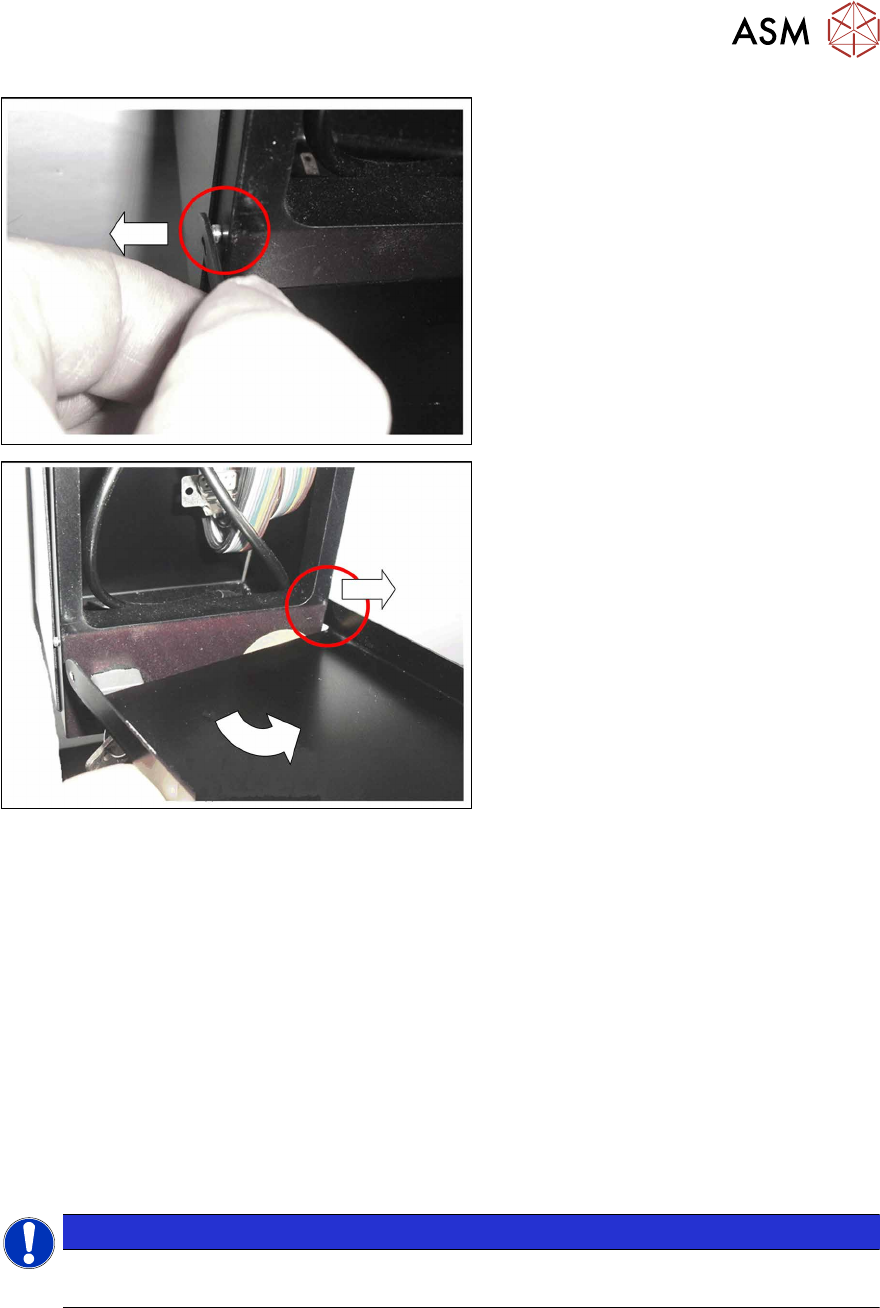
4.2.26 Replacing the left side panel
Equipment required
Phillips screwdriver
Loctite 222 (screw locking varnish)
Spare part: left side panel [03062390-xx]
NOTICE
Right side panel
The right side panel can not be replaced, as it features the typeplate with serial number.
Removal
► Place the LDU-X down on its right-hand side, on a stable, clean and even surface.
► Remove the old left side panel (see section4.2.29.1 "Removing the Side Covers" [}57]).
Installation
► Fit the new left side panel (see section 4.2.29.10 "Fitting the Side Covers" [}65]).