00196062-03_SM_LDU-X_EN.pdf - 第55页
4 Service Work 4.2 Replacing Spare Parts Service Manual SIPLACE LDU-X Linear Dipping Unit 11/2017 55 ► Open the two cable ties marked in the diagram. ► Pull the connector for the "cable X ad- apter - control board&q…

4 Service Work
4.2 Replacing Spare Parts
54 Service Manual SIPLACE LDU-X Linear Dipping Unit 11/2017
4.2.27 Replacing the cable X adapter - control board
Overview
Cable X adapter - control board [03063497-xx]
Equipment required
●
Standard tools
●
Loctite 222 (screw locking varnish)
●
Phillips screwdriver
●
2 small cable ties
●
Spare part: Cable X adapter - control board [03063497-xx]
Removal
► Remove the left side cover (see section 4.2.29.1 "Removing the Side Covers" [}57]).
The LDU-X has now been taken apart into its main components and the press-fit connection to the
control board are accessible.
1. LDU-X control board
2. X adapter control board
4 Service Work
4.2 Replacing Spare Parts
Service Manual SIPLACE LDU-X Linear Dipping Unit 11/2017 55
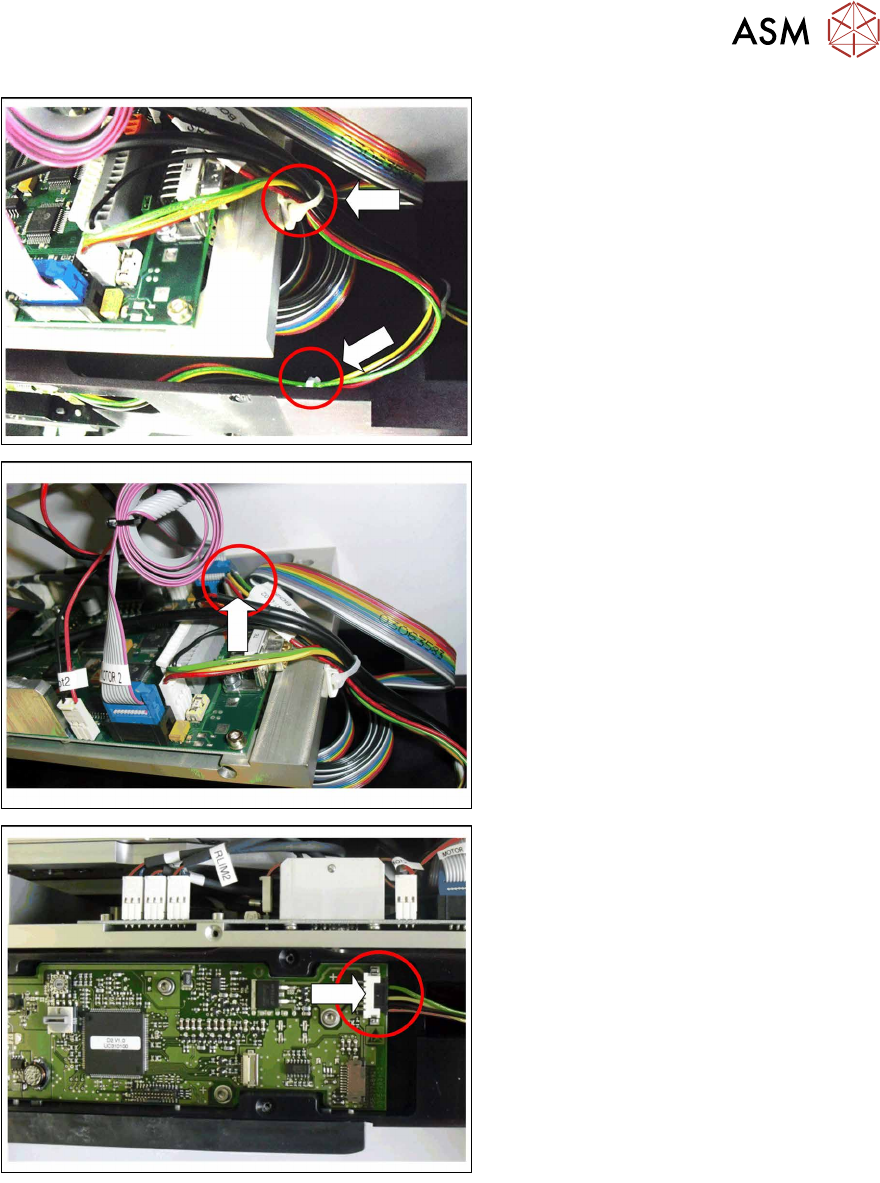
► Open the two cable ties marked in the
diagram.
► Pull the connector for the "cable X ad-
apter - control board" vertically up and
out of the connection for the LDU-X
control board.
► Pull the connector for the "cable X ad-
apter - control board" sideways and
out of the connection for the X ad-
apter - control board.
Installation
Installation is performed by following the same instructions in the reverse order.
► Plug the black connector for the "cable X adapter - control board" sideways into the connec-
tion for the X adapter - control board.
► Plug the white connector for the "cable X adapter - control board" vertically into the connection
for the LDU-X - control board.
► Replace the two cable ties which you removed earlier on.
► Fit the left side cover into place (see section 4.2.29.10 "Fitting the Side Covers" [}65]).
4 Service Work
4.2 Replacing Spare Parts
56 Service Manual SIPLACE LDU-X Linear Dipping Unit 11/2017
4.2.28 Replacing the cable for the display board - control board
Overview
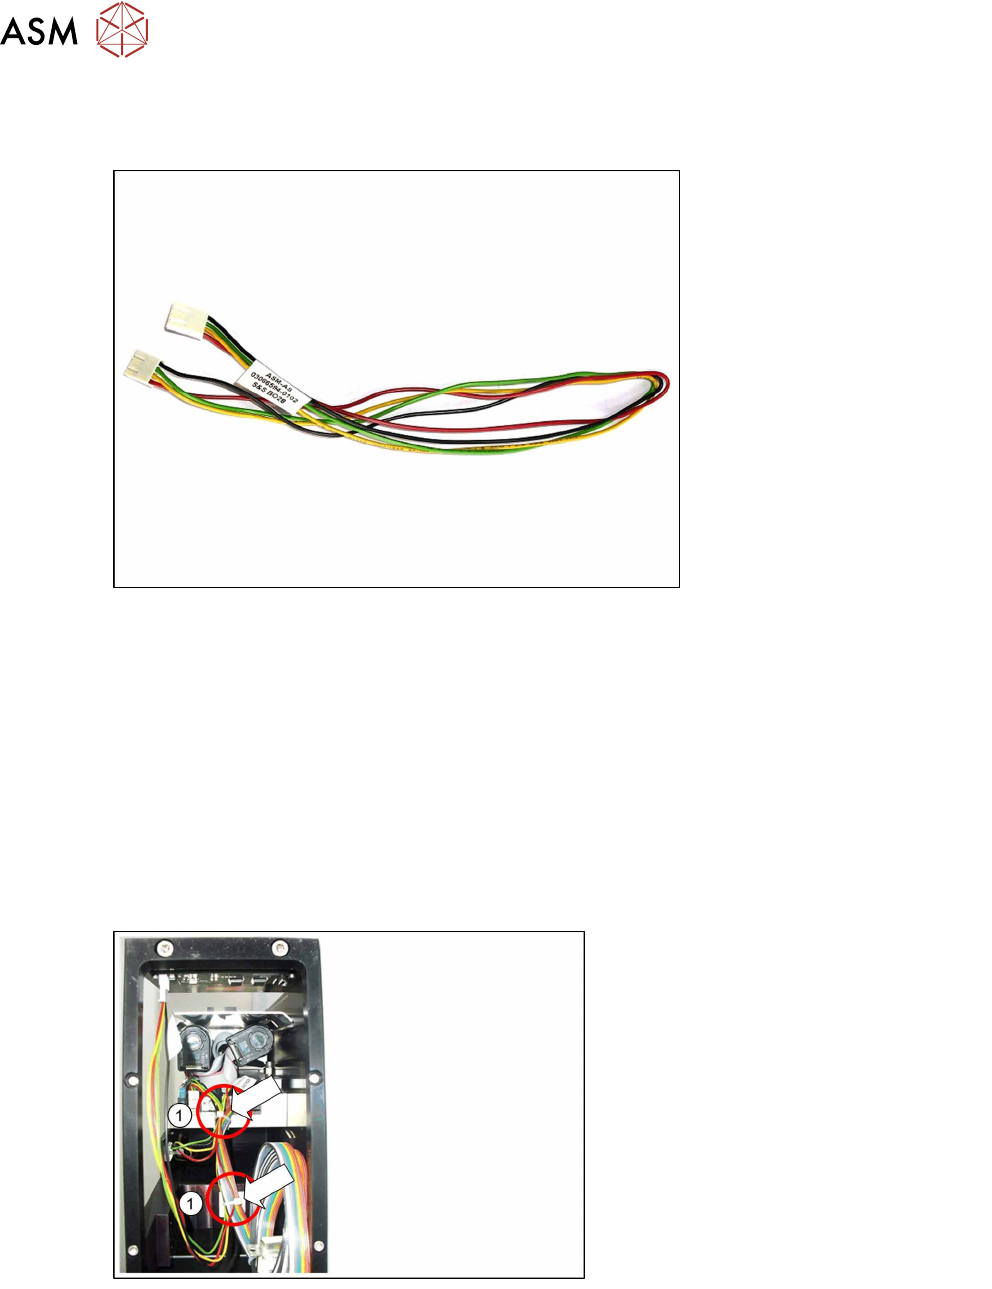
Cable display board - control board [03066594-xx]
Equipment required
●
Standard tools
●
Loctite 222 (screw locking varnish)
●
Phillips screwdriver
●
2 small cable ties
●
Spare part: cable display board - control board [03066594-xx]
Removal
► Place the LDU-X down on its right-hand side, on a stable, clean and even surface.
► Remove the left side cover (see section 4.2.29.1 "Removing the Side Covers" [}57]).
View through the open flap without options!
► Open the two cable ties marked in the
diagram(1).