00196062-03_SM_LDU-X_EN.pdf - 第59页
4 Service Work 4.2 Replacing Spare Parts Service Manual SIPLACE LDU-X Linear Dipping Unit 11/2017 59 ► Loosen the two adjustment screws at (1) and (2) for the upper section of the base unit (see next diagram). CAUTIO…
4 Service Work
4.2 Replacing Spare Parts
58 Service Manual SIPLACE LDU-X Linear Dipping Unit 11/2017
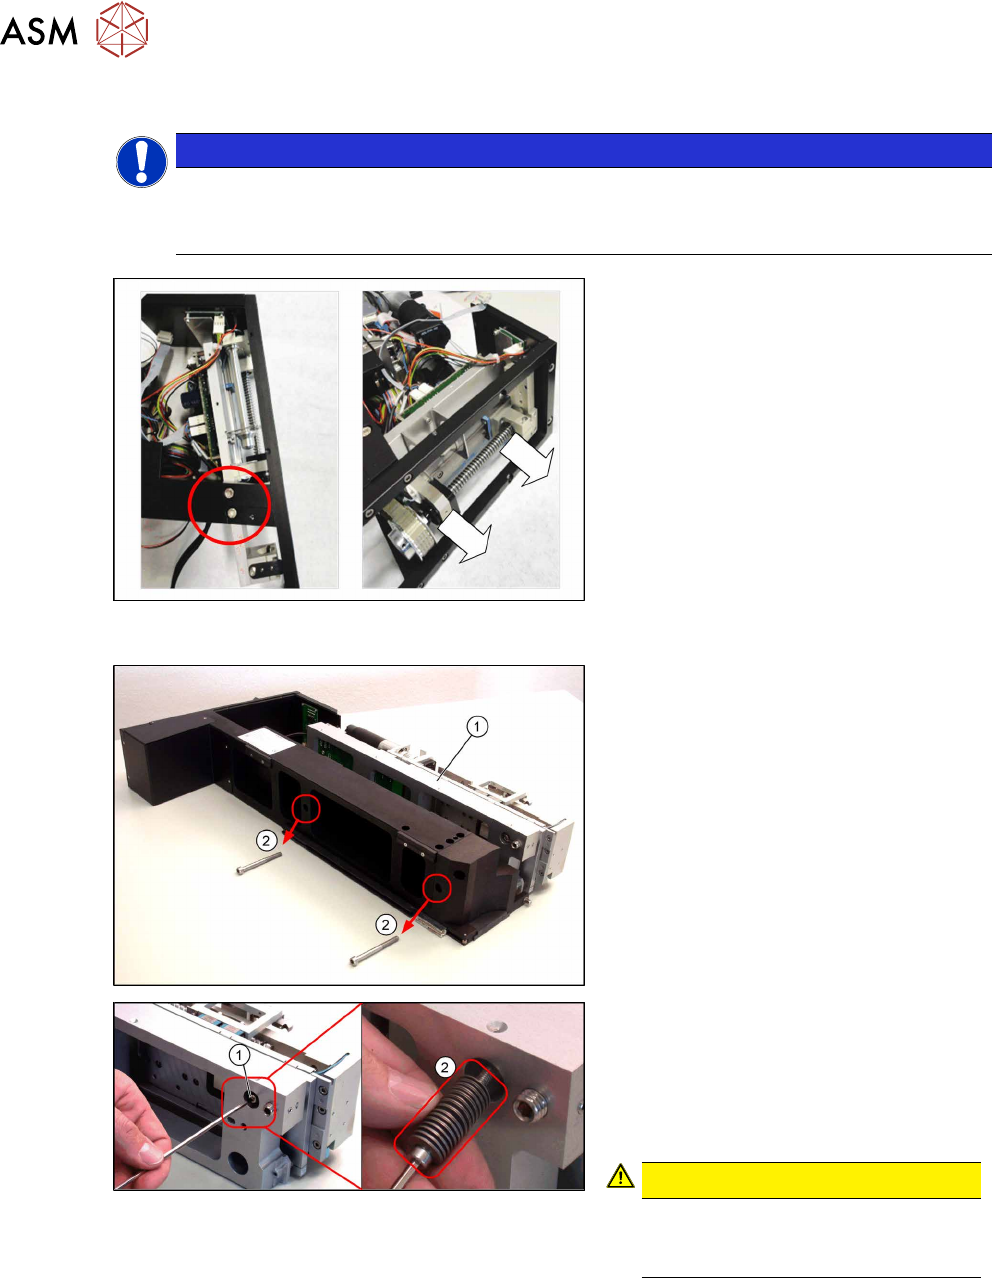
4.2.29.2 Dismantling the Refill Unit
NOTICE
To temporarily remove the refill unit from the LDU-X frame, proceed as follows:
The flat ribbon cable remains connected to the LDU-X.
For details of how to perform complete removal of the refill unit, refer to section .
► Loosen the 2 marked screws.
► Carefully pull the refill unit in the direc-
tion of the arrow and out of the LDU-X
frame.
4.2.29.3 Removing and Dismantling the LDU Basis
► Loosen the two screws(2) fastening
the LDU base unit(1).
The upper section of the LDU base unit is
connected to the lower section of the LDU
base unit with 3 screws.
► Loosen the first screw(1) fastening
the upper section of the LDU base
unit.
CAUTION!
Cup springs
Take care not to lose the cup
springs(2) (29x time, in pairs).
.
4 Service Work
4.2 Replacing Spare Parts
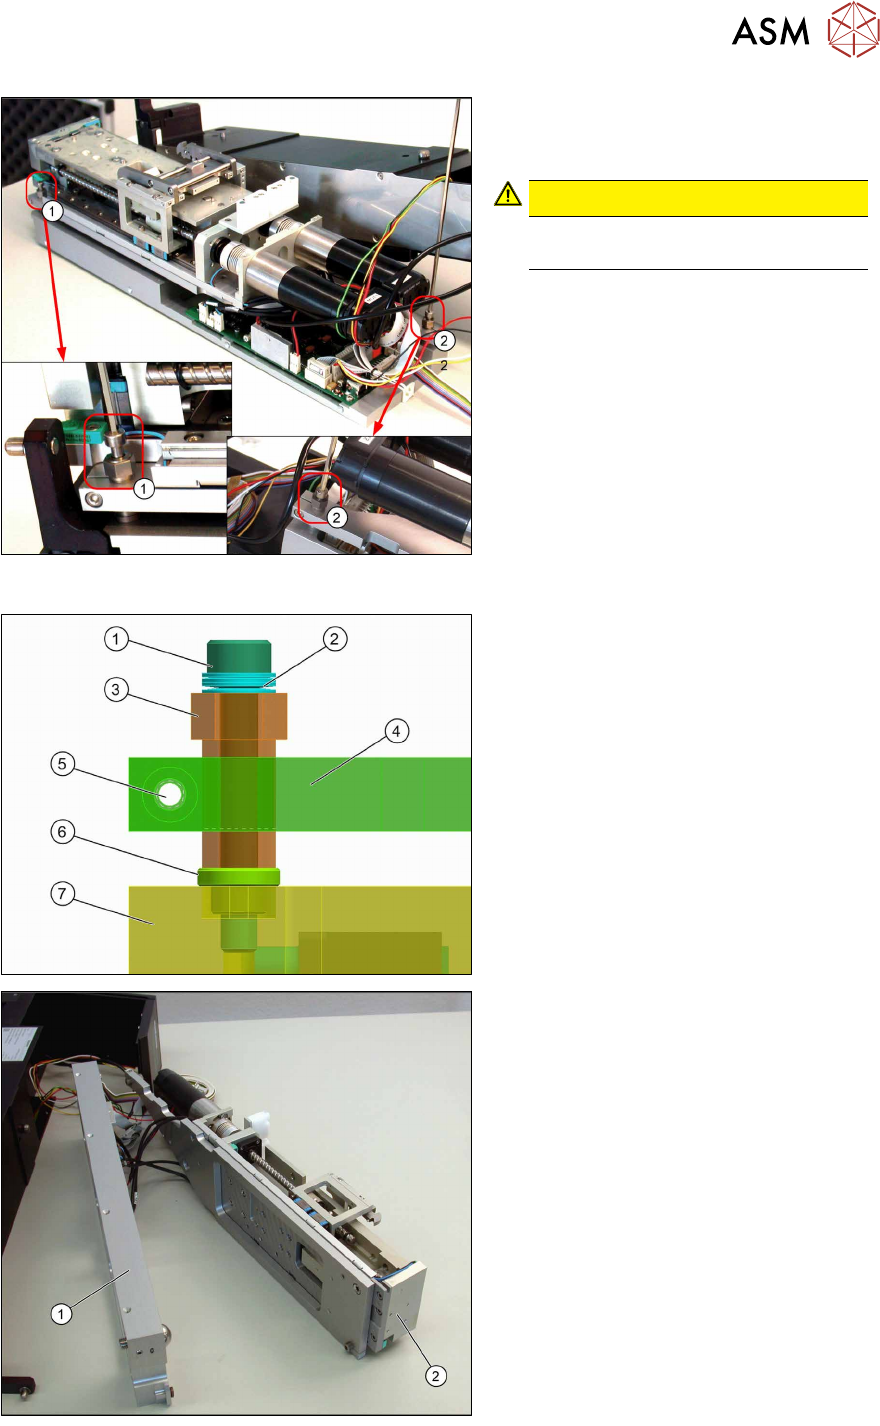
Service Manual SIPLACE LDU-X Linear Dipping Unit 11/2017 59
► Loosen the two adjustment screws at
(1) and(2) for the upper section of the
base unit (see next diagram).
CAUTION!
Make sure that you do not lose the
supports.
.
Adjustment screw
1. Allen screw M4
2. Spring washers (4 x)
3. Adjustment screw with fine thread
4. Base plate of application unit
5. Threaded hole of clamping screw
6. Contact surface
7. Adapter base plate
► Take the upper section of the base
unit(2) off the lower section of the
base unit(1).
4 Service Work
4.2 Replacing Spare Parts
60 Service Manual SIPLACE LDU-X Linear Dipping Unit 11/2017
► Make a note of the positions of all
connectors and cables on the LDU-X
control board(1), to make it easier to
reconnect them correctly later on (see
also 4.2.29.8 "LDU-X Control-
ler" [}62]).
► Unplug all connections from the LDU-
X control board and disconnect all
cables.
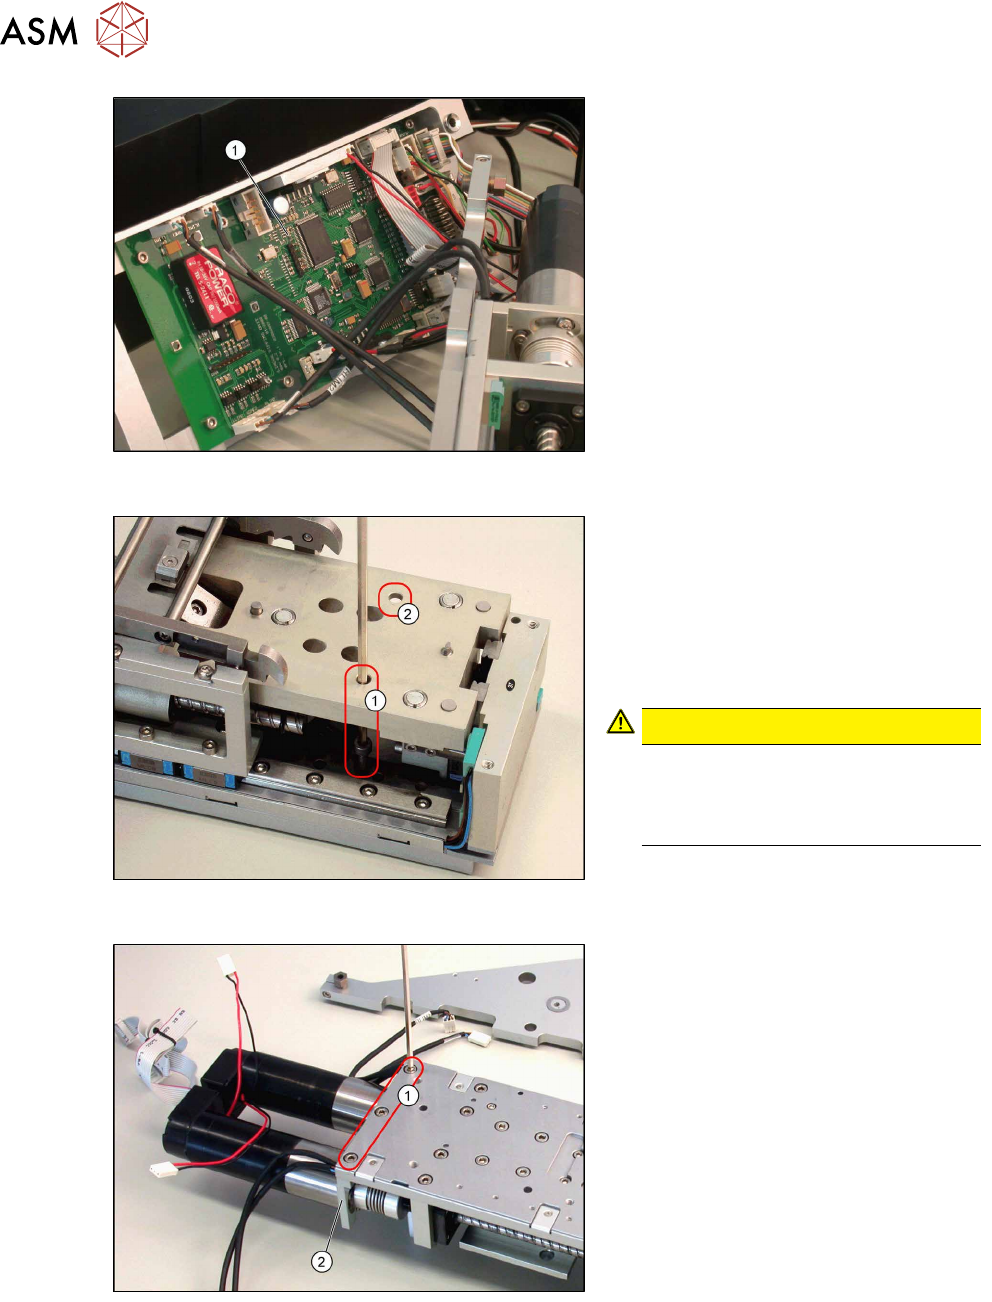
4.2.29.4 Removing the Base Plate
► Loosen the two front screws at(1)
and(2) fastening the base plate of the
base unit upper section.
► Loosen the third screw on the back
part of the motor couplings.
► Carefully lift the upper section of the
base unit off the base plate.
CAUTION!
Each screw has a 0.3mm washer
with it.
Make sure that you do not lose
these!
.
4.2.29.5 Removing the Motor Mount
► Loosen the 3 screws fastening the
motor mount.