COU2000 PRO计数器英文说明书 Operaton Manual-en(1).pdf - 第29页
VERSION: .1.01 E 29 / 52 5.1.4.2.3 Release the print head lock column and o pen th e prin t head module to a vertica l position. 5.1.4.2.4 Pull out the label paper and pass it through th e paper width adjustme nt groove …
VERSION: .1.01 E
28 / 52
\
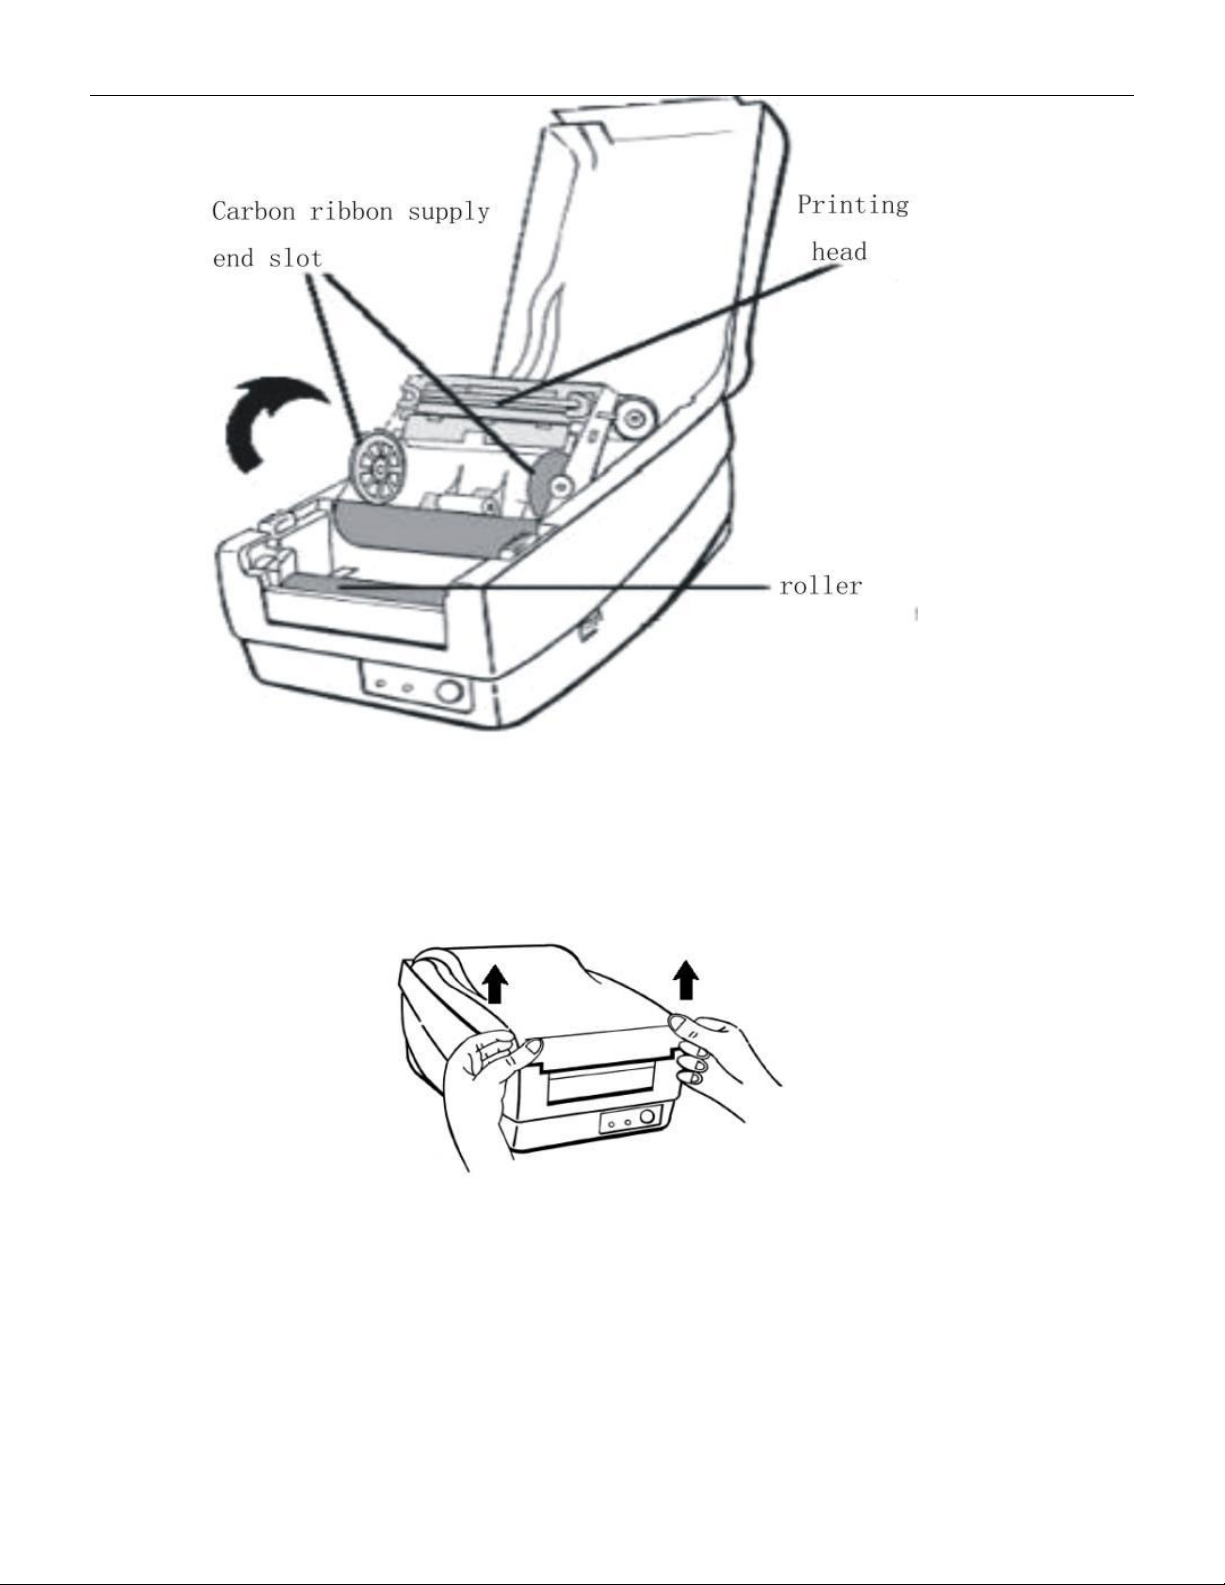
5.1.4.2 Label roll installation:
5.1.4.2.1 Lift up the printer cover and keep it in the open position
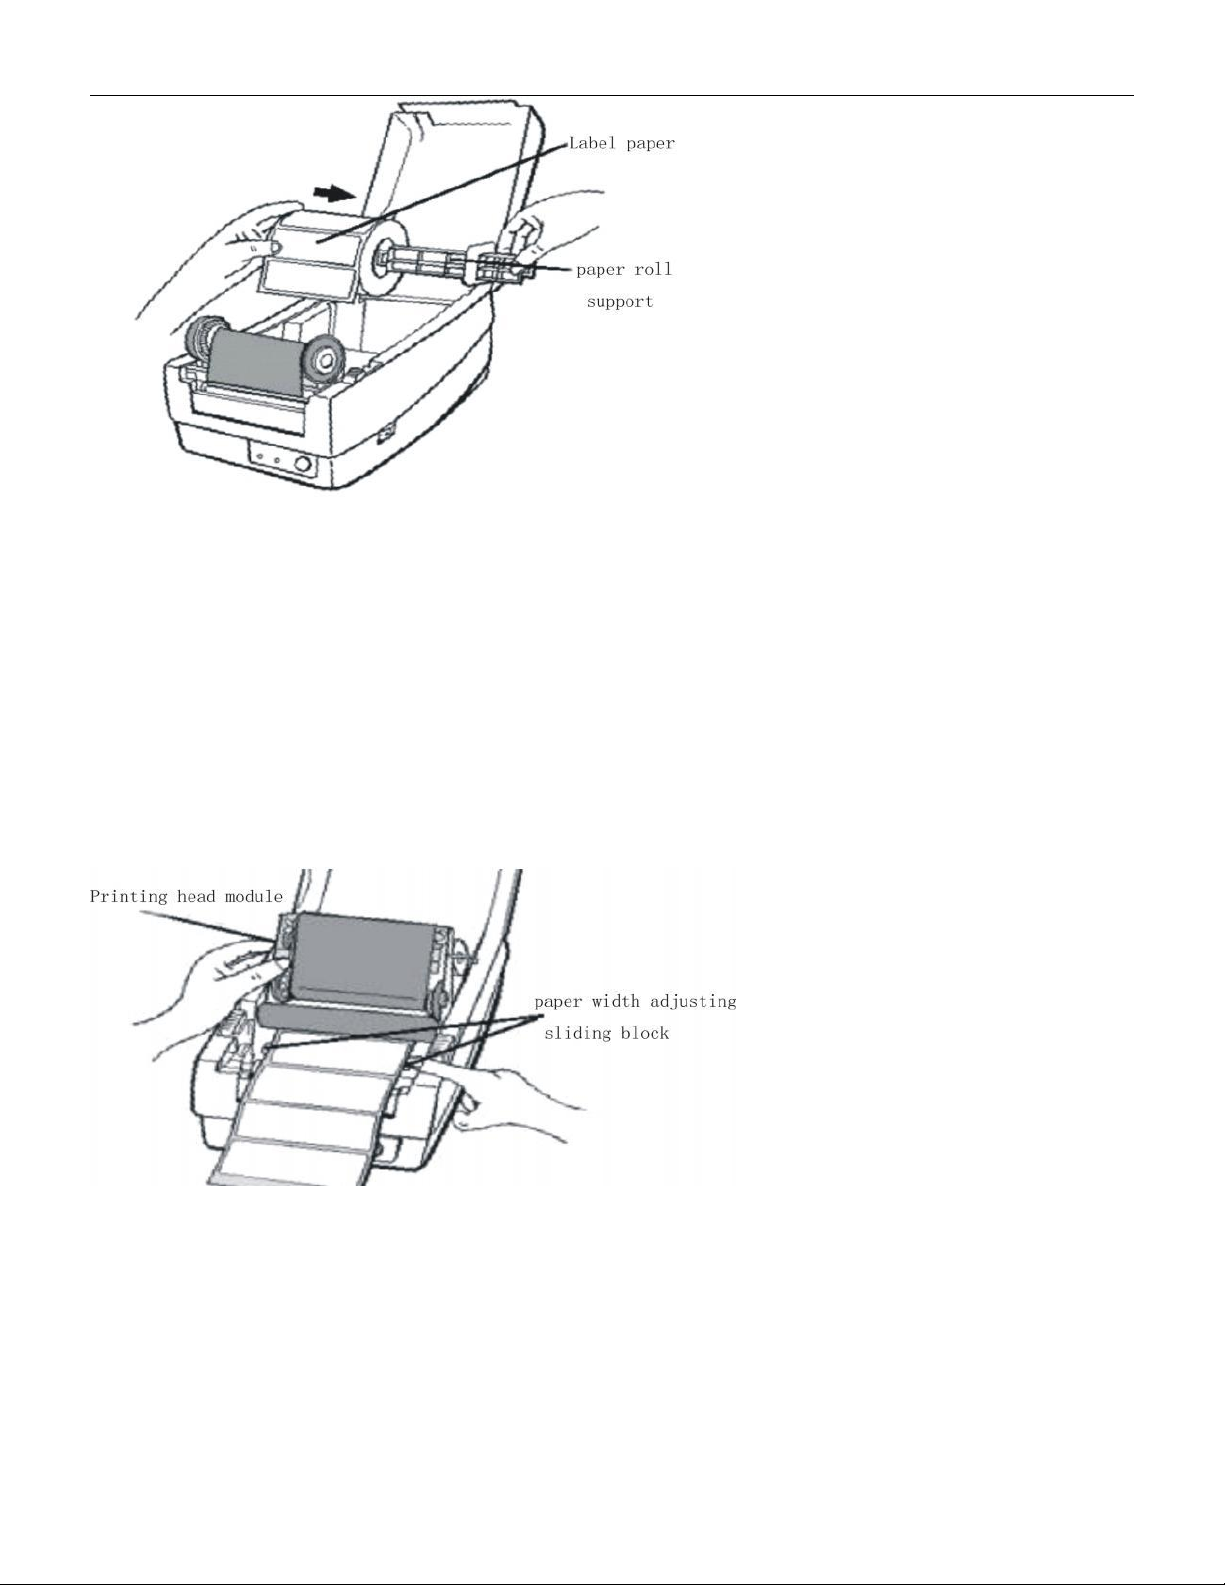
5.1.4.2.2 Pick up the paper roll support shaft, insert it into the middle paper tube of the
label paper, and place it in the paper slot of the printer. Place the baffle on the right end and
try to align it with the left as much as possible。
VERSION: .1.01 E
29 / 52
5.1.4.2.3 Release the print head lock column and open the print head module to a vertical
position.
5.1.4.2.4 Pull out the label paper and pass it through the paper width adjustment groove
under the print head module。
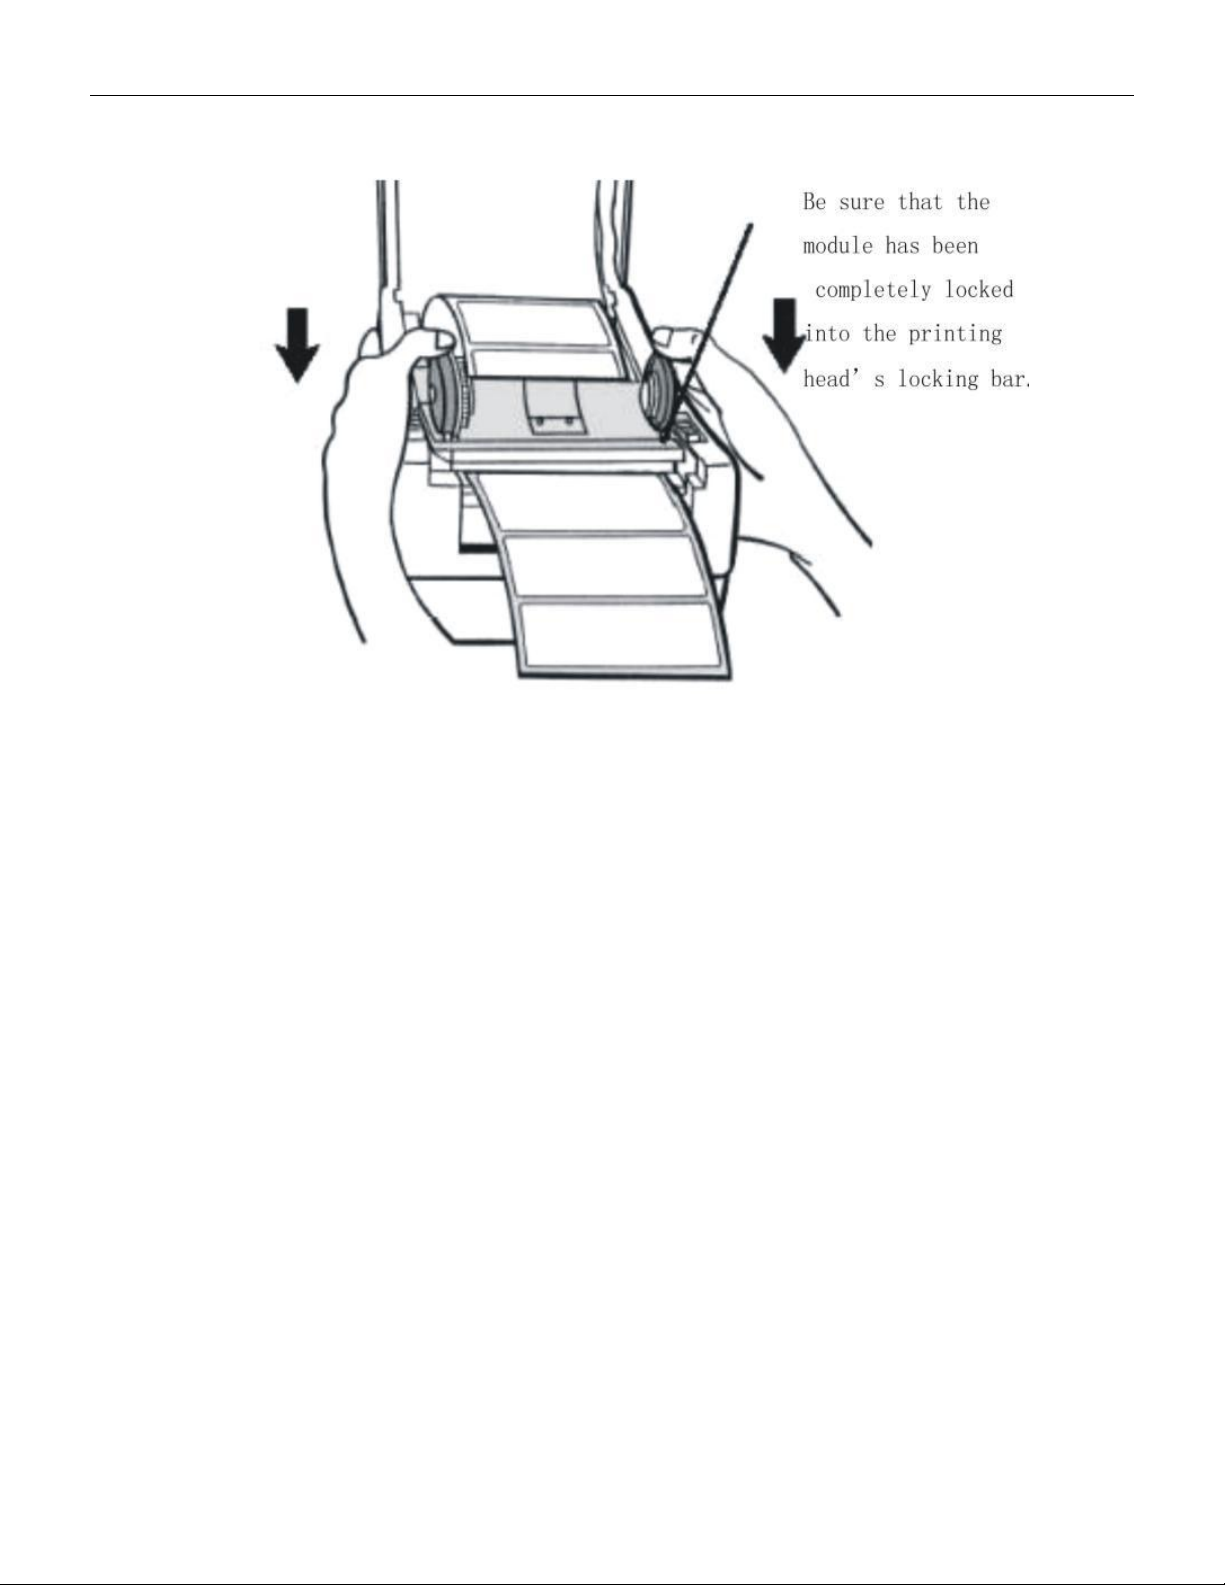
5.1.4.2.5 Move the slider on the right end to align with the left and clamp the paper, while
pulling out the label paper to the appropriate position to exceed the column print head
module。
VERSION: .1.01 E
30 / 52
5.1.4.2.6 Cover the print head module and ensure that it is fully inserted into the column
print head lock column。
5.1.4.2.7 Cover the upper cover of the printer。
5.1.4.3 Printing Test
When the label paper is installed and printed for the first time, it is necessary to confirm the
paper output position. Please hold down the "FEED" button and turn on the power until the
printer motor starts and release it; The printer automatically sends out labels of a certain
length to complete the paper measurement operation.