OM-1461-001_w.pdf - 第29页
26 0712-001 • Automatic T eaching Procedure Procedure (1) Select the Head (1 or 2) to be taught. (2) Press the nozzle stocker select button [NST -1] or [NST -2] to select the nozzle stocker to be taught. (3) Press the [T…

25
[5] Operation Button
[Teach Start] Button
When this button is pressed, the teaching is performed for the
selected nozzle stocker and the results are displayed in [3] on the
right section of the window.
If any mark recognition error occurs, perform the following
manual alignment.
[Mnl Align Mark 2] Button
When the manual alignment teaching is performed, the "Manual
Alignment Operation Guide" window is displayed to perform the
jig mark (left) recognition on the nozzle stocker jig.
[Mnl Align Mark 1] Button
When the manual alignment teaching is performed, the "Manual
Alignment Operation Guide" window is displayed to perform the
jig mark (right) recognition on the nozzle stocker jig.
8.3 Nozzle Stocker Offset
0712-001

260712-001
•
Automatic Teaching Procedure
Procedure
(1) Select the Head (1 or 2) to be taught.
(2) Press the nozzle stocker select button [NST-1] or [NST-2] to
select the nozzle stocker to be taught.
(3) Press the [Teach Start] button.
•
When the teaching is begun, the start-up conditions are
checked.
•
The teaching results are displayed in the "Adj" data boxes in
the "Offset" display section.
•
If any recognition error occurs in the course of the teaching,
or the [STOP] button is pressed on the operation panel, the
operation is paused.
From this condition, re-start is available.
•
In the pause condition, no other menu can be selected.
When the teaching is completed, the designated head is returned
to the origin automatically.
•
Manual Alignment Teaching Procedure
Even when the jig mark recognition is unavailable, the setting using the
manual alignment is available.
Procedure
(1) When the [Manual Alignment Mode Mark 2] or [Manual
Alignment Mode Mark 1] button is pressed, the "Manual
Alignment Operation Guide" window appears.
Fig.7-5 "Manual Alignment Operation Guide" Window
8.3 Nozzle Stocker Offset
270712-001
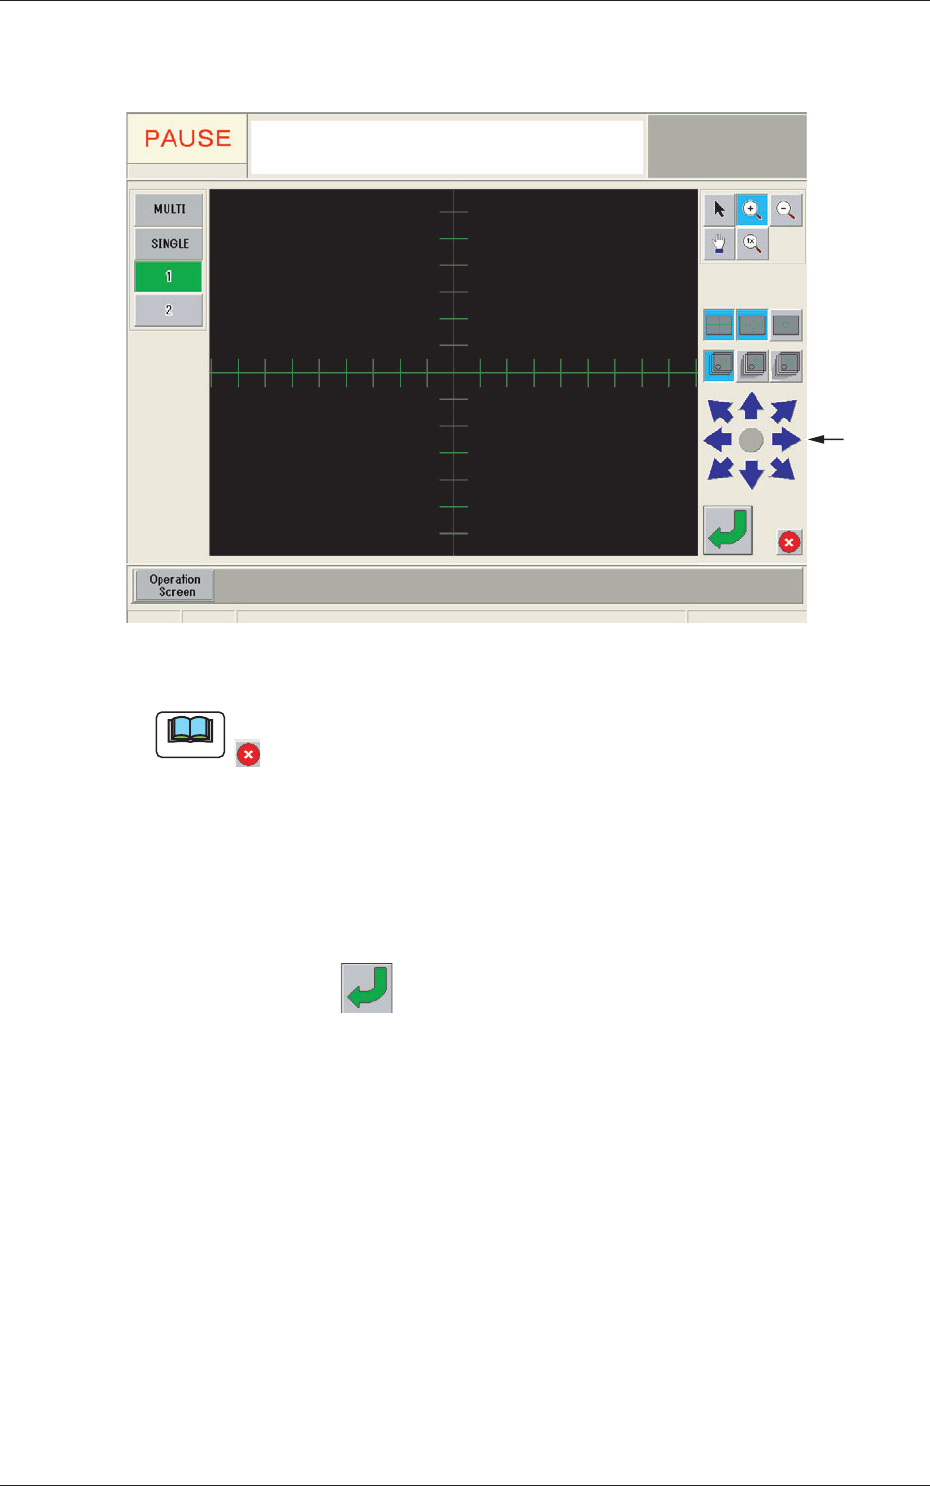
(2) When the [Mnl Align] button is pressed, the recognition window
appears and manual alignment operation is enabled.
Image
Moving
Buttons
Fig. 7-6 Recognition Window
Note
If the jig mark to be aligned manually is not in the camera view, press the
button in the recognition window to return to the "Manual Alignment
Operation Guide" window and move the beam.
(3) Move the jig mark to be aligned manually, using the image
moving buttons in the "Recognition" window, so that it is located
on the center of the cross lines.
(4) Press the
button in the "Recognition" window to secure the
location.
The "Recognition" window will be closed and the "NOZZLE
STOCKER OFFSET" window be returned.
(5) The teaching results are displayed in the "Offset" display section
in the "NOZZLE STOCKER OFFSET" window.
8.3 Nozzle Stocker Offset