00192324-0302_MM_MTC1-MTC2_EN.pdf - 第16页
Maintenance Preventive Maintenance MTC 2 1 MTC 10/2010 US Edition 16 1.7 Monthly maintenance work 1

Preventive Maintenance MTC 2 Maintenance
10/2010 US Edition 1 MTC
15
1
You will need the consumables for the weekly maintenance: 1
– Soft, lint-free cloths
–Ethyl alcohol.
1
1
: Stop the placement process of the placement machine.
: Move both tower in the refill positions cassette 1.
: Open the cover and the protective door of the placement machine.
1
1
Cleaning the rails of the feed axis 1
a Clean the WTC contact surfaces on the rails of the feed axis with a lint-free cloth moistened
with ethyl alcohol.
1
Pay attention to the crash light barriers during this process (see illustration on the left). 1
1
1
Cleaning of cassette guide rails 1
s Clean the cassette guide rails (in the control panel behind the safety doors of the MTC) with a
lint-free cloth moistened with ethyl alcohol.
1
1
: Close the cover and the protective door.
: Exit the refill position.
: Press the Start button of the placement machine.
1
1
1
1
1
1
1
Maintenance Preventive Maintenance MTC 2
1 MTC 10/2010 US Edition
16
1.7 Monthly maintenance work
1

Preventive Maintenance MTC 2 Maintenance
10/2010 US Edition 1 MTC
17
1
You will require the following consumables for the monthly maintenance work: 1
– Clean, lint-free cloths
– WD40 (item no. 00325833-01).
1
1
: Stop the placement process of the placement machine.
: Move the MTC into transport position in the menu "Mechanical functions".
: Open the cover and the protective door of the placement machine.
1
1
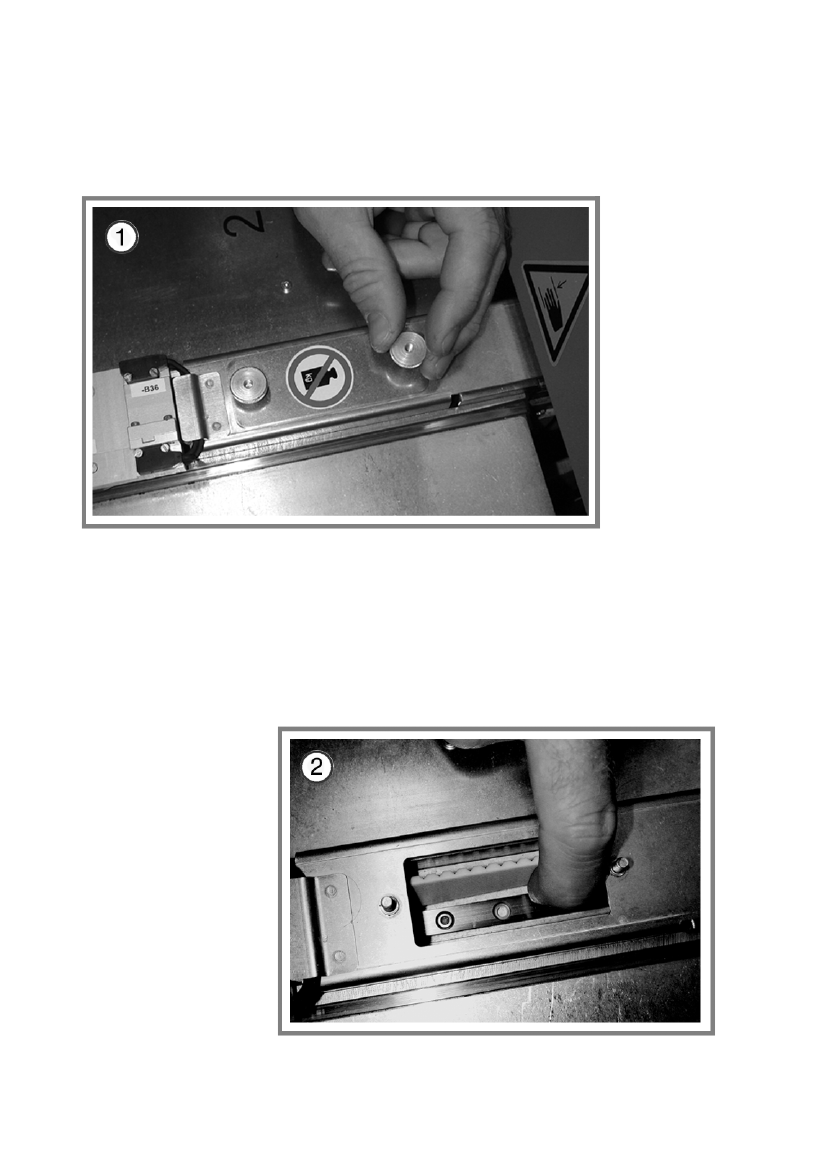
Oiling of the linear guides of feed axis 1
a Remove the two service caps in the belt cover of the feed axis by loosing the knurled screws.
s Push away the belt of the feed axis and moisten in this area the upper and side parts / ball
bearings of the linear guides with WD40.
a Fix the two service caps again with the knurled screws.
1
Pay attention to the crash lightbarriers during this process. 1
1
1
1
: Close the cover and the protective door.
: Exit the "Mechanical functions".
: Press the Start button for the placement machine.
1
1