fx3r.pdf - 第141页
FX-3R Maintenance Guide 12-12 3) The “ Network connection ” dialog box appears on the screen. 4) Select the [Local Area Connection] icon on the dialog box stated in step 3), and then click the [Properties] command with t…
FX-3R Maintenance Guide
12-11
12-2-3. Setting Up the Network (This setup is required when communicating with the
IS.)
To use the communication between the FX-3R and the IS, it is absolutely necessary to set up the
network.
<Setting procedures>
Setting up the TCP/IP
Setting up a shared folder
Registering a user
12-2-3-1. Setting Up the TCP/IP
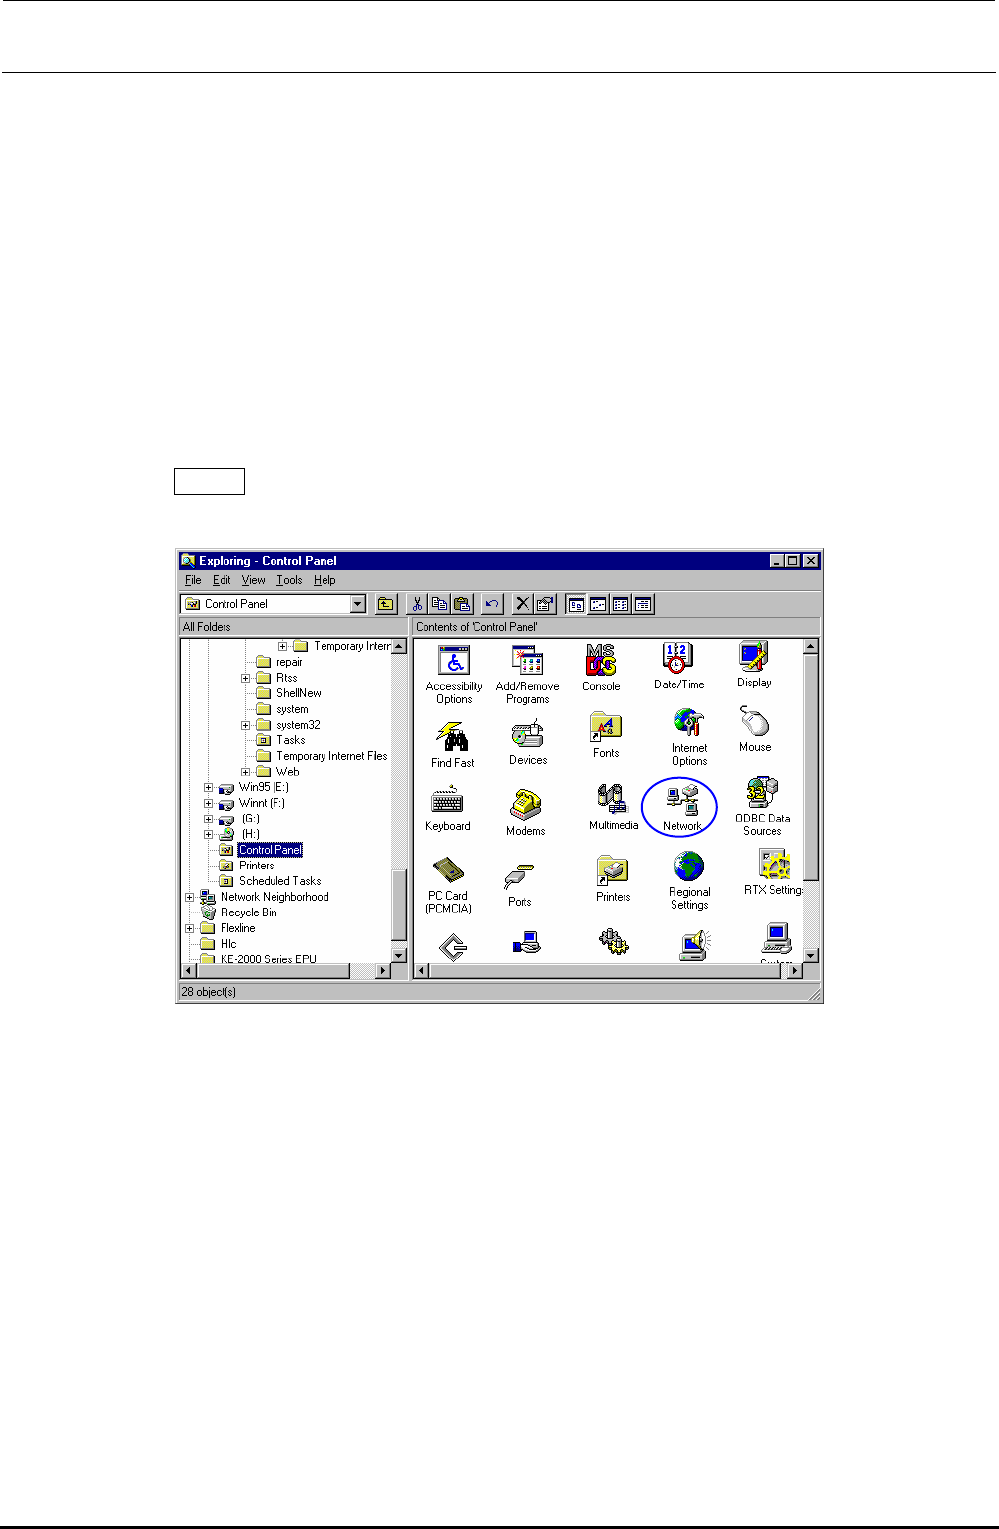
1) From the Start button, select [Settings], and then [Control Panel].
2) Select the [Network ] icon from the control panel.
Rev. 1.00
FX-3R Maintenance Guide
12-12
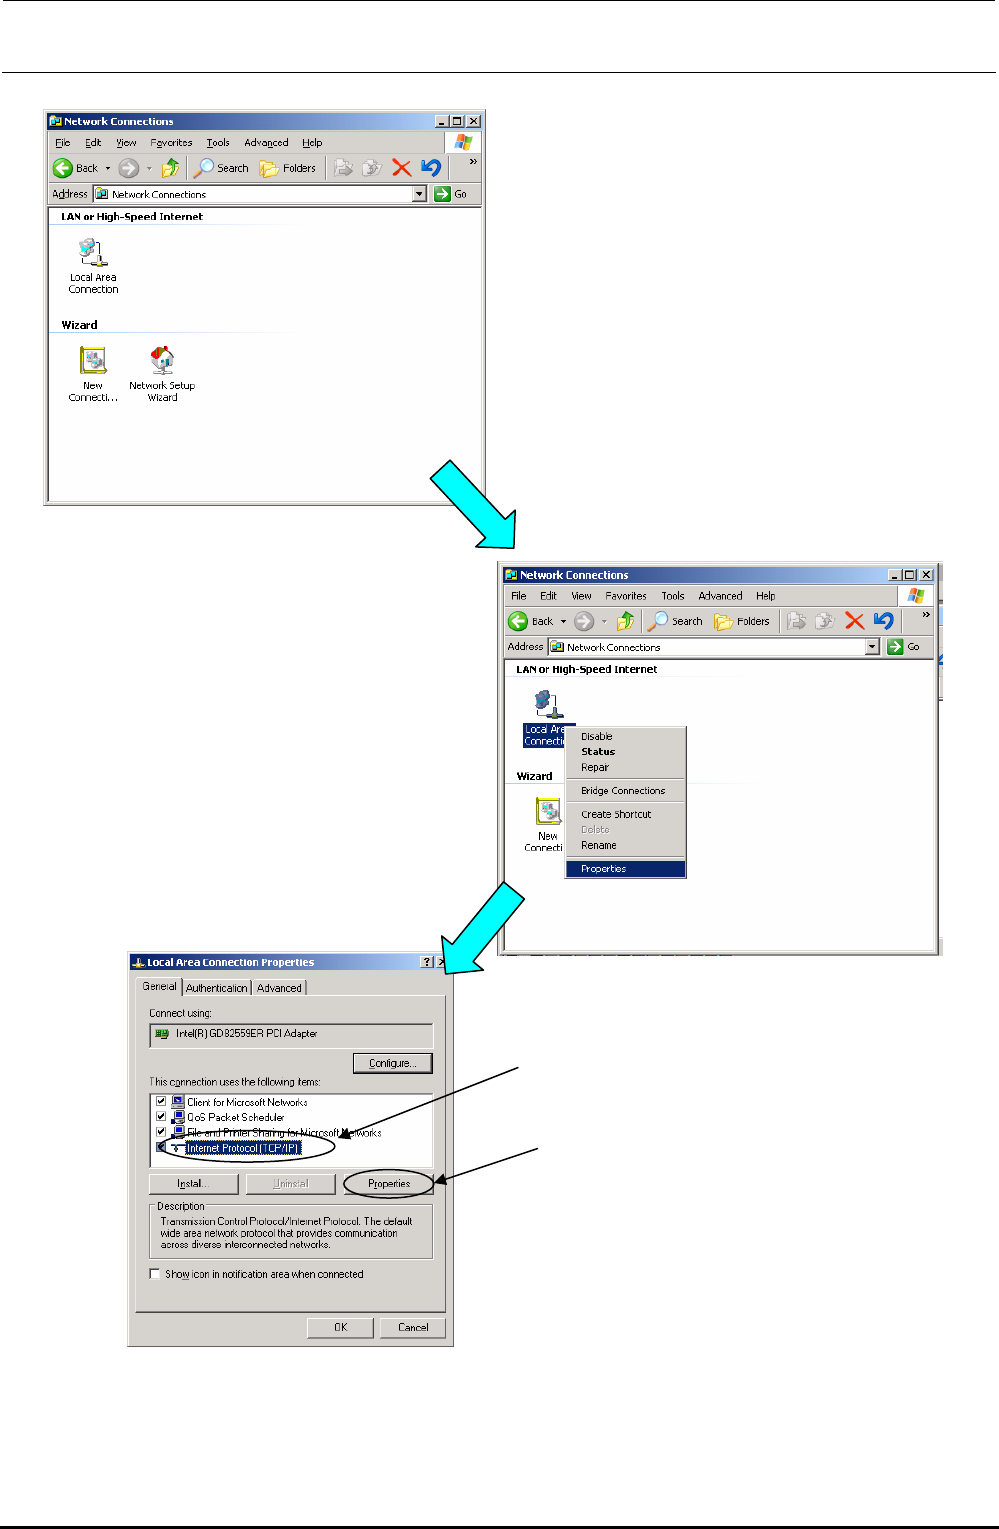
3) The “Network connection ” dialog box appears on the screen.
4) Select the [Local Area Connection] icon on the
dialog box stated in step 3), and then click the
[Properties] command with the right button to
select it.
Rev. 1.00
5) The “LOCAL Area Connection
(Properties)” dialog box appears on the
screen.
Select the [Internet Protocol (TCP/IP)]
on this screen, and the click the
[Properties] button.
FX-3R Maintenance Guide
12-13
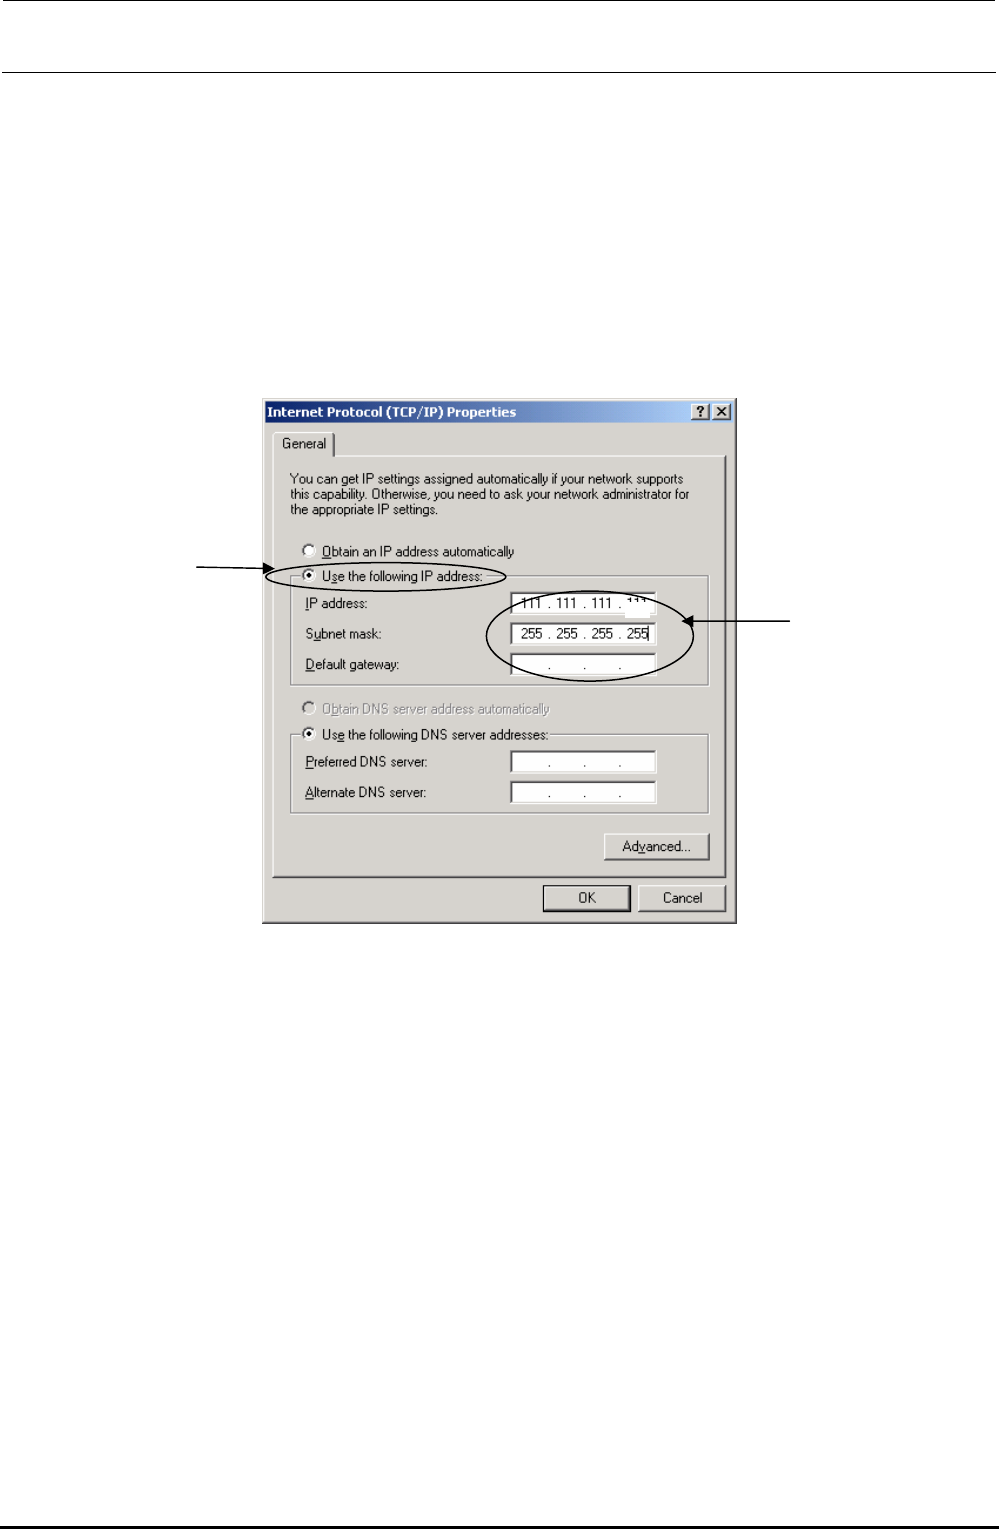
6) The “Internet Protocol (TCP/IP) (Properties)” dialog appears on the screen.
Check the “Use the following IP address” radio button.
Set the “IP address,” “Subnet mask”.
If your company determines the rules about IP address setup, you must follow the instructions
given by the network administrator of your company.
If no rules are specified, set an IP address, which has not been set in other FX-3 connected to
the HLC. In this description, set [ 111.111.111.111 ].
Additionally, input [ 255.255.255. 0 ] to [Subnet Mask].
If necessary, set the "Default gateway", "DNS", "WINS address", and other items following the
instructions given by the network administrator of your company.
0
After setting, select the [OK] button.
Rev. 1.00