X-Series-Maintenance-Manual(1).pdf - 第69页
Major Maintenance Performing Maintenance Tasks Maintenance T asks for Base Machine Maintenance Manual SIPLACE X Series 69 EMERGENCY STO P button ► Check the EMERGENCY STOP buttons for damage. ► Check th at the cont rol s…
Major Maintenance
Maintenance Tasks for Base Machine Performing Maintenance Tasks
68 Maintenance Manual SIPLACE X Series
Check/re place the gas pres sure shock absor bers on the protec tive covers
5.2.3.2 Check/replace the gas pressure shock absorbers on the protective covers
Checking the Safety Features
5.2.3.3 Checking the Safety Features
► Make sure that the placement system is switched on and the operating system has started up.
► Make sure that "Control on" is set on the placement machine. You can tell this from the main fault
indicator.
► Press the Start button.
Protective cover switch
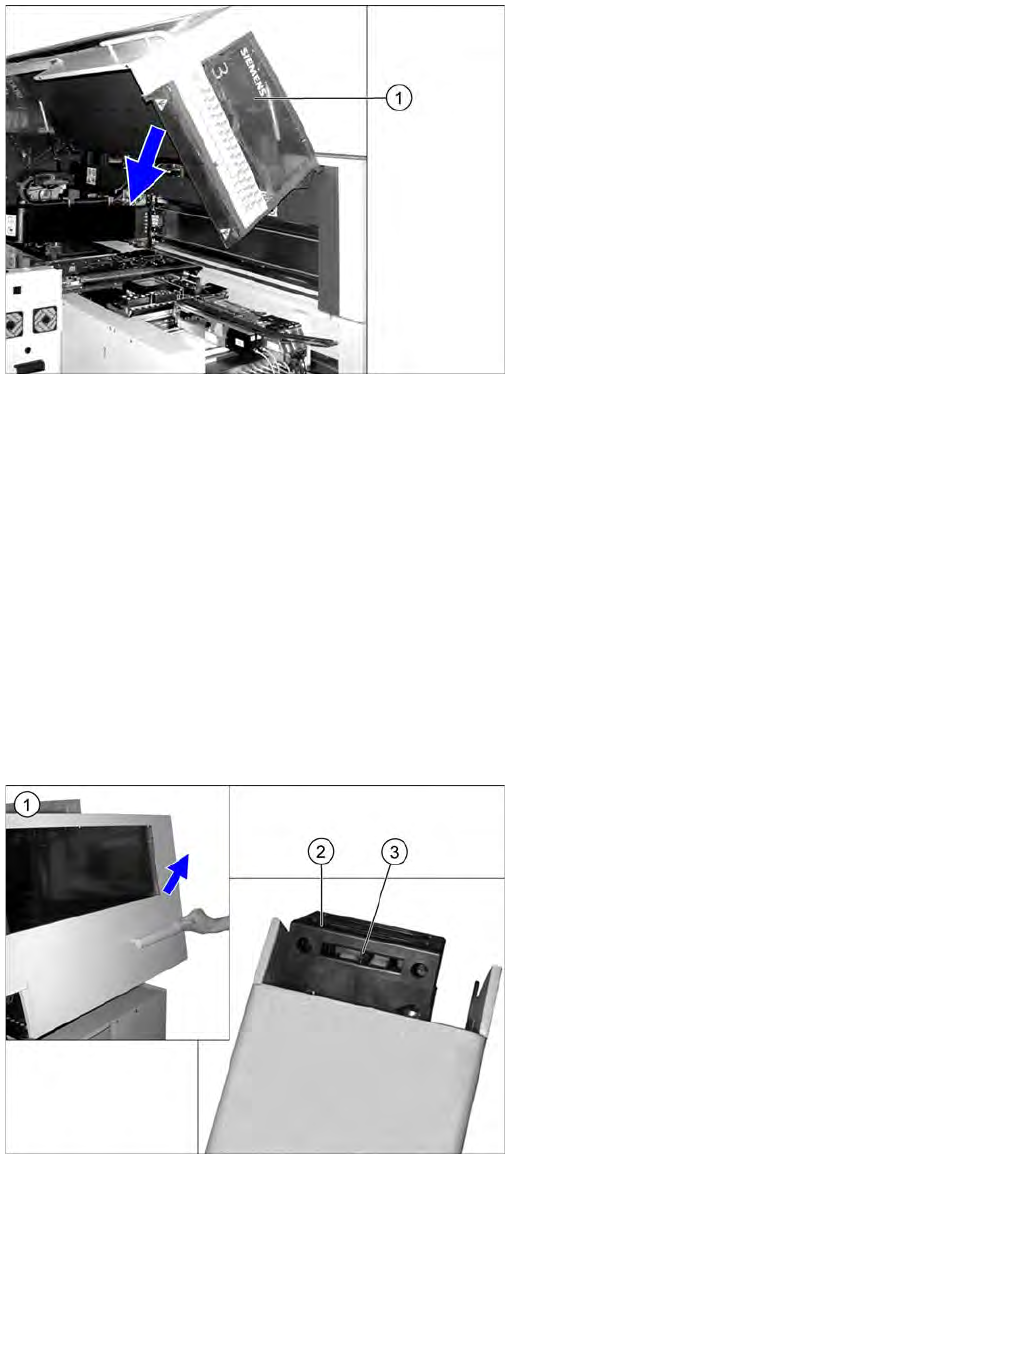
► Open the protective cover (1).
► Pull the protective cover approx. 30 cm downwards
and then release it again.
If the cover does not open completely again and if
there is play in the uppermost position (approx. 20
mm), replace the gas pressure shock absorbers.
For removal and installation details, refer to the
service manual for the respective machine.
► Pull the protective cover vertically to a position
between the top and bottom positions and then
release it again.
The cover must stay in position without help. If it
closes on its own, replace the gas pressure shock
absorbers.
For removal and installation details, read the service
manual for the respective machine.
► Close the protective cover.
► Repeat these steps for all protective covers.
► Open the protective cover (1). The other protective
cover must be closed.
► The controls must switch off immediately. You will
hear this clearly by the venting compressed air.
► Move the gantry in the X and Y directions. If the
control does not switch off or the gantry does not
move effortlessly, then the cover switch (2) may be
defective. In this case, replace the cover switch. For
removal and installation details, read the service
manual for the respective machine.
► Check the hood switch for damage, particularly the
plastic web (3) in the middle. If there is any damage,
replace the cover switch with a new one. For removal
and installation details, read the service manual for
the respective machine.
► Check that the actuator moves cleanly and
effortlessly into the switching unit. If this is not the
case, align the actuator and cover switch with respect
to one another.
► Repeat these steps for all cover switches.

Major Maintenance
Performing Maintenance Tasks Maintenance Tasks for Base Machine
Maintenance Manual SIPLACE X Series 69
EMERGENCY STOP button
► Check the EMERGENCY STOP buttons for damage.
► Check that the control system switches off
immediately when you actuate the button. If this is not
the case, contact your SIPLACE Service team.
► Repeat this procedure for all emergency stop
buttons.
Major Maintenance
Maintenance Tasks for the Component Docking Unit Consumables, Spare and Wear Parts, Tools
70 Maintenance Manual SIPLACE X Series
Maintenance Tasks for the Component Docking Unit
5.3 Maintenance Tasks for the Component Docking Unit
Consumables, Spare and Wear Parts, Tools
5.3.1 Consumables, Spare and Wear Parts, Tools
▪ Sheet of DIN A3 paper (or 2x A4)
▪ Adhesive tape
▪ Scissors
▪ ESD wristband [00320279-xx]
Preparatory Steps
5.3.2 Preparatory Steps
► Switch off the machine, disconnect it from the power supply and secure it to prevent unauthorized
reactivation. Observe the instructions in section "1.2 Preparatory Work..." [ ➙ 11].
Performing Maintenance Tasks
5.3.3 Performing Maintenance Tasks
Functio n Test of Used Tape Cutter
5.3.3.1 Function Test of Used Tape Cutter
CAUTION
Risk of cutting
Observe the safety instructions for the cutter!
► "1.1.5 Safety Instructions for Work on the Cutting Device" [ ➙ 9]
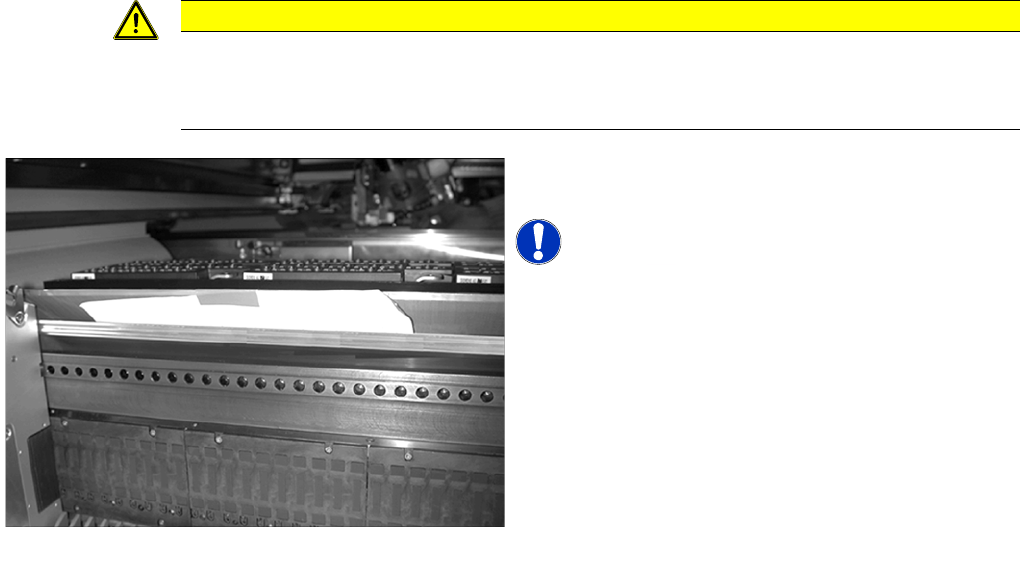
► Insert a sheet of DIN A3 paper or two DIN A4 sheets
attached to one another into the empty tape duct.
NOTICE! A DIN A4 sheet on its own is too short
to reach the tape cutter.
► Attach the sheet of paper with adhesive tape to the
empty tape duct.
Make sure that there is no paper protruding upwards
in the placement head travel range.
► Start the cutting process in the software
► Take the sheet of paper out of the empty tape duct
again.
If it has not been cut through accurately, replace the
cutting blades. Please contact your SIEMENS
Service team for this work.