TRS Advanced WB Intel Issue 02.pdf - 第106页
TRS Advanced Maintenance 106 Issue 2, Nov 14 Objective 36: Calibrate Vision and Offset Carry out the following Vision Calibration procedure: - Clean the SPC Board (212277) , vision alignment plate ( 212808) and calibrati…
Issue 2, Nov 14
TRS Advanced Maintenance
105
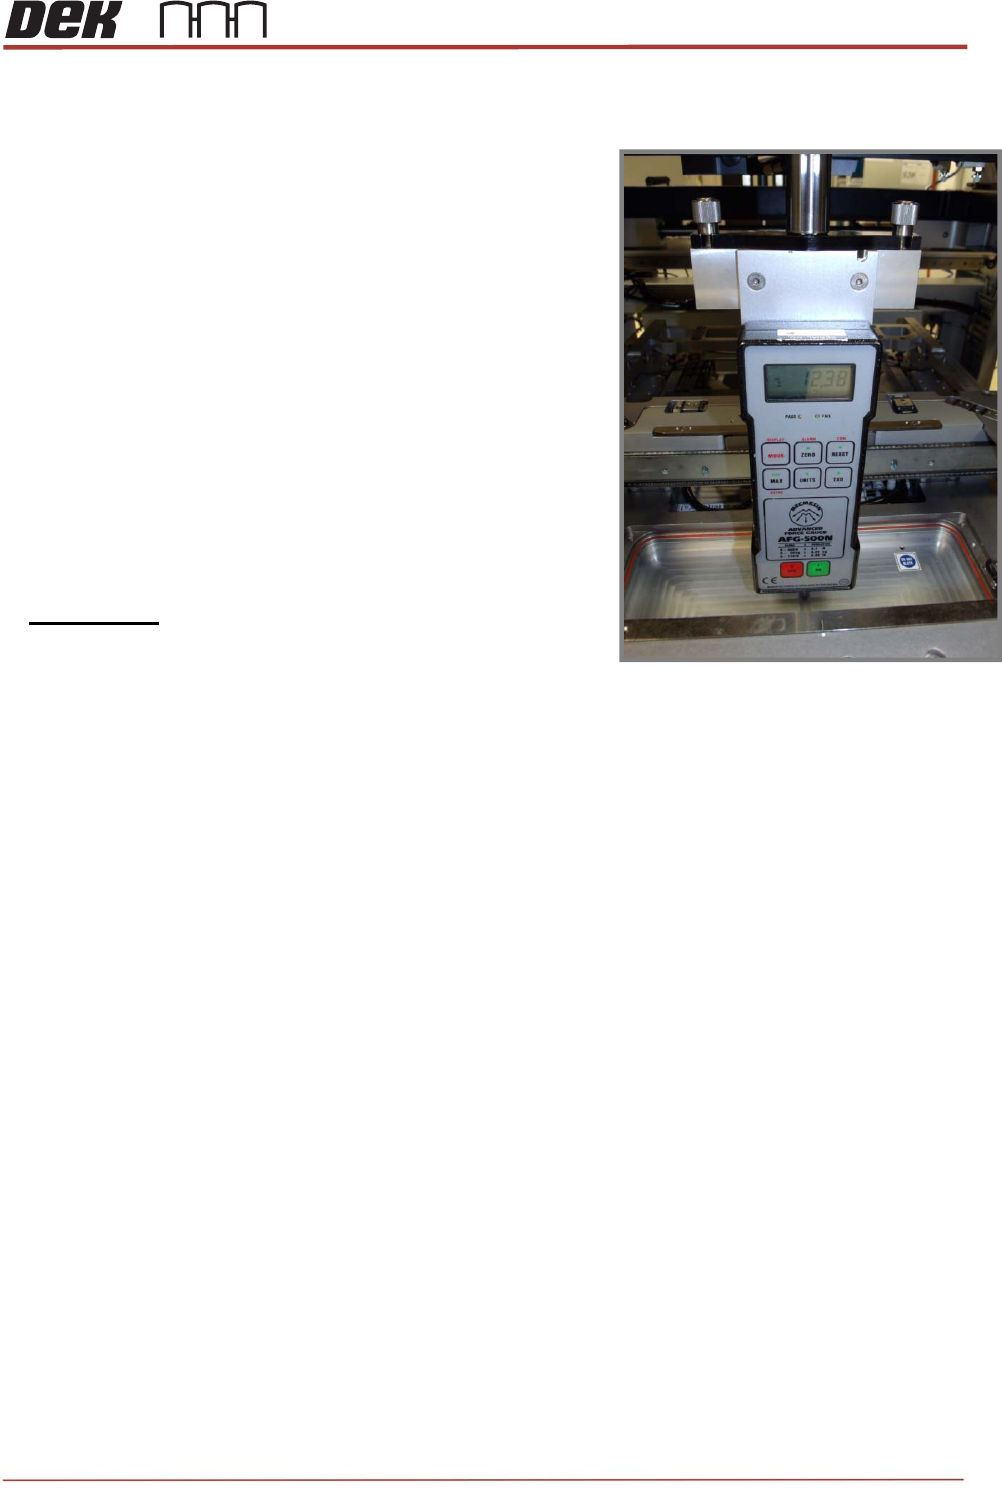
Objective 35: Calibrate Squeegee Pressure
1. If necessary, fully initialise the printer using the BLUE
Button.
2. Enter MAINTENANCE / CALIBRATIONS and select
PRESSURE.
3. Select CALIBRATE READINGS
4. Fit the ‘Squeegee Pressure Rig’ as shown.
NOTE: The pressure calibration feature is machined into
the vacuum pocket of the MEK Base.
5. Follow the standard Calibration Procedure
6. i.e. Use JOG RIG to adjust & obtain a reading of
10kg +/- 0.1 on the Force Meter.
7. Select SET CALIBRATION to save.
8. Remove the Squeegee Pressure Rig.
TRS Advanced Maintenance
106
Issue 2, Nov 14
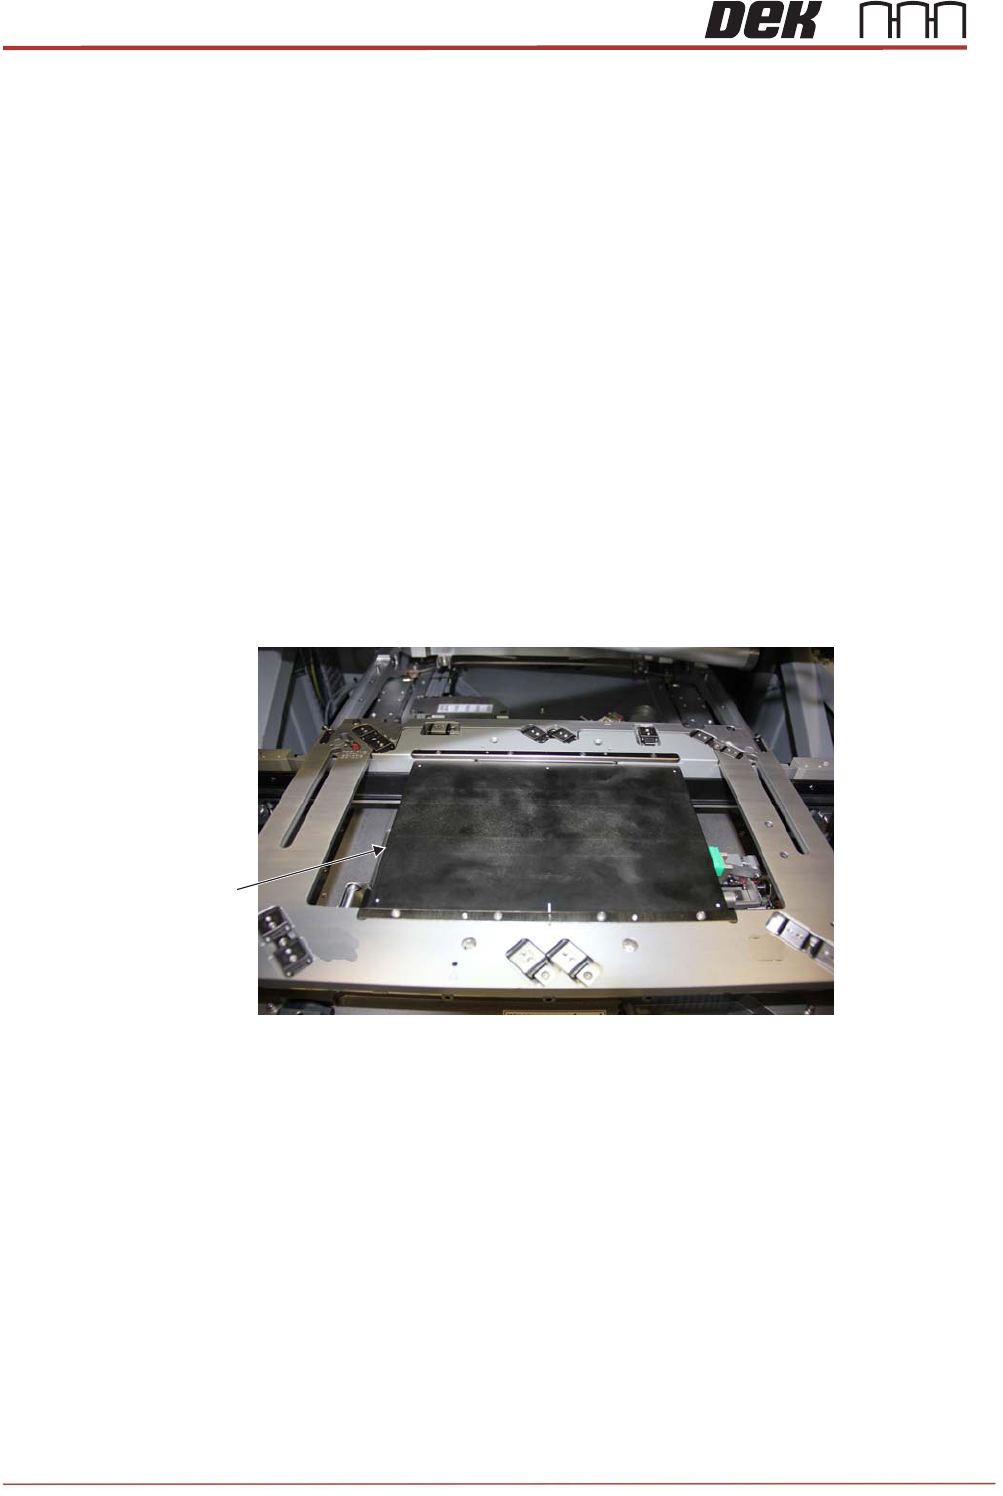
Objective 36: Calibrate Vision and Offset
Carry out the following Vision Calibration procedure:
- Clean the SPC Board (212277), vision alignment plate (212808) and calibration board
(187128) with isopropyl prior to use.
- Load the CALIBRA_TRS product file.
- Enter Setup Product / Tooling / Setup Tooling page.
- Select Transport Height
- Select Extend Board Stop
- Check that Board / Rail Width is set to 170mm.
- Manually adjust the board stop using the SPC board (212277).
- Align the bearings in the rail cap with the marks engraved adjacent to their slots.
SPC Board
(212277)
View on Rail Cap and SPC Board
Issue 2, Nov 14
TRS Advanced Maintenance
107
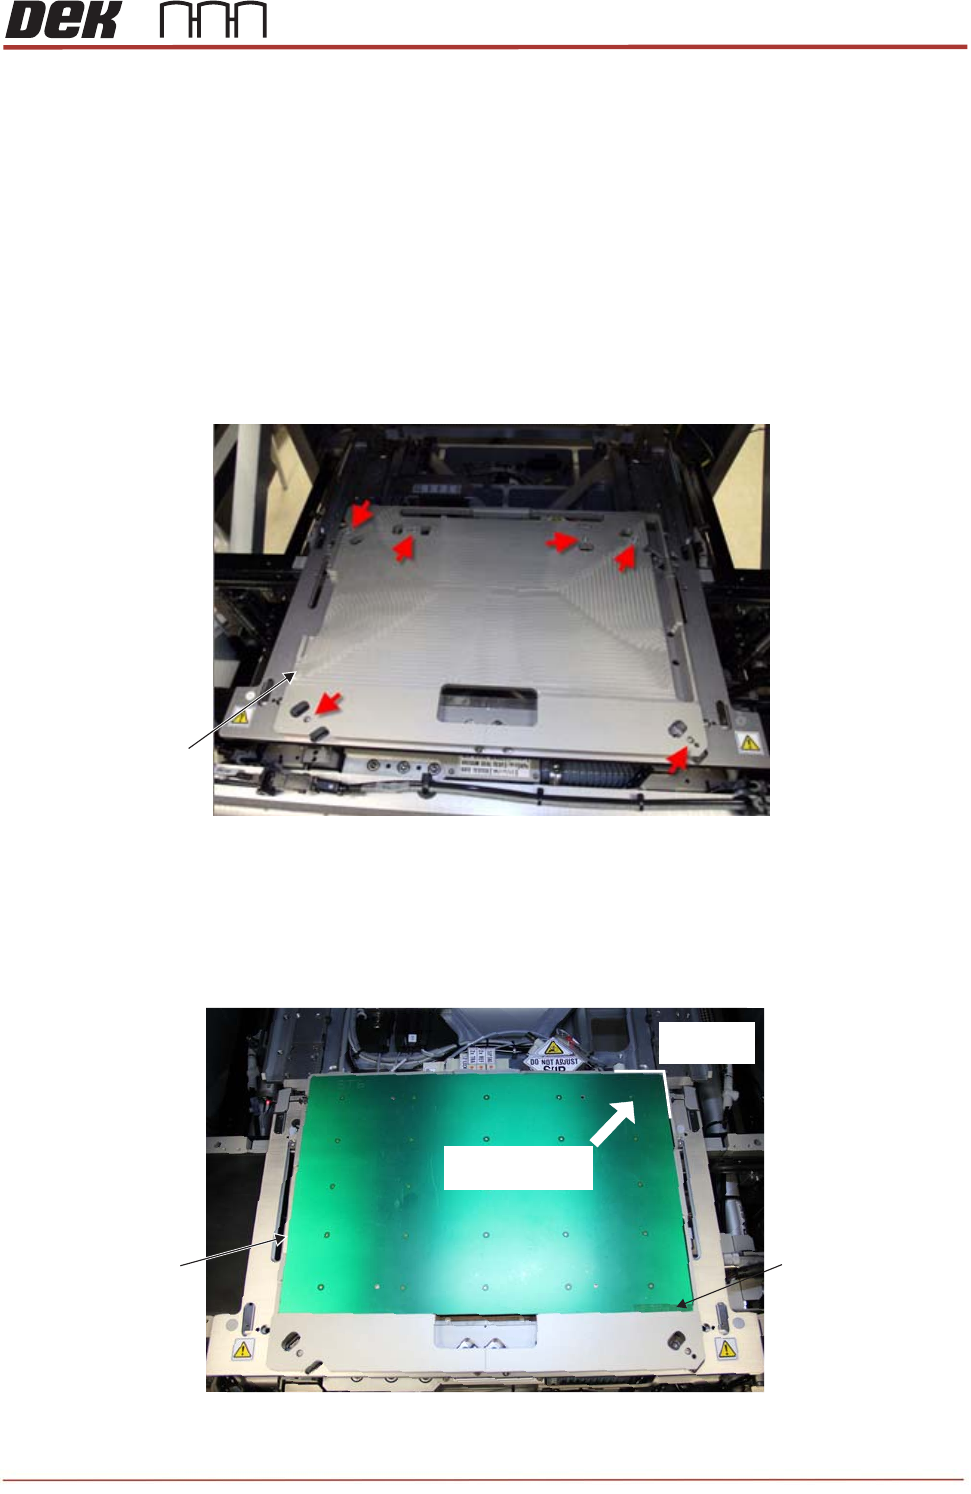
- Fit the vision alignment plate (VAP) (212808). Carefully align and locate the dowels on the
underside of the VAP with the holes in each of the rail cap bearings.
NOTE
The VAP locates in one position only. Holes are provided in the plate to aid visual location
of the bearings.
1. Care must be taken not to damage the rail cap bearings.
2. Check for flatness and position before tightening the screws.
- Tighten the 6 off captive screws to secure the VAP in place as shown above.
- Load the 187128 calibration PCB onto the VAP as shown below.
VAP
(212808)
View on Rail Cap (VAP Fitted)
DEK Part Number
Location
Locate this
corner rst.
Push this way and
press board at
Calibration Board xed in the Vision Alignment Plate
Calibration Board
(187128)