AOI_RS_v85_en.pdf - 第26页
Chapter 1 Installation Pr ocess AOI Repair Station 22 7.2 CLIENT SIDE Step1. First install the S tand-alone version on the s y stem. Step2. Appoint name of SQL S ER VER, DB LOGIN NAME (EX: sa), and P ASSWORD (EX: sa) to …
Chapter 1 Installation Process
AOI Repair Station
21
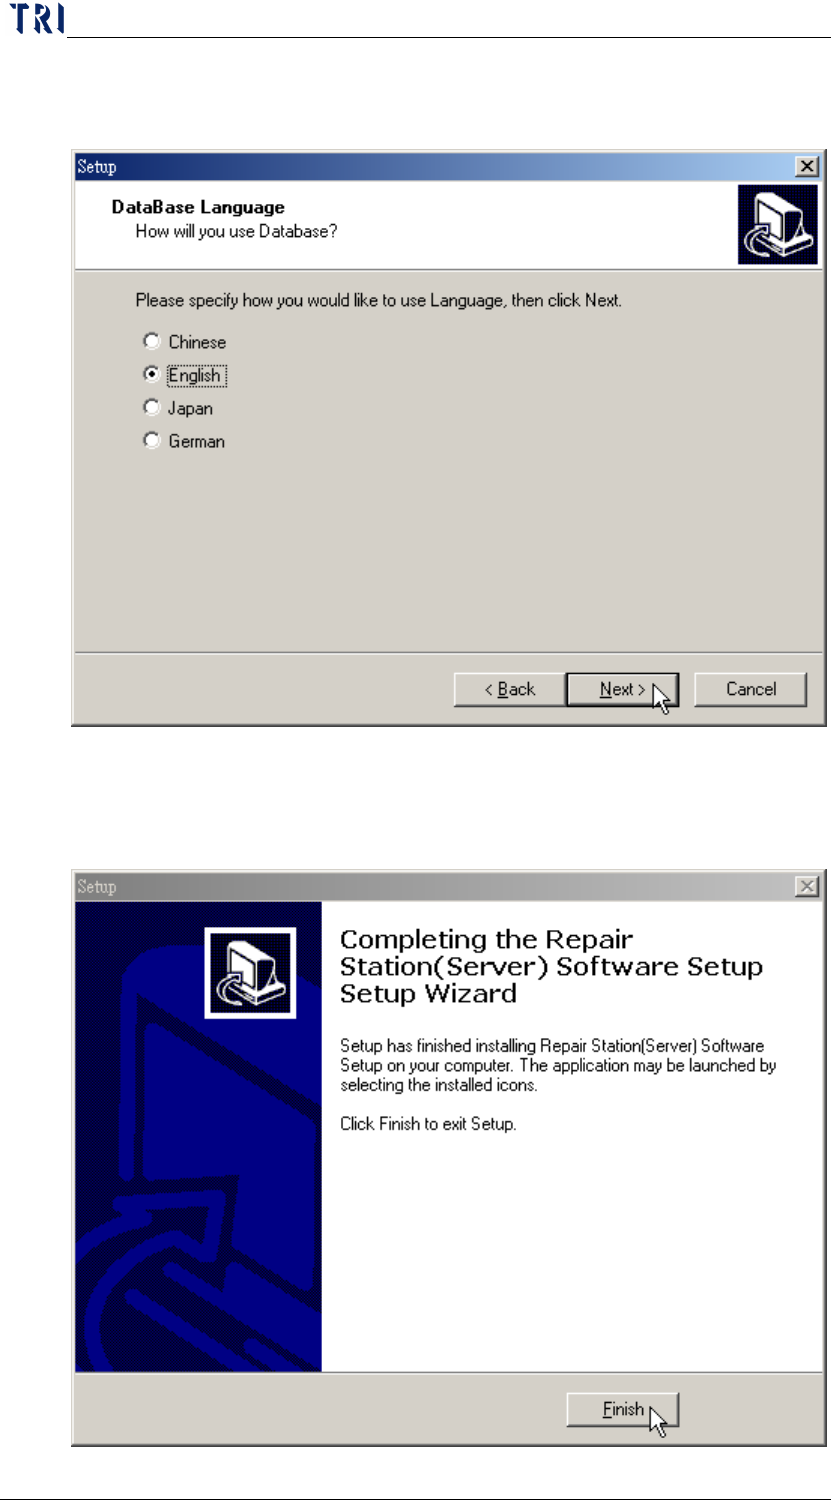
Step4. Select the language that is the same with the computer
operation system. Then press [Next].
Step5. Install the following procedure according the default.
Step6. Press [Finish] to complete the installation.

Chapter 1 Installation Process
AOI Repair Station
22
7.2 CLIENT SIDE
Step1. First install the Stand-alone version on the system.
Step2. Appoint name of SQL SERVER, DB LOGIN NAME (EX: sa), and
PASSWORD (EX: sa) to the CLIENT system. The settings are as
follows:
STEP2.1 Run the short cut of [RSSetting] on the desktop (if not,
run [C:\RSINSTALL\PINSTALL.EXE]), type [TRI] for
any password required, the settings are in the red frame
on the following figure.
STEP2.2 For the following figure, the [Version Kind] must be set
to [None] for the SERVER version:
Chapter 2 Repair Station Main Program
AOI Repair Station
23
Chapter 2 Repair Station Main Program
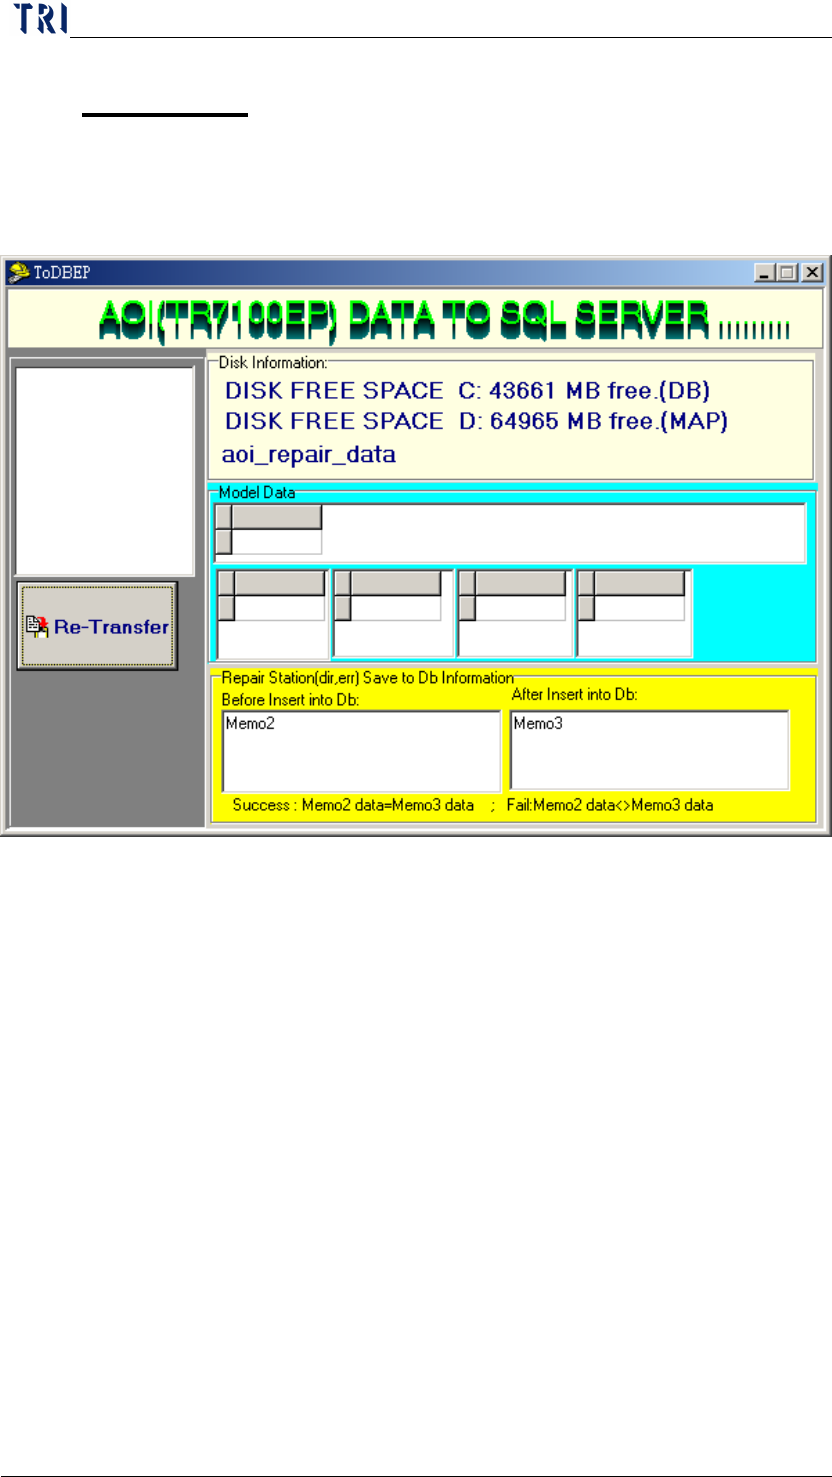
1 Attention before using the Repair Station
Make sure that [InsertData.exe] is running before using, the following figure
is what it supposed to be while running the program:
NOTE: [Memo2] and [Memo3] will appear same BARCODE number when
each data was successfully inserted into DB, however, there will be current
year, month, day, hour, minute, and second appear in the box if no
BARCODE is detected. There may be a setting problem when the [Memo2]
and [Memo3] show no change while a board was inspected.