CP6的IO代码.pdf - 第309页
2. Feeder Maintenance 2.1 Disassembling the Feeder (WC type) This section describes disassembly for the link assembly, sprocket and replacing the feeding lever springs. 1. Remove the tape leaf. Unlock the tape leaf lock.…
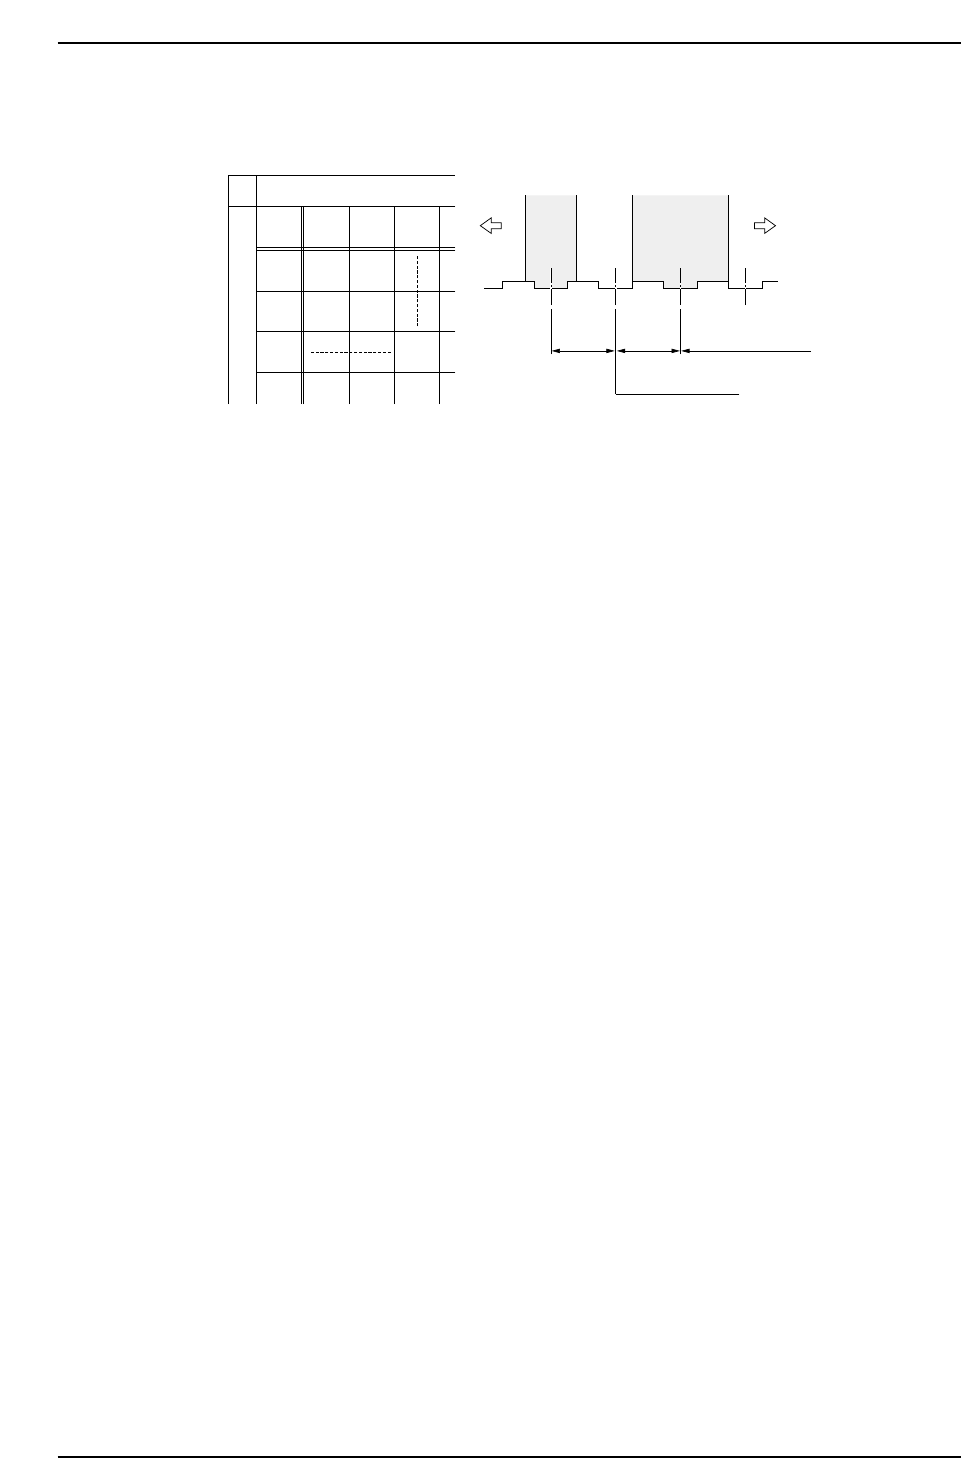
Table Explanation Example
On the right side of the W16 feeder is a W24 feeder (viewed from the rear).
Table Explanation Example
W24
W16
2 P(1)
Left side
Right side
Left
Right
Feeder pitch 2P
Open slot (1)
CP6M8070
Part 8 Chapter 1 WC Feeders
Edition 1.0 8-1-46 CP-6 Series Mechanical Reference

2. Feeder Maintenance
2.1 Disassembling the Feeder (WC type)
This section describes disassembly for the link assembly, sprocket and replacing the
feeding lever springs.
1. Remove the tape leaf. Unlock the tape leaf lock. When the E-ring and the pin are
removed, the tape leaf can be removed.
2. Remove the spring used for top-film take-up. Because this spring is weak, it is OK
to remove using your fingers.
Removing Top-film Take-up Spring
3. Remove the spring used for tape feed. Use needle nose pliers or other similar type
tool to remove the spring from the bracket. Because the spring is strong, do not
use your fingers to remove.
Replacing the Tape Feed Spring
Tape feed spring
CP6M8072
Top-film take-up spring
CP6M8071
Part 8 Chapter 2 Feeder Maintenance
Edition 1.0 8-2-1 CP-6 Series Mechanical Reference

4. Remove the spring used for the stopper. This is easy to remove when using a
pencil/pen or other pointed instrument. Because the spring is small, be careful
not to lose it.
Caution : Take care not to misplace the spring.
Removing the Sprocket Stopper Spring
5. Use a 8 mm box wrench to remove the nut and then remove the pin.
Caution : Do not loosen the eccentric pin tightening nut.
Removing the Pin
Wrench
Eccentric pin tightening nut
Nut
Pin
CP6M8074
Sprocket stopper spring
CP6M8073
Part 8 Chapter 2 Feeder Maintenance
Edition 1.0 8-2-2 CP-6 Series Mechanical Reference