00198243-01_AI_BulkFeederX_XS-SX_DE+EN.pdf - 第134页
5 Final work 5.2 Configuring the BulkFeeder computer 134 Assembly Instructions / Montageanleitung SIPLACE BulkFeeder X Retrofit Kit for SX Series and X Series S 07/2017 ► Click on 7xx (Sirio) . ► Go to Station IP-address…
5 Final work
5.2 Configuring the BulkFeeder computer
Assembly Instructions / Montageanleitung SIPLACE BulkFeeder X Retrofit Kit for SX Series and X Series S 07/2017 133
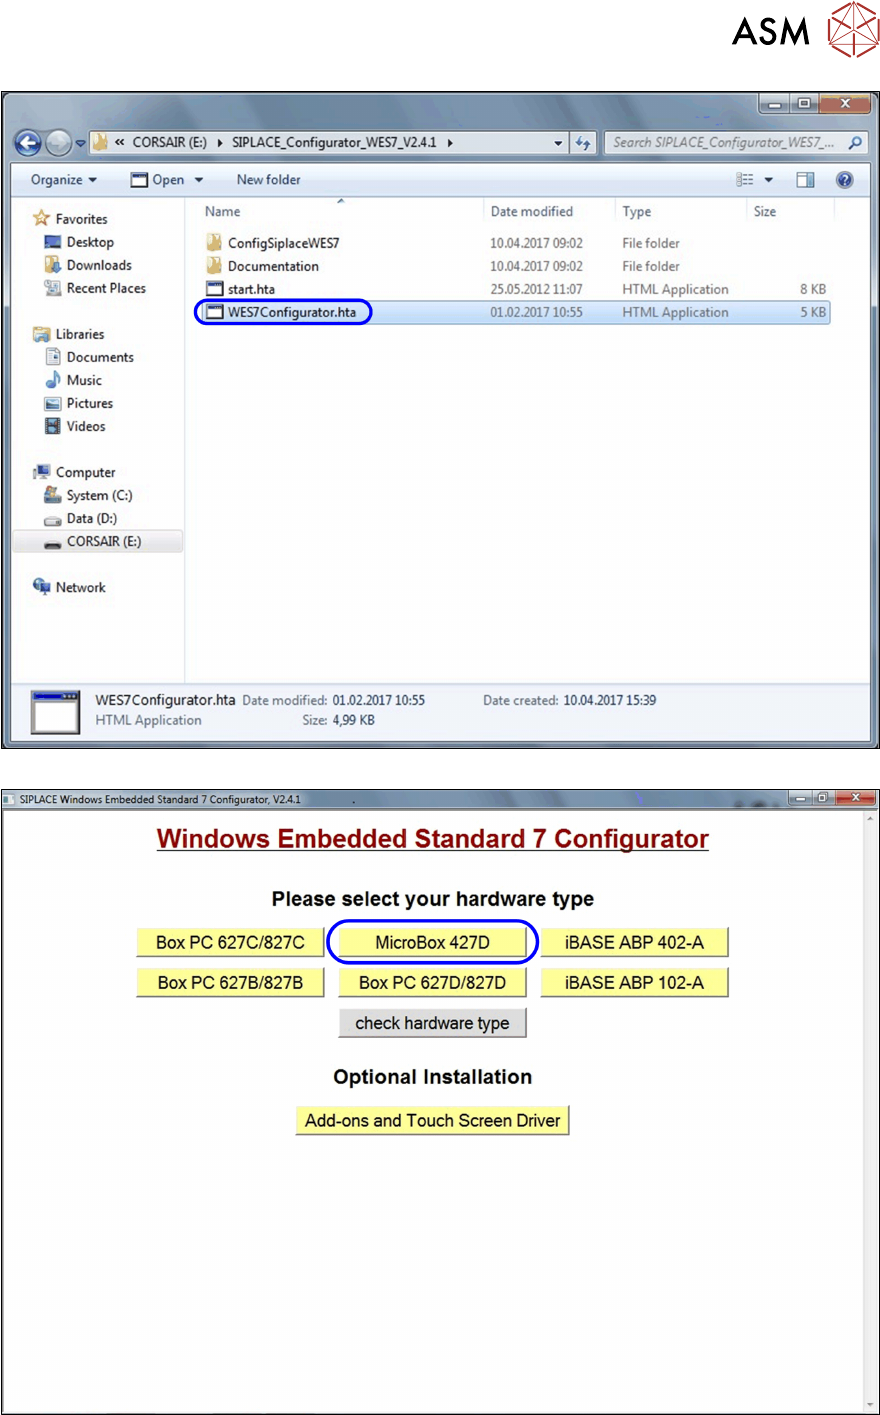
► Doubleclick on the file WES7Configurator.htato start the configuration.
► Click on MicroBox 427D.
5 Final work
5.2 Configuring the BulkFeeder computer
134 Assembly Instructions / Montageanleitung SIPLACE BulkFeeder X Retrofit Kit for SX Series and X Series S 07/2017
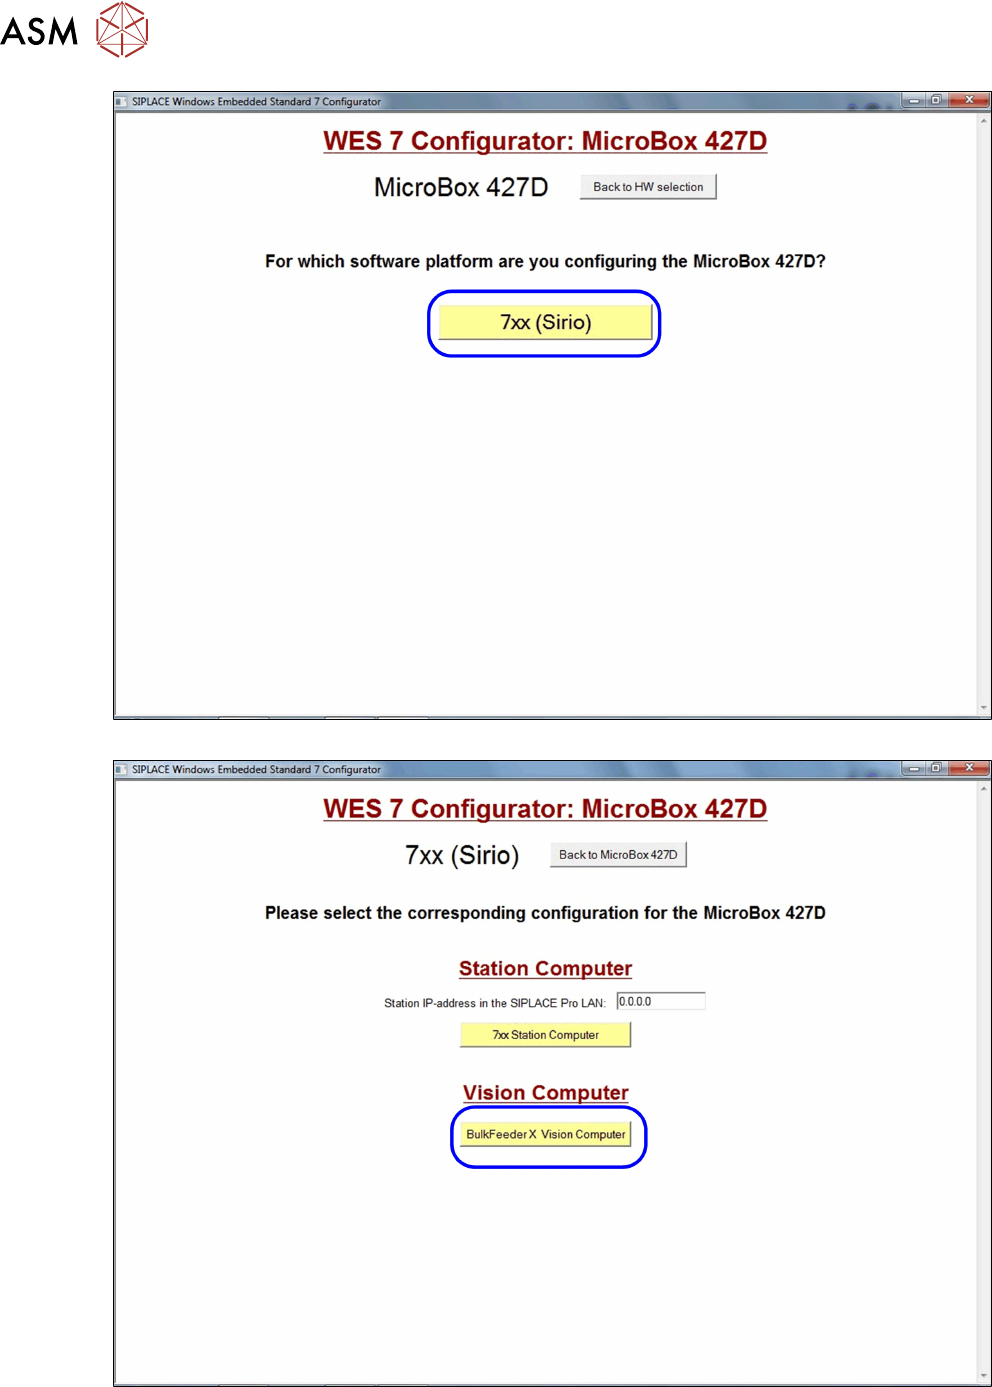
► Click on 7xx (Sirio).
► Go to Station IP-address in the SIPLACE Pro LAN and enter the address of the SIPLACE
Pro computer.
► Select the BulkFeeder X Vision Computer. The BoxPC is configured as the BulkFeeder X
computer.
5 Final work
5.2 Configuring the BulkFeeder computer
Assembly Instructions / Montageanleitung SIPLACE BulkFeeder X Retrofit Kit for SX Series and X Series S 07/2017 135
► Now install the station software, see 5.3 "Installing the station software" [}136].
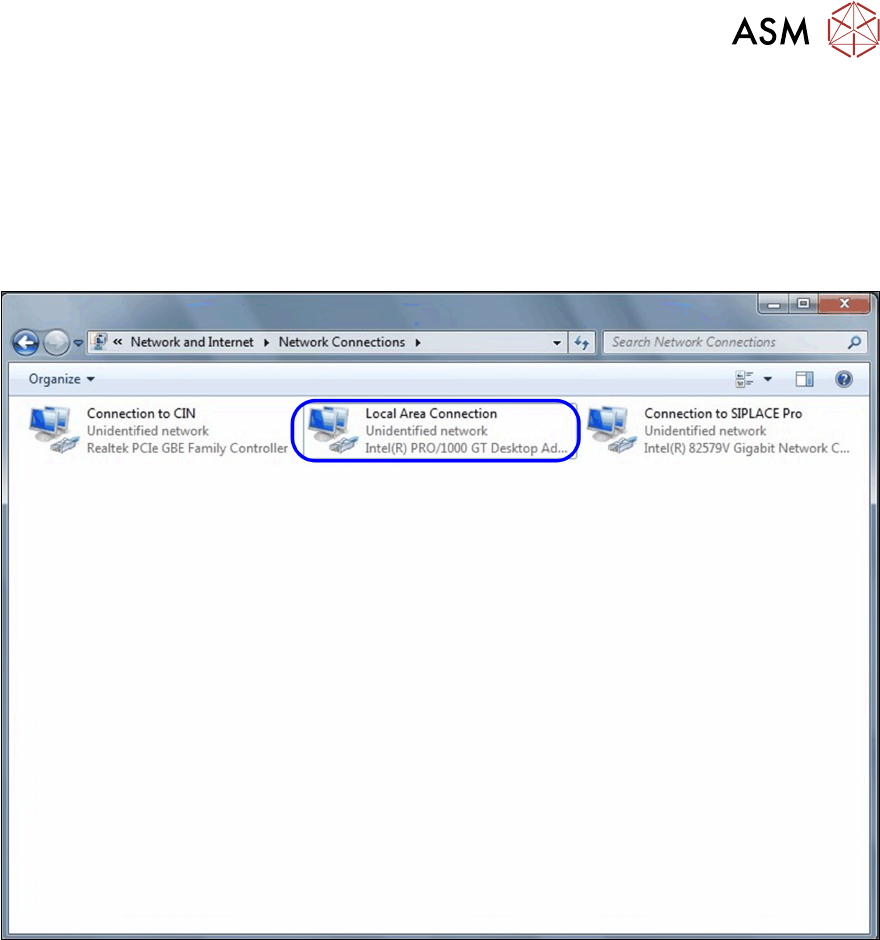
5.2.3 Configuring the additional LAN card
To configure the additional LAN card which was fitted in the station computer, for the SX-Series or
X-Series S, from serial number H001, proceed as follows:
► Select Start – Control Panel – Network and Internet.
► Select Network Connections.
► Right-click on Local Area Connection.
► Select Rename and change the name to Connection to machine LAN.
► Right-click on the renamed connection and select Properties.
► Mark the entry Internet Protocol Version 4 (TCP/IPv4) and then click on Properties.
► Go to IP address and enter the IP address (192.168.255.244) and then go to Subnet mask
and enter the subnet mask (255.255.255.240), as shown in the diagram.