00193892-0402_AI_FeederCoverFlap_DE+EN.pdf - 第66页
Assembly instructions Feeder cover flap, SIPLACE HF-series / X-series / D3 05/2009 Edition 66 : Run the switch connecting ca ble towards the push-on terminal strip. 2 : Plug the connector into the free slot with the loca…
Assembly instructions Feeder cover flap, SIPLACE HF-series / X-series / D3
05/2009 Edition
65
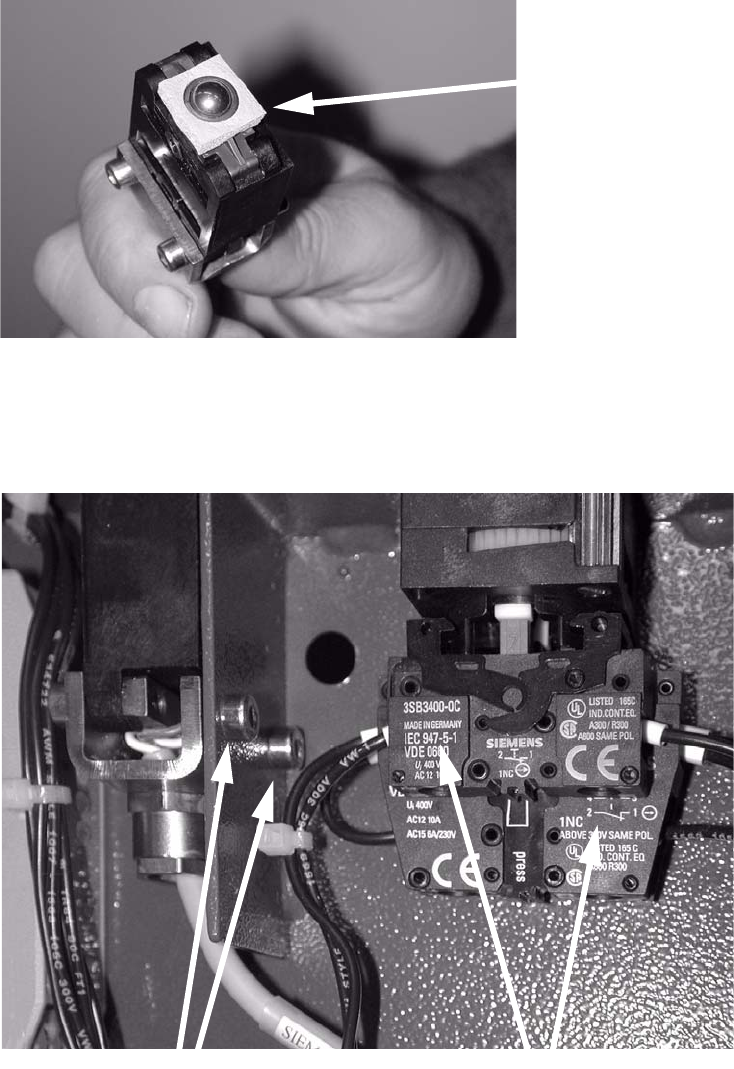
: Before installing, place the seal around the index ball.
2
2
: Insert the switch and screw it in place.
Clip the switch on the right in order to tighten the bottom screw.
2
2
2
Seal
Tighten 2 screws
Clip these two switches
Assembly instructions Feeder cover flap, SIPLACE HF-series / X-series / D3
05/2009 Edition
66
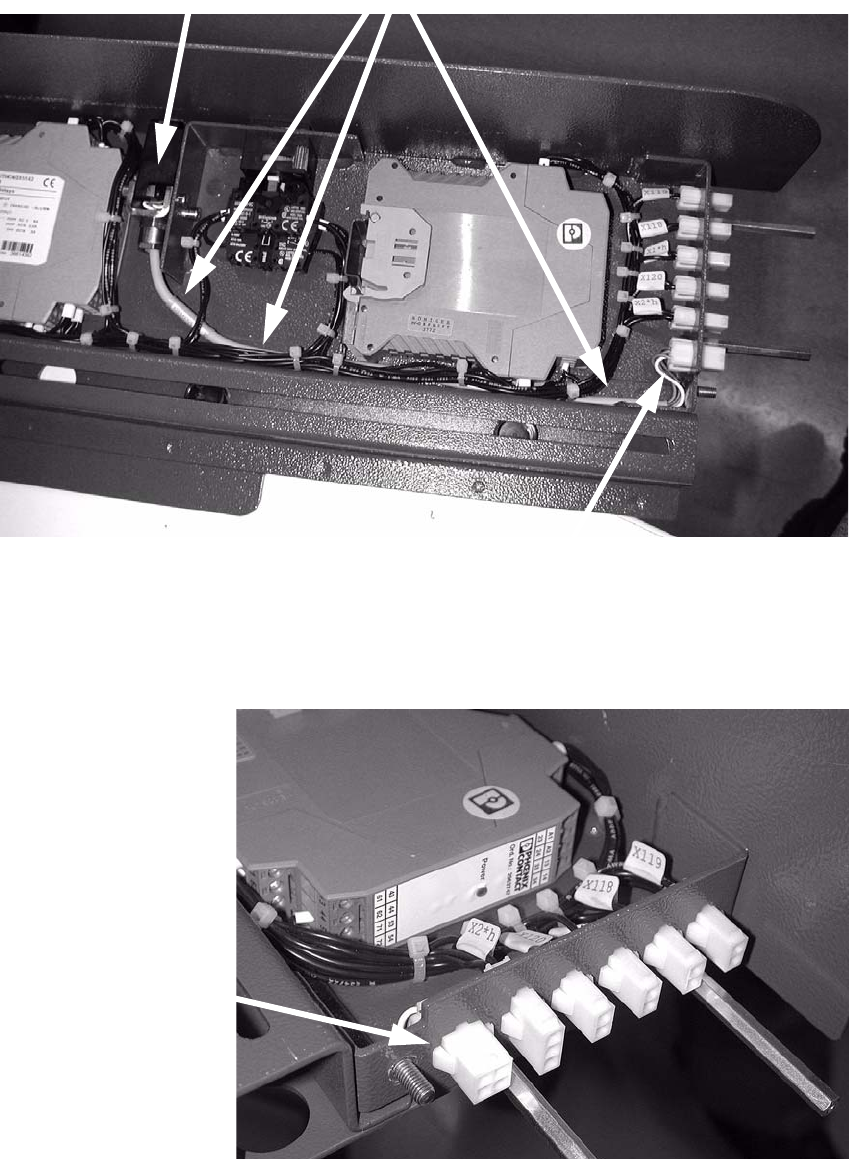
: Run the switch connecting cable towards the push-on terminal strip.
2
: Plug the connector into the free slot with the locating tab pointing upwards (see top and bottom
photographs).
2
Switch
Plug connectors
Connecting cable
Insert the connector here
Assembly instructions Feeder cover flap, SIPLACE HF-series / X-series / D3
05/2009 Edition
67
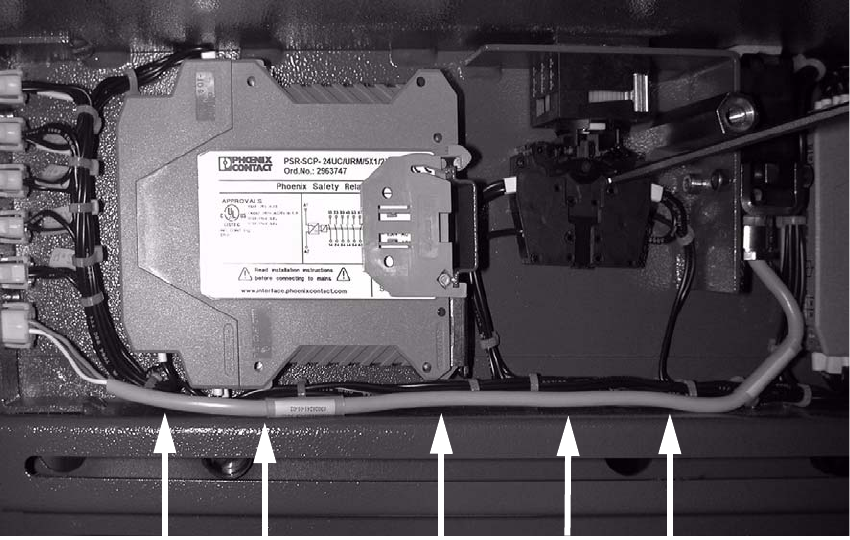
: Tie the connecting cable in place or to the cable using cable ties.
2
2
: Push the panel back onto the component pull-in device
: Secure the panel once more by tightening the 2 top screws and 4 bottom screws.
2
2
2
2
2
2
2
2
2
2
2
Secure the connecting cable with cable ties