c921199.R00_EN.pdf - 第16页
viii Before using the machine 4. Chapter Contents Chapter 1: Handling T he chapter describes outline of F3 tape feeder , setup of components, adjustment of parts and how to deal with troubles. Chapter 2: Replacing par ts…
vii
Before using the machine
n
"Offline setup station"
Specifications: single-phase AC100 to 230 V ± 10%, 50Hz/60Hz, Electrical power of 170 VA (for Offline setup station.)
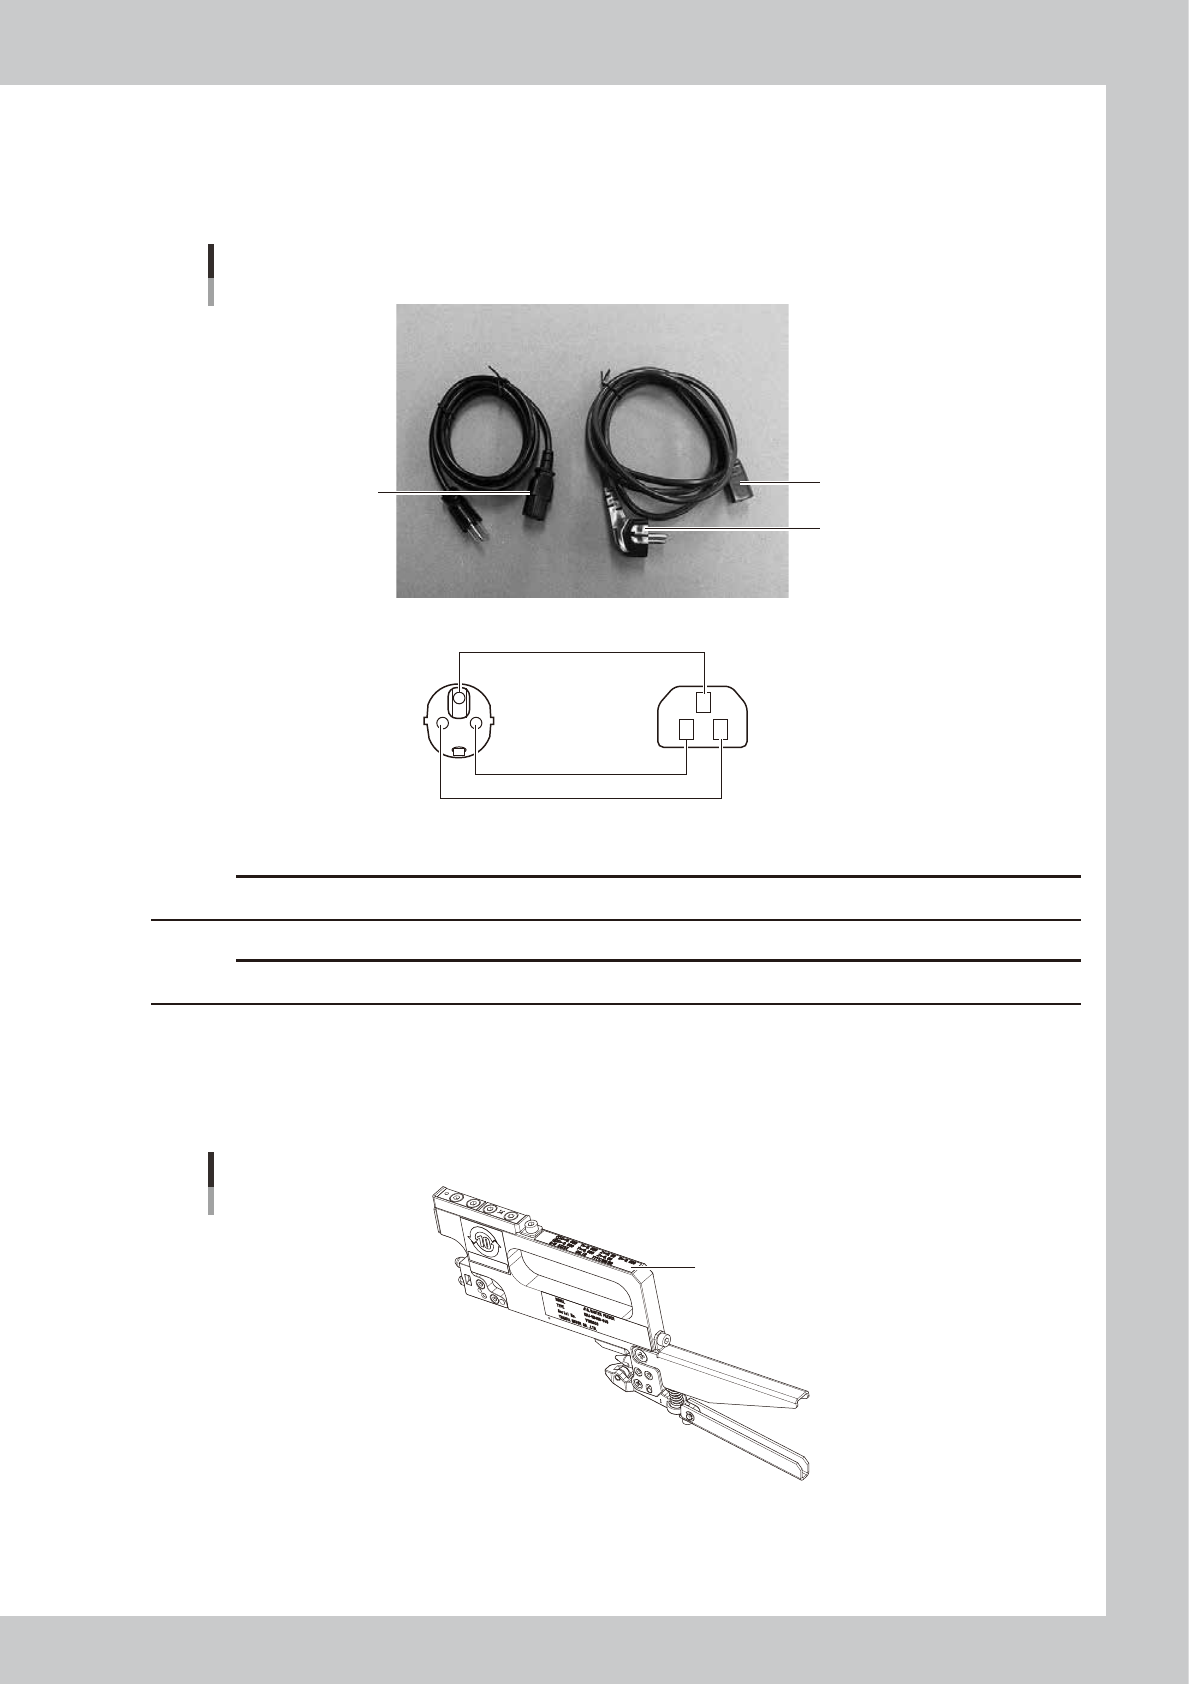
Two types of AC power harnesses for "Offline setup station" are available: One for Japanese market (up to AC125V) and
one for other markets (up to AC250V).
AC power harness
“Offline setup station”
AC power harness
for Japan
AC power harness
for other markets
Light blue: AC (N)
Brown: AC (L)
Green/Yellow: AC (GND)
n Wiring harness
Green/Yellow
Light blue
Brown
63009-9L-20
c
CAUTION
Take care not to connect the harness for Japan to power supply of AC125V or higher.
c
CAUTION
Make sure to ground the instrument before connecting to the power supply.
n
Master feeder
This master feeder is a jig that is intended to adjust the pickup position of the F3 feeder.
When one year or longer has elapsed from the date marked on the calibration label, it is recommended to calibrate the
master feeder.
Master feeder angle
Calibration label
63010-9L-00

viii
Before using the machine
4. Chapter Contents
Chapter 1: Handling
The chapter describes outline of F3 tape feeder, setup of components, adjustment of parts and how to deal with troubles.
Chapter 2: Replacing parts
The chapter describes installation and disassembly of F3 tape feeder parts.
Chapter 3: Application examples
The chapter describes examples of using F3 tape feeder.
ix
Before using the machine
5. Page Layout
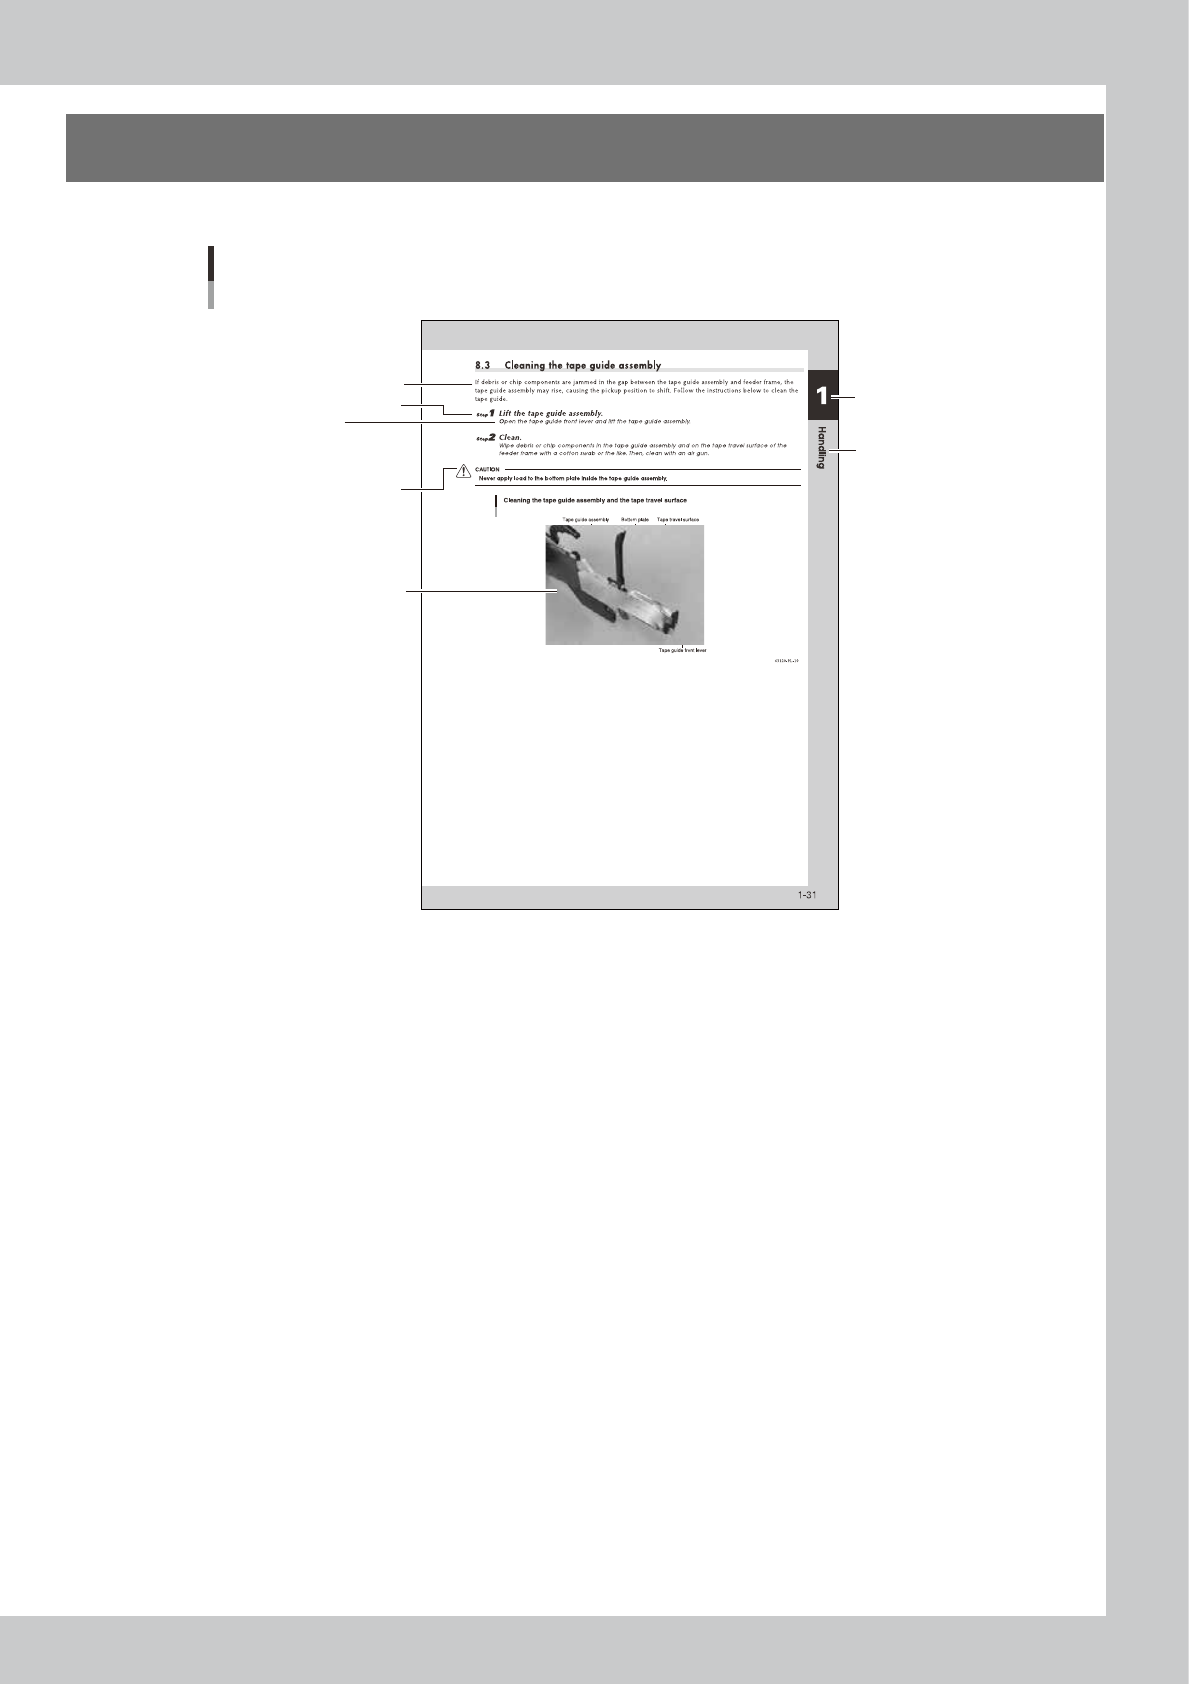
A typical page layout is shown below.
Page Layout
Substep or
description of step
Step
Illustration or table title
Note, Reference, Caution
or Warning
Chapter number
Body text
Chapter title
63008-9L-20
• Step
This describes the procedure for each operation.
• Substep or description of step
This provides detailed information on the steps in each procedure.
• Illustration or table title
This is the title of the illustration or table and appears at the upper left.
• Note, TIP, Caution or Warning
These are explained in the “1. Safety” introductory section.