c921199.R00_EN.pdf - 第28页
1-8 1 Handling n Button operations & corresponding feed pitches Feeder Type Pitch Setting [Feed], [BACK] pressed 1 time [FUNC+FEED], [FUNC+BACK] pressed 1 time F3-8 0 2mm 1mm 1 1mm Pitch setting 2 and higher 2mm F3-1…
1-7
1
Handling
0
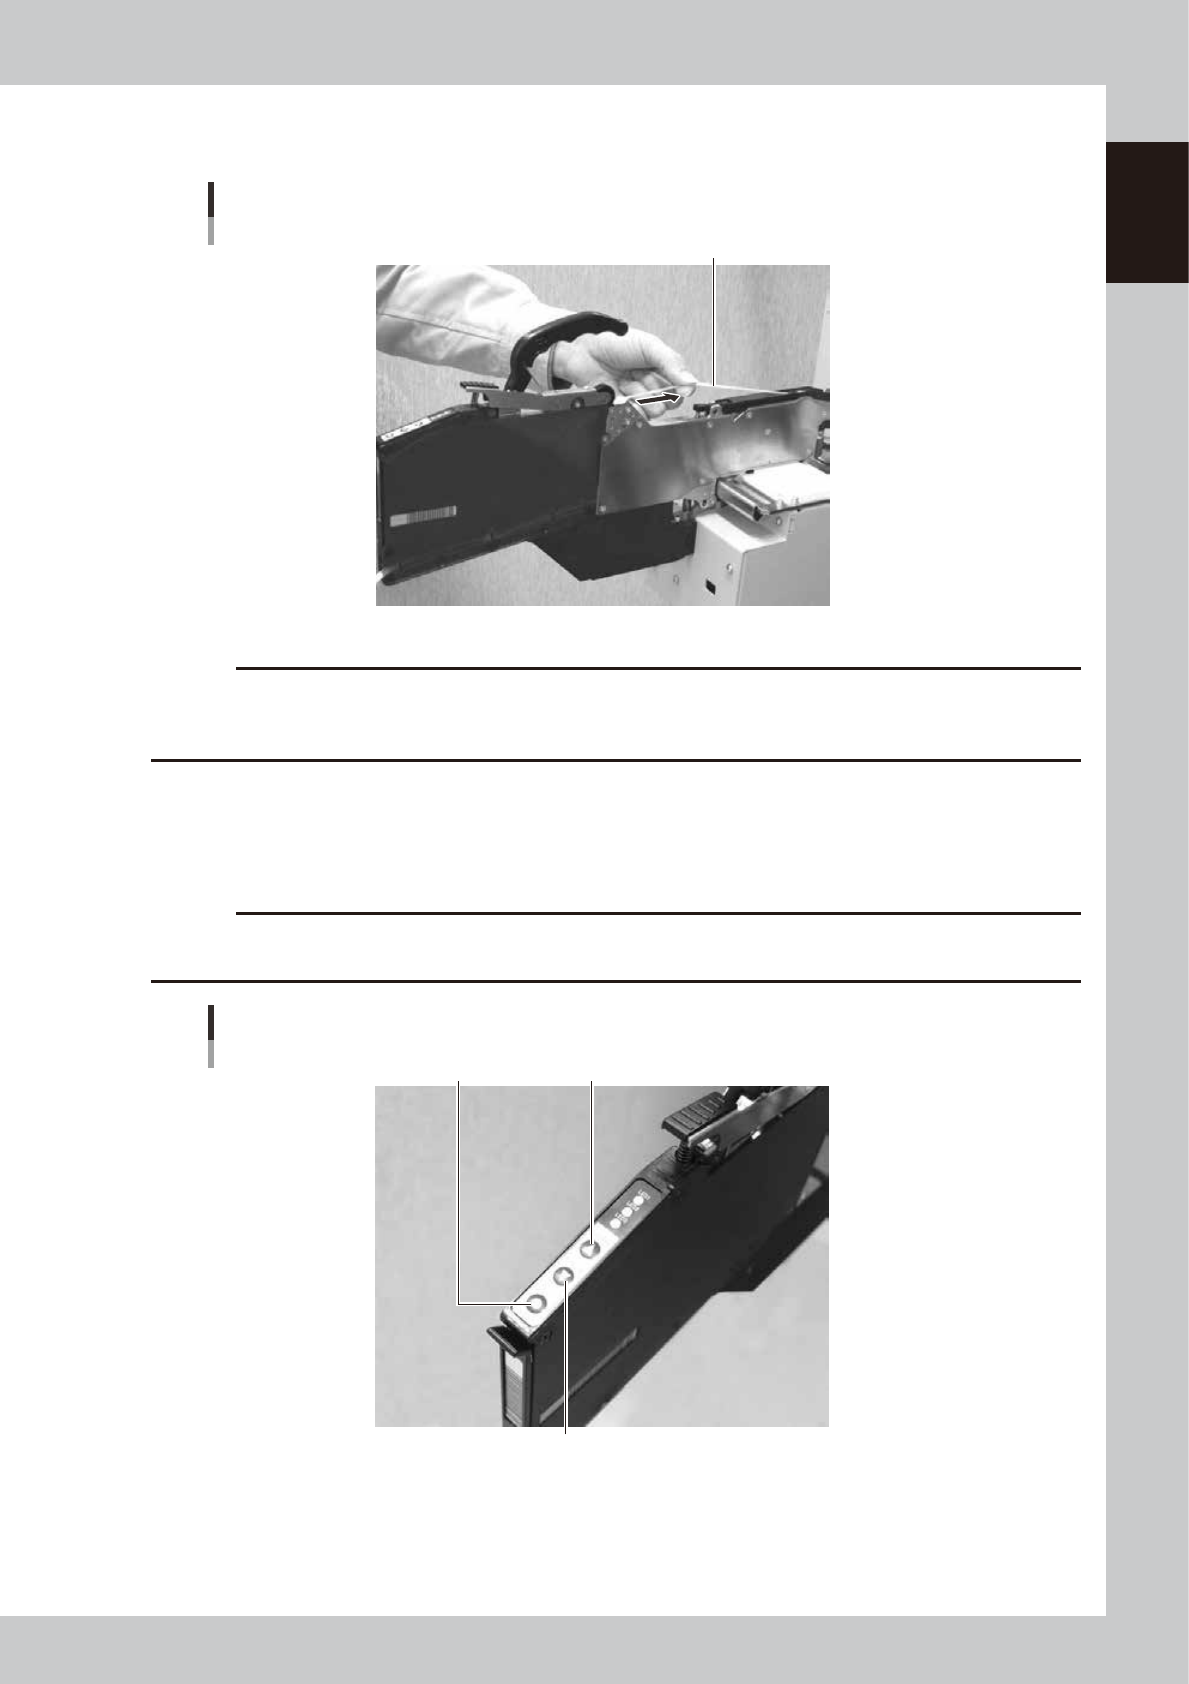
Reel the top tape to take up the slack.
Pull the top tape lightly in the direction of the arrow and the sag will be taken up automatically.
Taking up the slack of the top tape
Top tape
63107-9L-00
c
CAUTION
· Let the top tape slide between your fingers so that it is taken up straight.
· Repeat the step until the slack is taken up.
· Take care not to hurt your hand when taking up the top tape.
q
Feed components to the pickup position.
Press the ”FEED” button of the feeder to feed components to the pickup position. If you want to move
components backward, press the ”BACK” button of the feeder. Refer to the table for the feed pitches
which correspond to each button operation.
c
CAUTION
When feeding the components to the pickup position, do not use the [BACK] button. Always use the [FEED] button to
advance the carrier tape.
“FEED” button, “BACK” button, “FUNC” button
“BACK” button
“FEED” button“FUNC” button
63108-9L-00
1-8
1
Handling
n
Button operations & corresponding feed pitches
Feeder Type Pitch Setting
[Feed], [BACK]
pressed 1 time
[FUNC+FEED],
[FUNC+BACK]
pressed 1 time
F3-8
0 2mm 1mm
1 1mm
Pitch setting
2 and higher 2mm
F3-1216, 24,
32, 44, 56,
72, 88, 104
0
2mm
2mm
4 and higher Pitch setting
TIP
· Continuous feed mode is possible by pressing and holding the [FEED / BACK] button.
· There is no continuous feed mode for the [FUNC + FEED] and [FUNC + BACK] buttons (even if pressed and held).
w
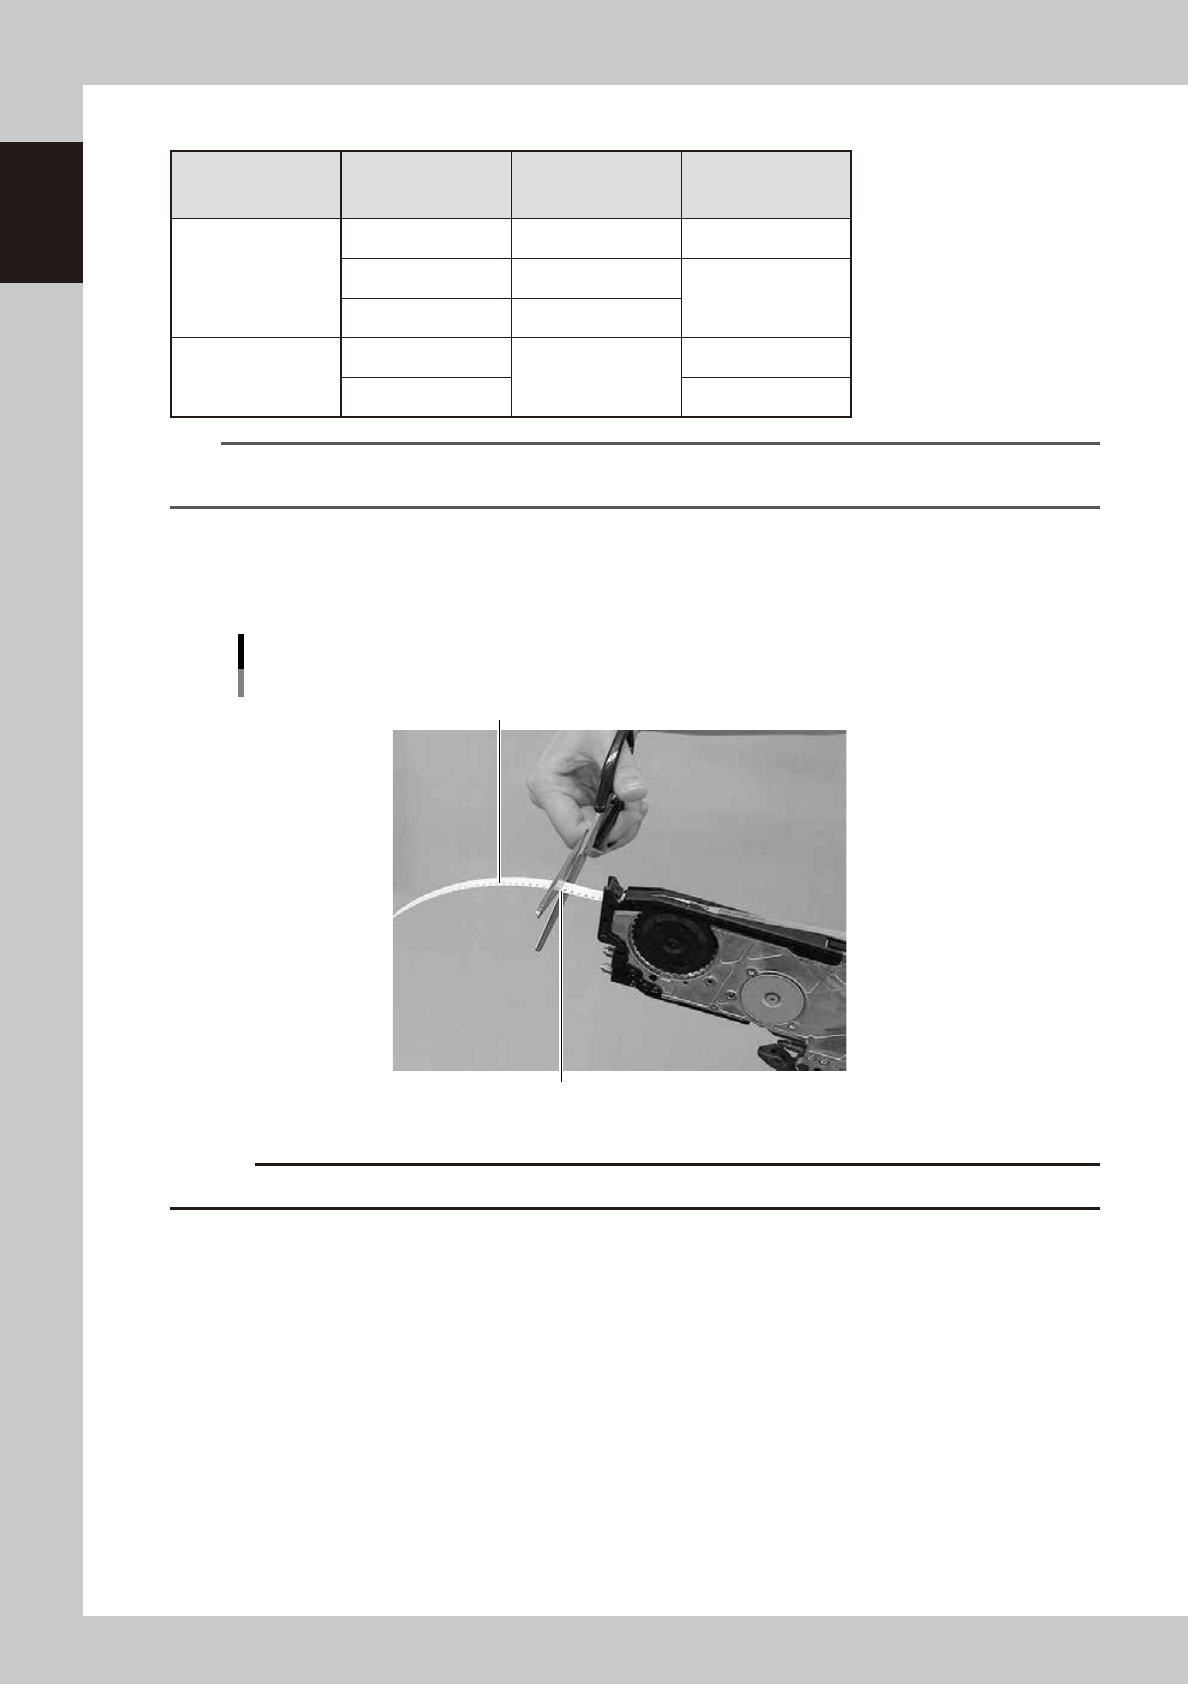
Cut the carrier tape.
After feeding the components to the pickup position, cut the carrier tape at a point 15mm or less from
the tape exit before setting the feeder to a machine.
Cutting the carrier tape
Carrier tape
Cut at 15mm or less from feeder
63146-9L-20
c
CAUTION
If using the carrier tape without cutting the excess part, it could block the path way for discharging the tape.
1-9
1
Handling
3. Installing the Feeder
3.1 Precautions for setting the feeder
c
CAUTION
· Don’t let the tip of the carrier tape stick out too much. We recommend that the tip of the carrier tape does not stick
out of the feeder end.
· Align the connector portion of the feeder with the No. (setup location) of the cart before installation.
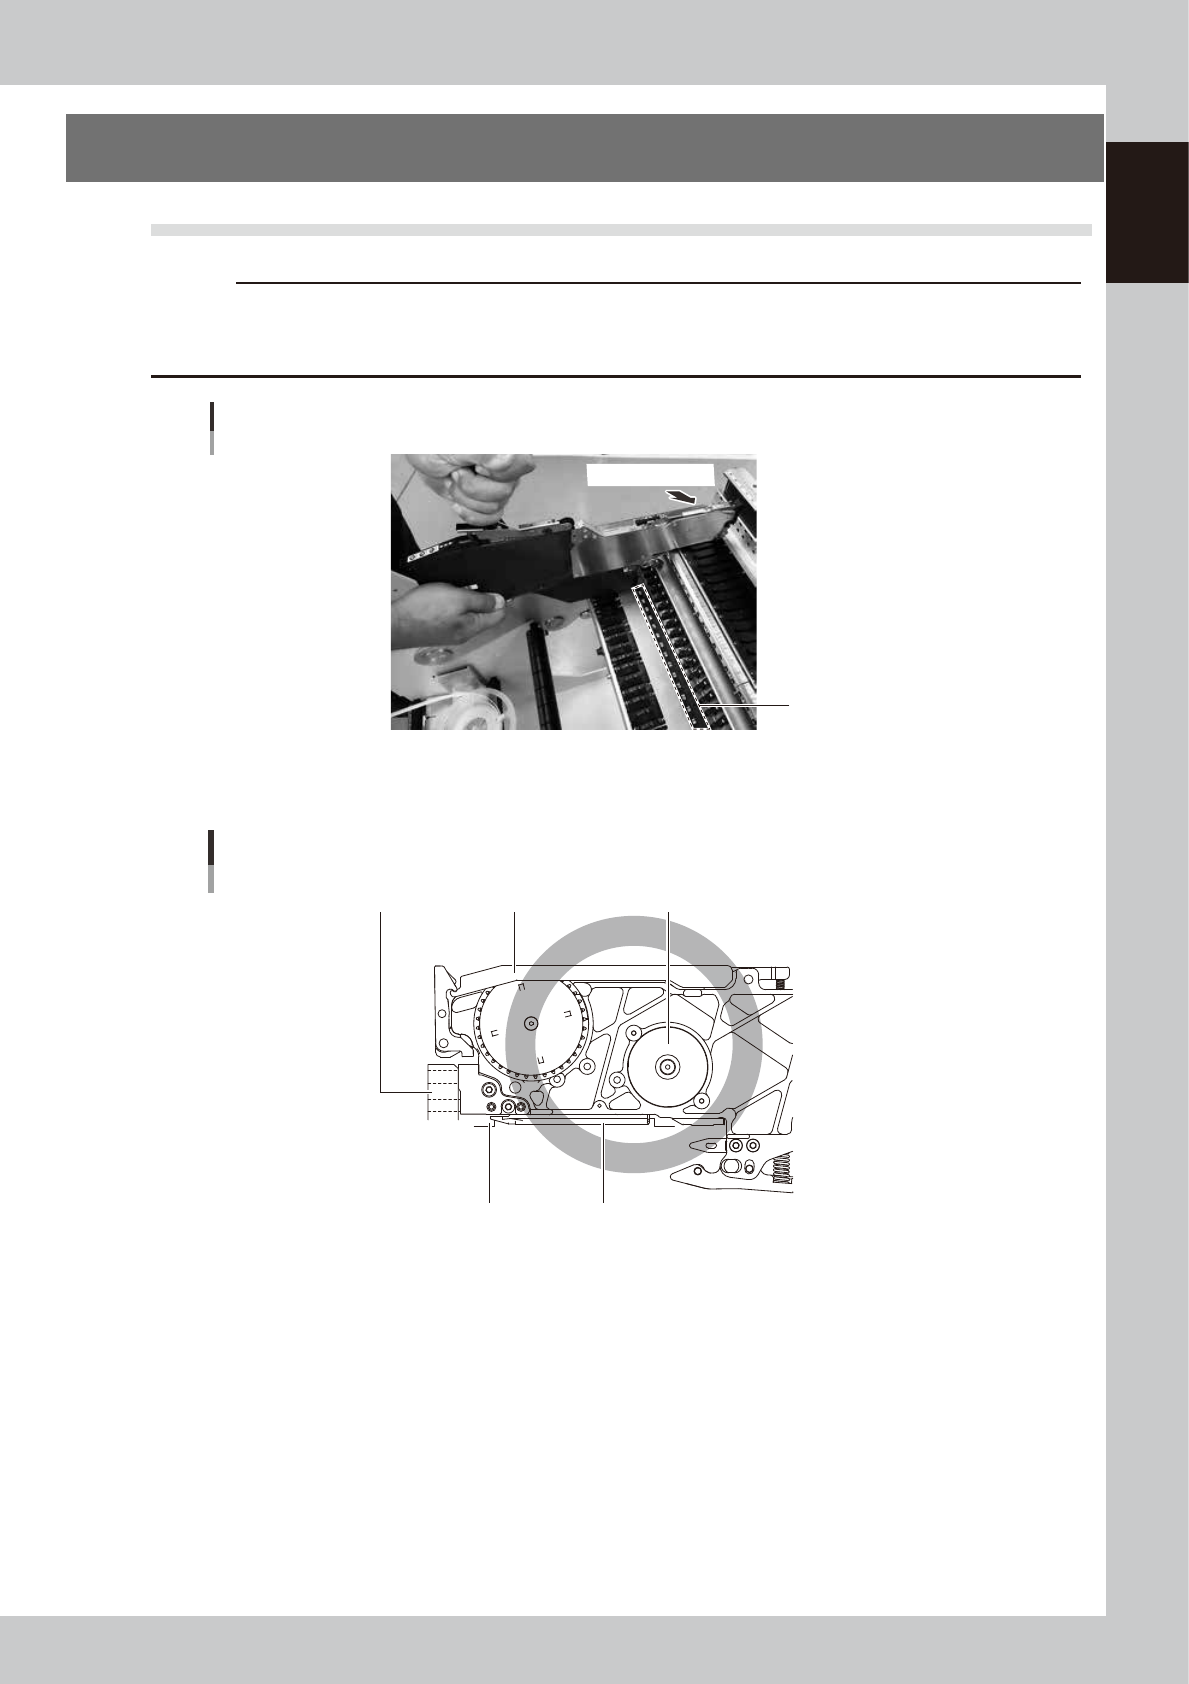
Installing on the mounter
No.
View on arrow A
63103-F3-00
Check that the tape guide assembly is locked when seen from the side (view on arrow A) when the feeder is set
and that the feeder is inserted all the way to the end and the under rail is engaged with the guide securely.
Normal condition (view on arrow A)
Tape guide assembly Feeder bodyPlate
Guide Under rail
63140-9L-10