c921199.R00_EN.pdf - 第73页
2-27 2 Replacing parts 13. P/O2 roller 13.1 Removal 1 Remo ve the P/O lever assembly . Loosen the setscrew securing the P/O lever 2 shaft with a hexagonal wrench (1.5), pull out the P/O lever 2 shaft and remove the P/O l…
2-26
2
Replacing parts
12. P/O lever assembly
12.1 Removal
1
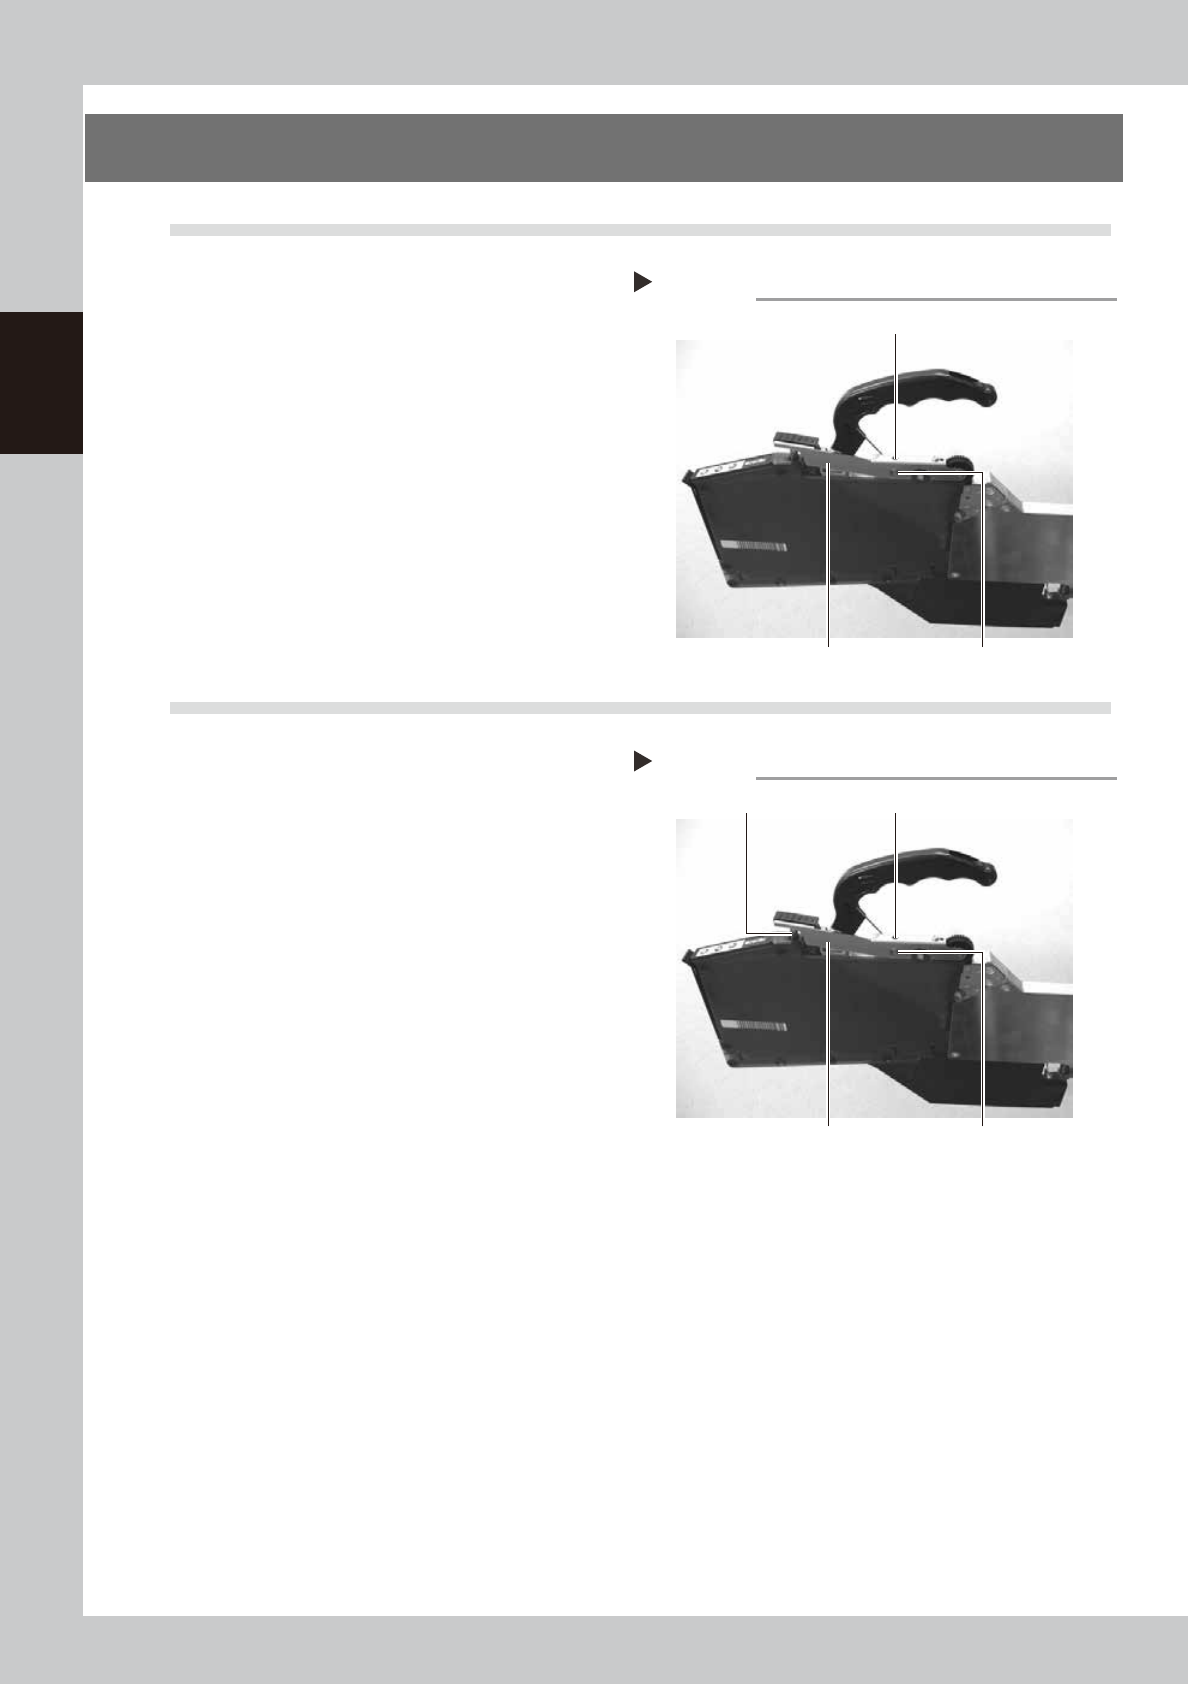
Remove the P/O lever assembly.
Loosen the setscrew securing the P/O lever 2
shaft with a hexagonal wrench (1.5), pull out
the P/O lever 2 shaft and remove the P/O
lever assembly.
63250-9L-00
12.2 Installation
1
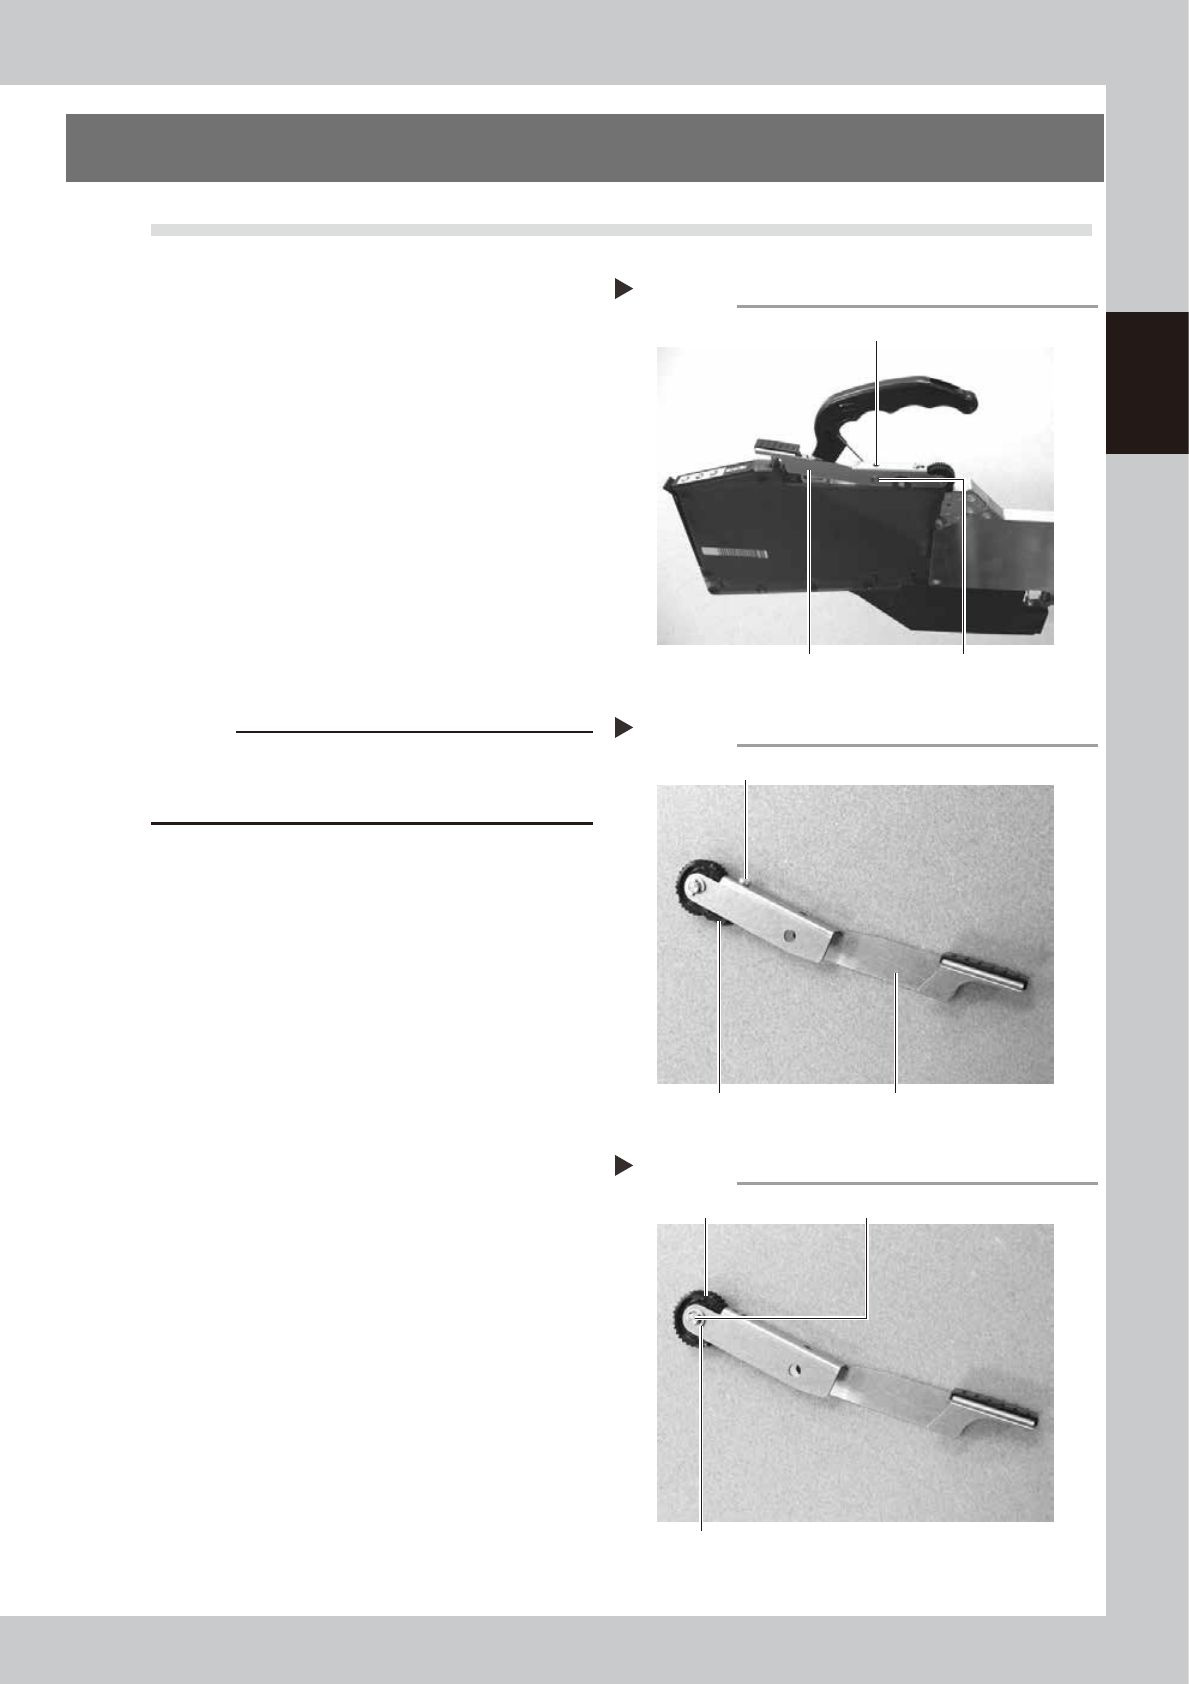
Install the P/O lever assembly.
Install the new P/O lever assembly while
fitting the spring, insert the P/O lever 2 shaft
and secure by tightening the setscrew with
the hexagonal wrench (1.5).
• Tightening torque: 40N·cm
63251-9L-00
Remove the P/O lever assembly
Step 1
P/O lever 2 shaft
Setscrew
P/O lever assembly
Installing the P/O lever assembly
Step 1
P/O lever 2 shaft
SetscrewSpring
P/O lever assembly
2-27
2
Replacing parts
13. P/O2 roller
13.1 Removal
1
Remove the P/O lever assembly.
Loosen the setscrew securing the P/O lever 2
shaft with a hexagonal wrench (1.5), pull out
the P/O lever 2 shaft and remove the P/O
lever assembly.
63250-9L-00
2
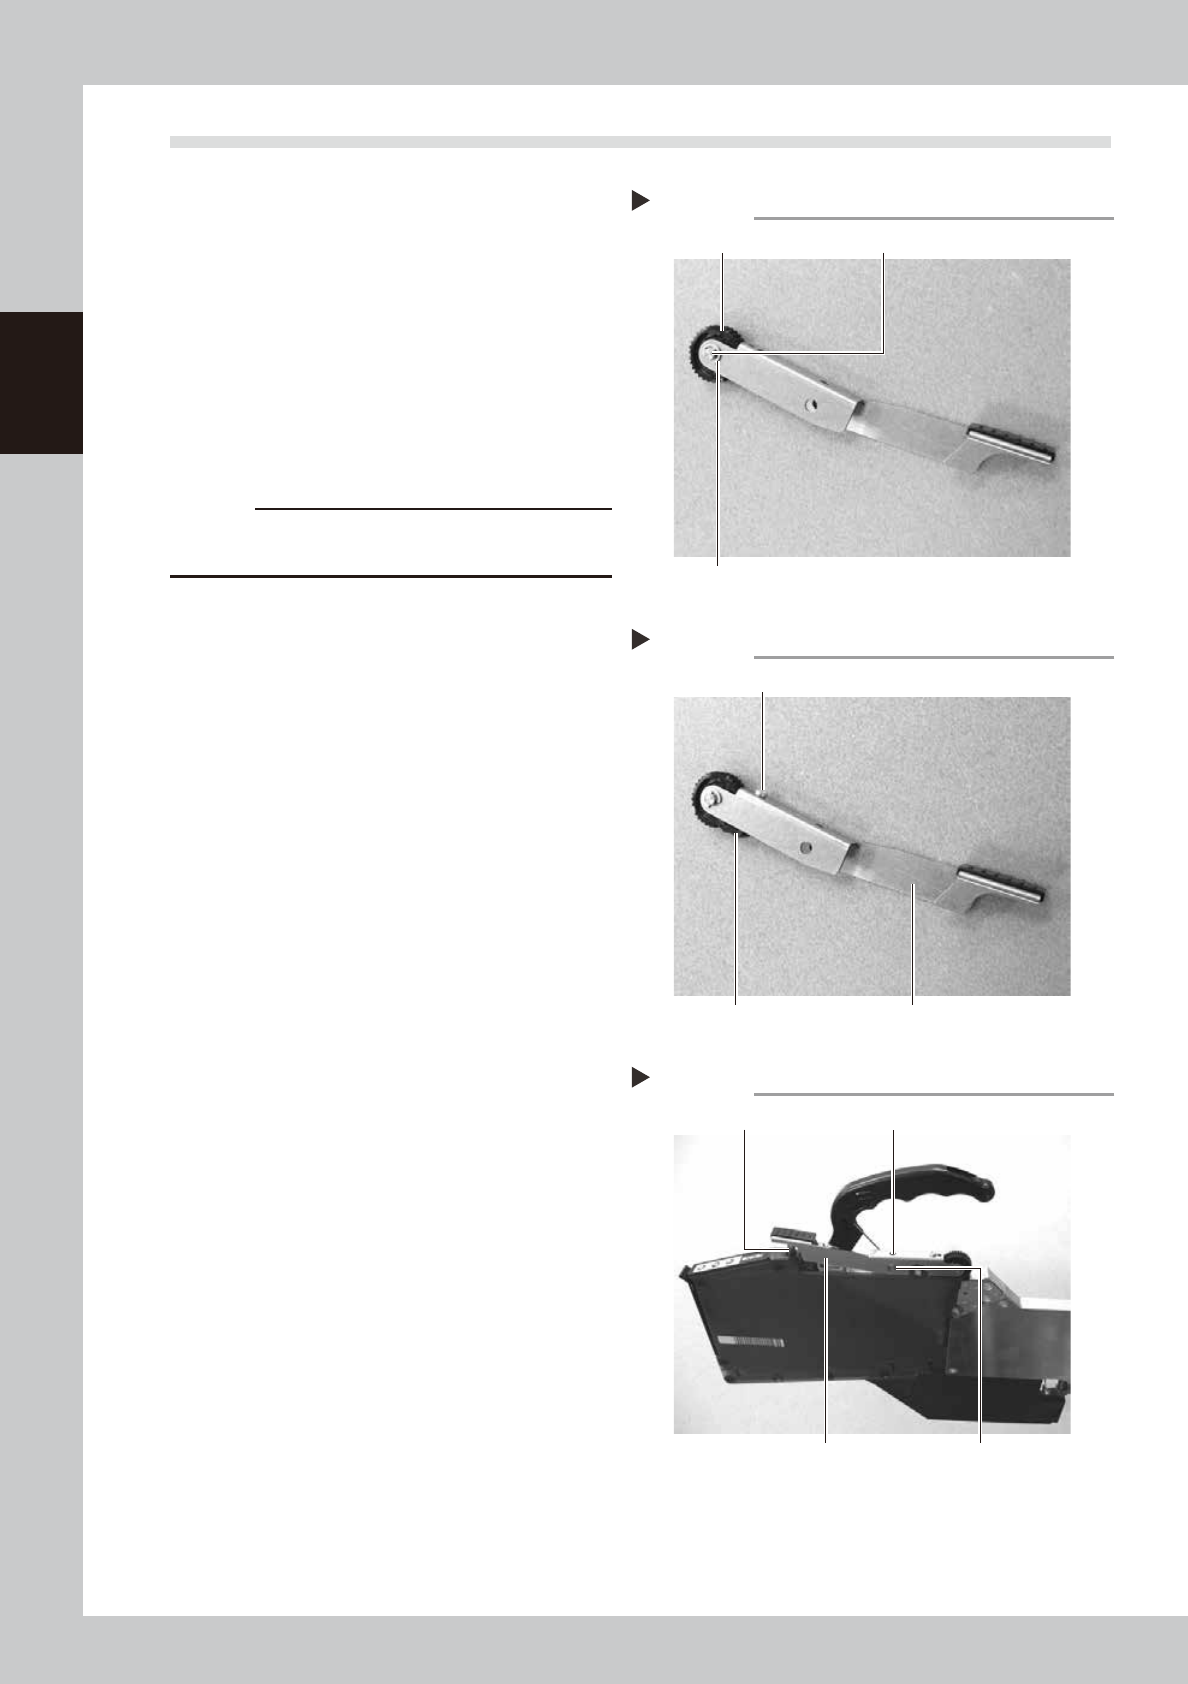
Remove the P/O tooth 2 block.
Remove the screw securing the P/O tooth 2
block with a Phillips screwdriver (No. 1).
63252-9L-00
3
Remove the P/O2 roller.
Remove the E-ring of the P/O lever 1 shaft
with a precision screwdriver (flat-blade) and
pull out the P/O lever 1 shaft to remove the
P/O2 roller.
63253-9L-00
c
CAUTION
· When removing the E-ring, pay attention not to lose it.
· The E-ring is an exclusive part. If it should be lost, do
not use any E-ring other than the specified one.
Remove the P/O lever assembly
Step 1
P/O lever 2 shaft
Setscrew
P/O lever assembly
Removing the P/O tooth 2 block
Step 2
P/O lever assembly
Screw
P/O tooth 2 block
Removing the P/O2 roller
Step 3
P/O2 roller P/O lever 1 shaft
E-ring
2-28
2
Replacing parts
13.2 Installation
1
Install the P/O2 roller.
Install the new P/O2 roller, insert the P/O
lever 1 shaft and install the E-ring with the
longnose pliers.
63254-9L-00
2
Install the P/O tooth 2 block.
Install the P/O lever assembly and P/O tooth
2 block by tightening the screw with the
Phillips screwdriver (No. 1).
• Tightening torque: 30N·cm
63255-9L-00
c
CAUTION
Turn the P/O2 roller and check if the P/O tooth 2 block
does not interfere with the P/O2 roller.
3
Install the P/O lever assembly.
Insert the P/O lever 2 shaft and secure it by
tightening the setscrew with a hexagonal
wrench (1.5).
• Tightening torque: 30N·cm
63256-9L-00
Installing the P/O2 roller
Step 1
P/O2 roller P/O lever 1 shaft
E-ring
Installing the P/O tooth 2 block
Step 2
P/O lever assembly
Screw
P/O tooth 2 block
Installing the P/O lever assembly
Step 3
P/O lever 2 shaft
Setscrew
P/O lever assembly
Spring