182050 User manual.pdf - 第111页
semi automatic 6(735()(5( 1&(6 ,1752'8& 7,21 Software Version 07SP02 User Manual 2.1 CHAPTER 2 SET PREFERENCES INTRODUCTION The Set Pr eferences funct ion allows f or the s etting of p referred machine cont…
semi automatic
0$&+,1(352*5$00,1*
67$7863$*(
1.100 User Manual Software Version 07SP02
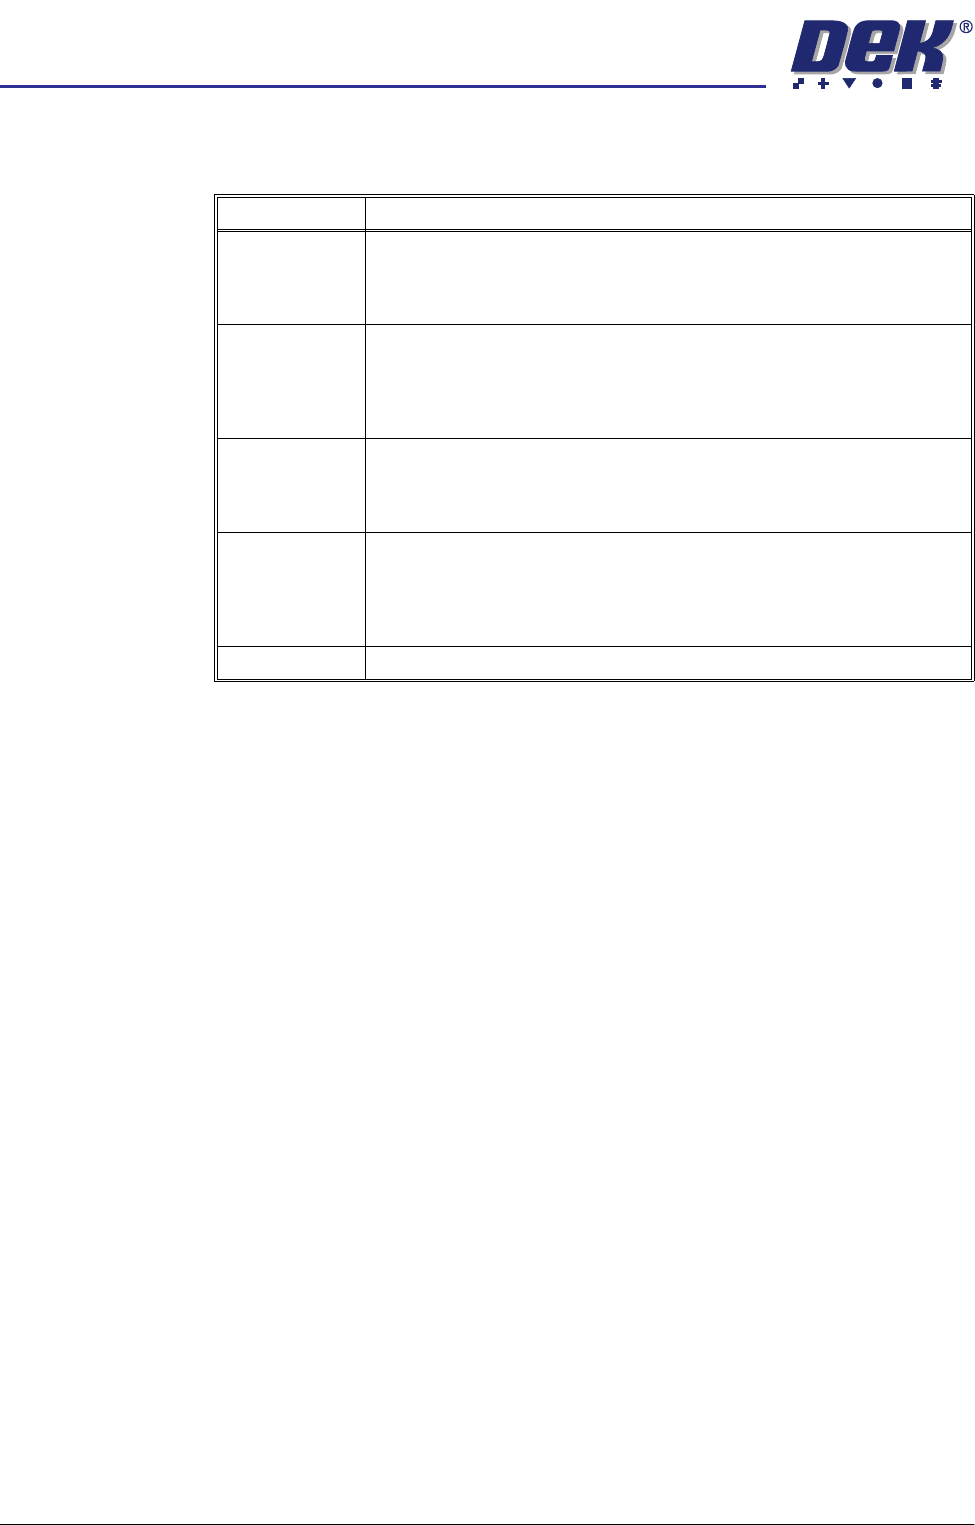
Rates The following table lists all the items that can be displayed in the Rates
information panel:
The Rates panel can display up to a maximum of 6 items.
Item Description
Batch Count/
Limit
The first figure displays the amount of boards printed in the current batch.
The second figure displays the total amount of boards to be printed in the
current batch. The batch count limit is set in Batch Limit in the Monitor
menu.
Board Count/
Limit
The first figure displays the amount of boards printed in the current board
count. The second figure displays the total amount of boards to be printed
in the current board count. The board count limit is set in Board Count in
the Edit Data menu. The board count limit allows a separate board count
to be set within the total batch count.
Paste Disp. Cnt/
Rate
The first figure displays the amount of boards printed since the last paste
dispense. The second figure displays the amount of boards to be printed
between each paste dispense. The paste dispense count/rate is set in
Paste Dispense Rate in the Edit Data menu.
Clean 1 Count/
Rate
The first figure displays the amount of boards printed since the last screen
clean mode 1 was carried out. The second figure displays the amount of
boards to be printed between each screen clean mode 1. The clean 1 count/
rate is set in Screen Clean Rate 1 in the Edit Data menu. This parameter
is only displayed while a blue or silver under screen cleaner is fitted.
Print Direction Displays the print direction for the next board to be printed.
semi automatic
6(735()(5(1&(6
,1752'8&7,21
Software Version 07SP02 User Manual 2.1
CHAPTER 2 SET PREFERENCES
INTRODUCTION
The Set Preferences function allows for the setting of preferred machine control
options.
To access the set preferences window proceed as follows:
1. Select Maint. (F8).
2. Select Set Prefs (F5).
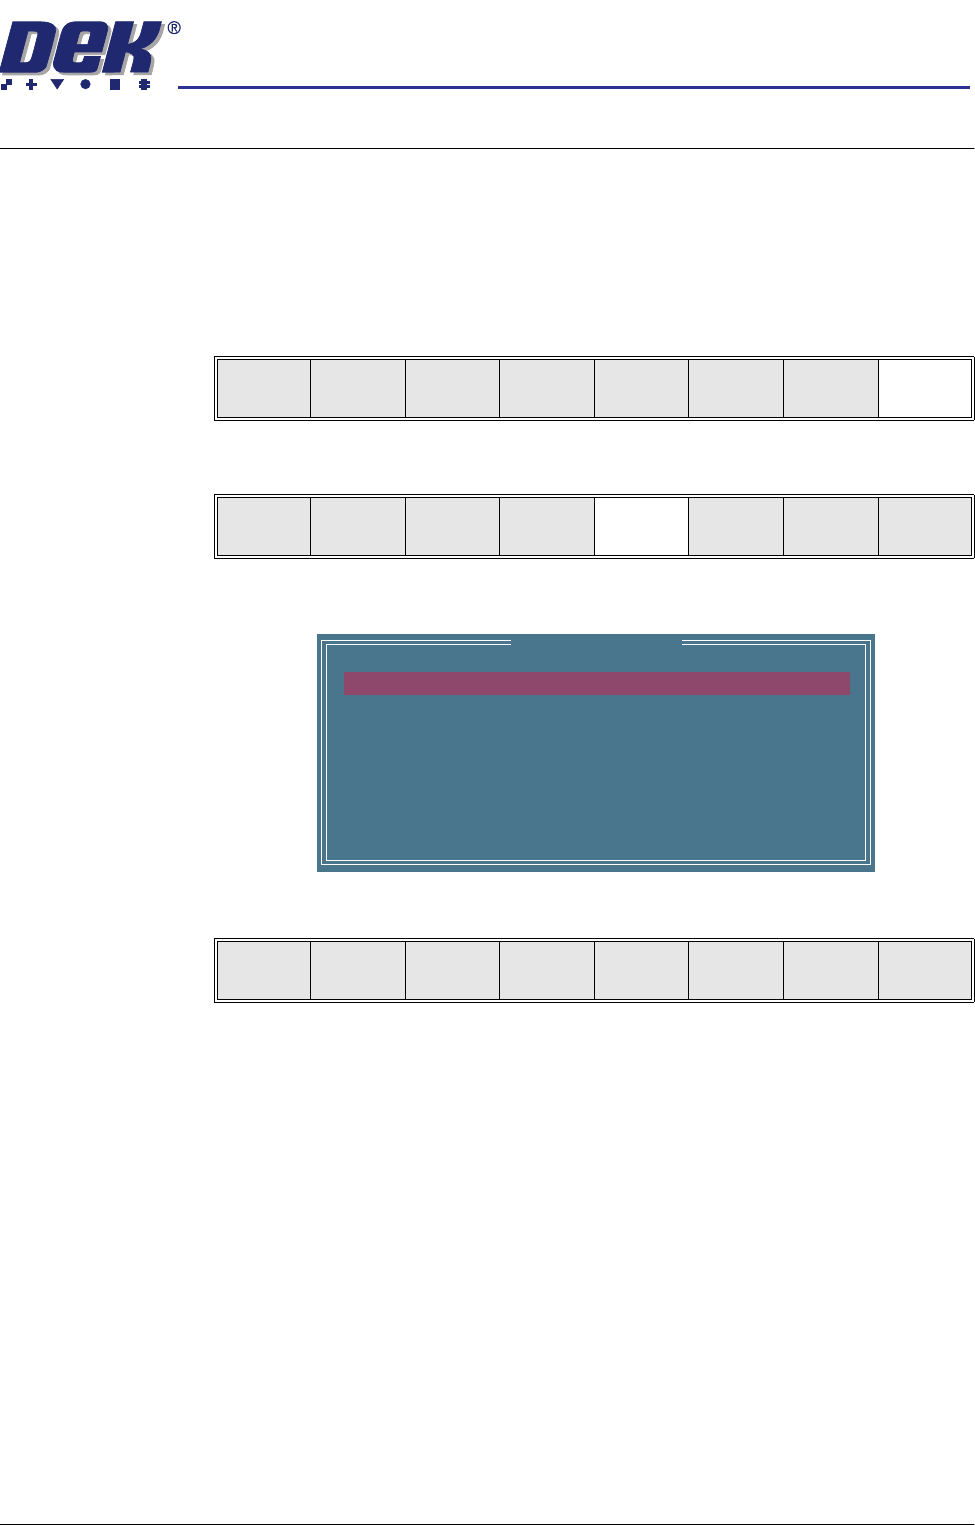
The set preferences window is displayed:
The menu bar changes to give the following options:
Next and Previous move the highlight between the various parameters.
Incr. and Decr. alter the value of the highlighted parameter.
Run
Open
Cover
Paste
Load
Clean
Screen
Setup Monitor Maint.
Calibrat
Pressure
Calibrat
Offset
Calibrat
Vision
House
Keeping
Set
Prefs
Diagnost
Te st
Cycles
Exit
Set Preferences
MACHINE UNITS
TOOLING HARDWARE
PRESSURE H/W
SCREEN SIZE
2D INSPECTION
IMAGE RECORDING
BOARD STOP X OFFSET
MACHINE LOCATION
UNDER SCREEN CLNR
Metric
PLAIN
NOT FITTED
265
DISABLED
OFF
28.0 mm
VACUUM
Next Previous Incr. Decr. Exit
semi automatic
6(735()(5(1&(6
35()(5(1&(6
2.2 User Manual Software Version 07SP02
PREFERENCES
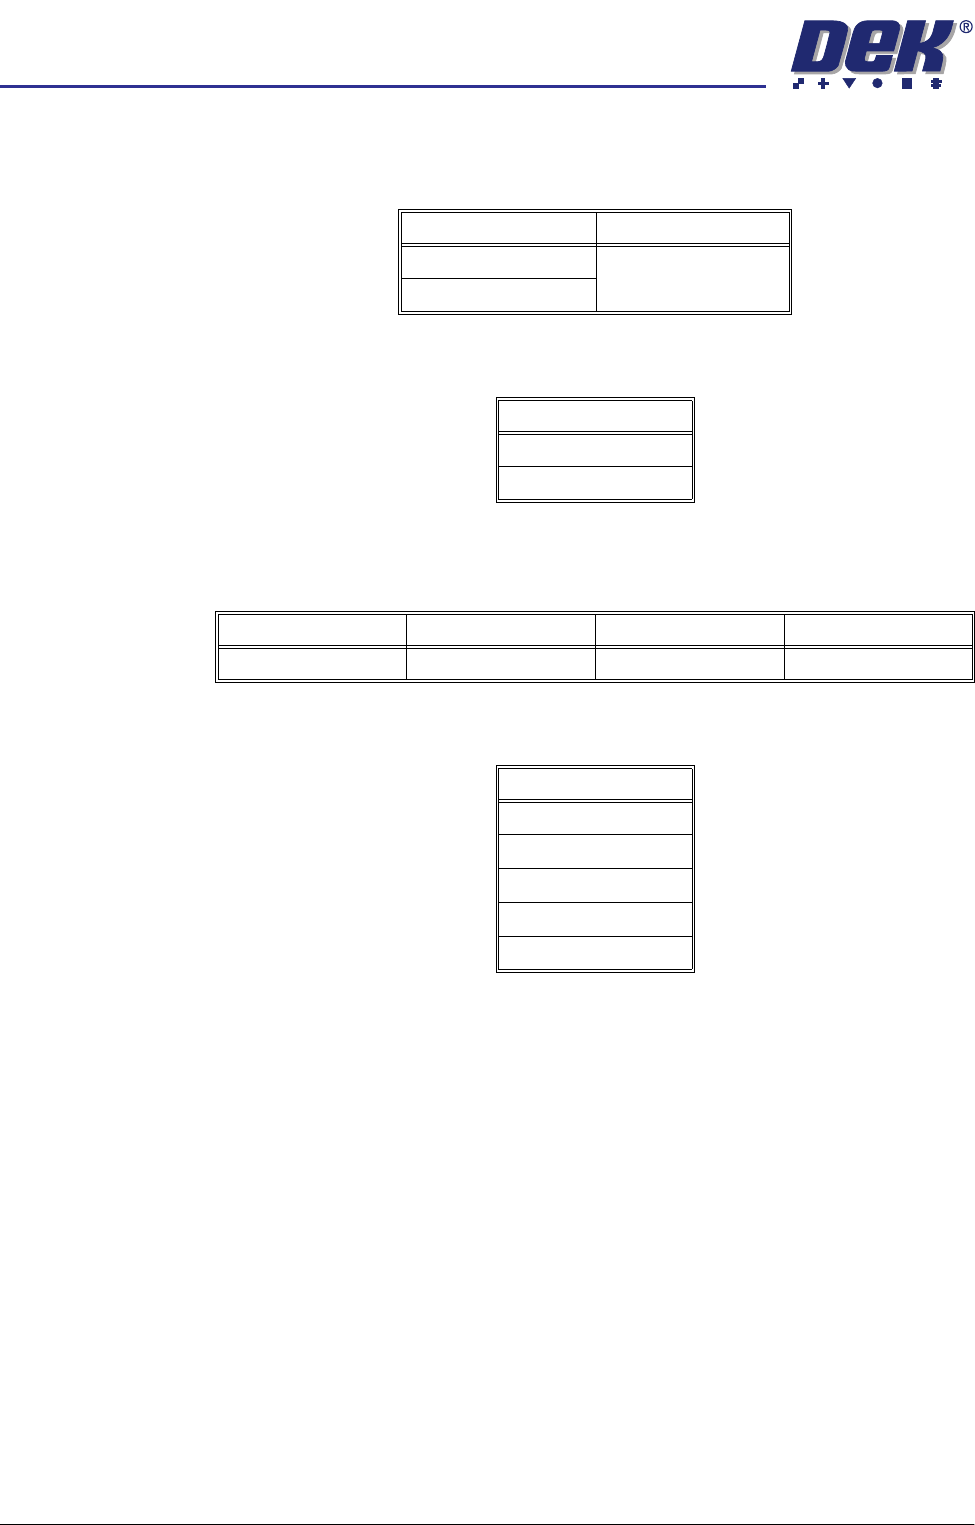
Machine Units Sets the unit of measurement, options are:
Tooling Hardware Sets which type of tooling is fitted, these options are:
ProFlow Contact
Position
This parameter sets the height of the ProFlow printhead so that it just touches
the stencil surface.
Screen Size Sets the screen size frame, these options are:
With Screen Library enabled the printer is provided with detailed screen dimen-
sional information from a ‘read only’ library. This information is stored within the
machine configuration and product files.
Once selected in Set Preferences, detailed frame dimensions are provided to
the printer. In Edit Current Process Parameters, the parameter Image Data
provides comprehensive location and mesh details to the printer.
To enable screen library files carry out the following:
1. Highlight Screen Size in the Set Prefs page.
2. Using Incr. or Decr. select Screen Library.
Edit Data is now available on the menu bar.
Options Default
Metric Metric
Imperial
Options
Vacuum
Plain
Minimum Maximum Increment Default
- 10mm +10mm 0.1mm 0.0mm
Options
265
Fuji
249
Sanyo
Library