182050 User manual.pdf - 第17页
semi automatic 0$&+,1 (352*5 $00,1 * 67$*($ ),7 648((* ((6 Software Version 07SP02 User Manual 1.7 ST AGE 4A - FIT SQUEEGEES If ProFlow was us ed when running the last product , carry out the ProFl ow to Squee…
semi automatic
0$&+,1(352*5$00,1*
67$*((',7$352'8&7),/(
1.6 User Manual Software Version 07SP02
7. Use either the Incr. and Decr. keys (F6 - F7) or the forward slash key (/) on
the keyboard to change the parameter value.
NOTE
A definition of all editable parameters is contained at the end of this chapter.
8. Select Save (F2). The message ‘Saving fiducial data - Please wait Board
data file saved’ is displayed.
9. Repeat Steps 6 - 8 for the remaining parameters.
10. Select Exit (F8).
Save Next Previous Incr. Decr. Exit
Save Next Previous Incr. Decr. Exit
Save Next Previous Incr. Decr. Exit
semi automatic
0$&+,1(352*5$00,1*
67$*($),7648((*((6
Software Version 07SP02 User Manual 1.7
STAGE 4A - FIT SQUEEGEES
If ProFlow was used when running the last product, carry out the ProFlow to
Squeegee Replacement Procedure, (Squeegee Module chapter - Replacement
Procedures of Technical Reference manual refers).
1. Select Setup (F6).
2. Select Setup Squeegee (F4).
3. Select Change Squeegee (F1).
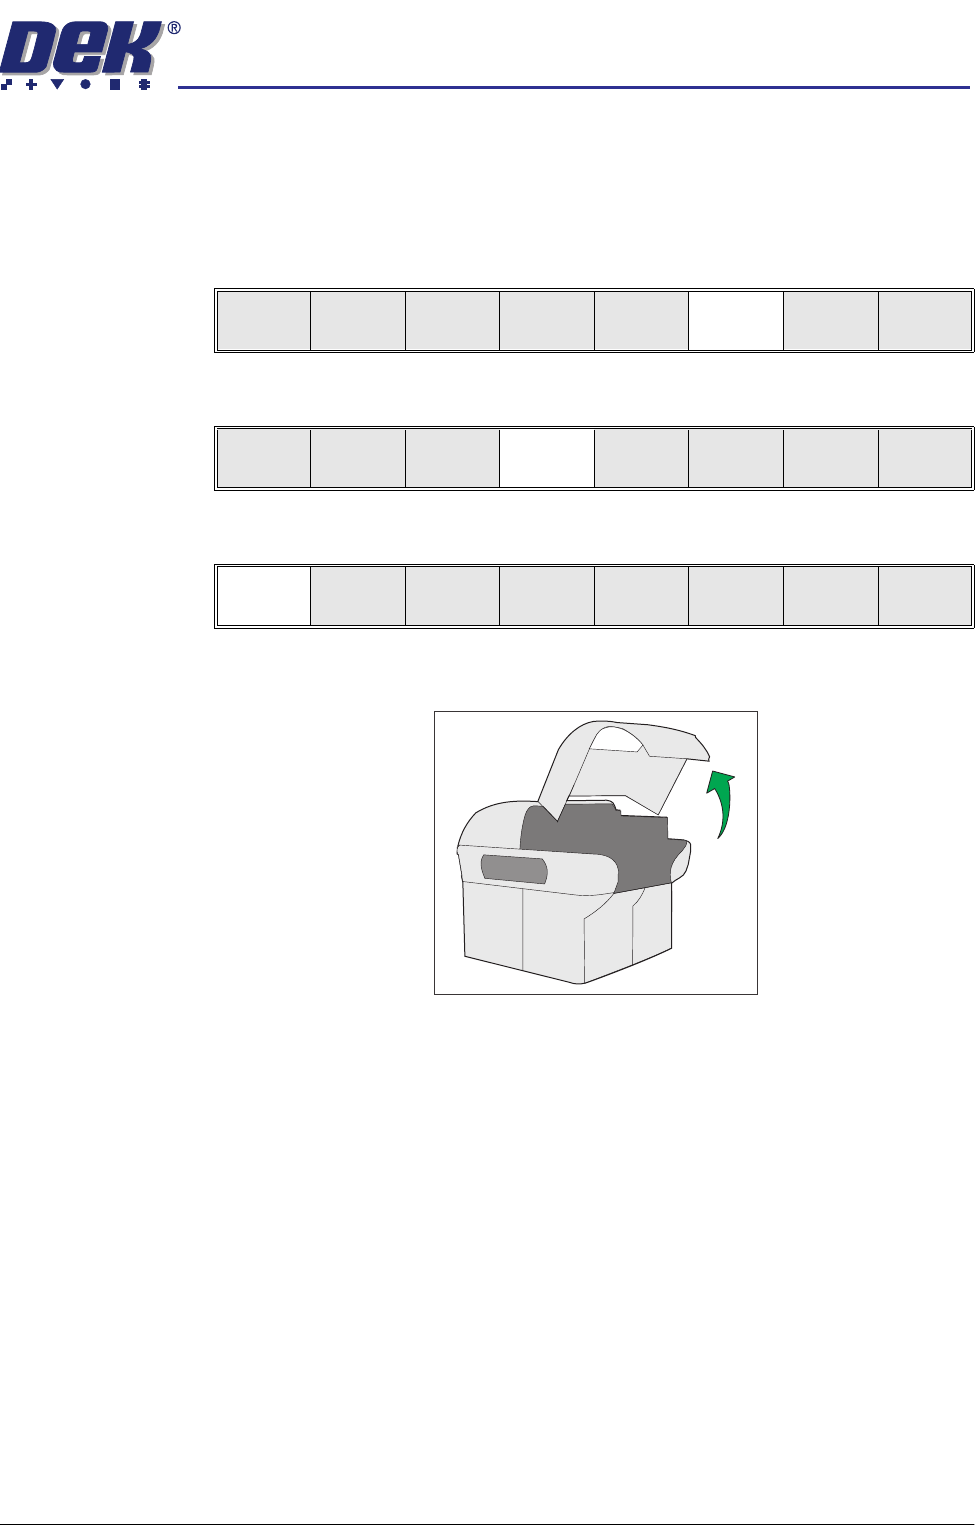
4. Raise the printhead cover.
5. Before fitting the squeegees to the machine, fix the paste deflectors to each
end of the squeegee assemblies, using the screws supplied. Ensure that
the bottom edge of the deflector is above the lower edge of the squeegee
blade. The setting of the paste deflectors is carried out later in this chapter.
NOTE
The deflectors are handed so care must be taken to fix the correct deflector
to each end of the squeegee assemblies.
Run
Open
Cover
Paste
Load
Clean
Screen
Setup Monitor Maint.
Mode
Load
Data
Edit
Data
Setup
Squeegee
Change
Screen
Change
Tooling
Change
Language
Exit
Change
Squeegee
Calibrat
Heights
Exit
semi automatic
0$&+,1(352*5$00,1*
67$*($),7648((*((6
1.8 User Manual Software Version 07SP02
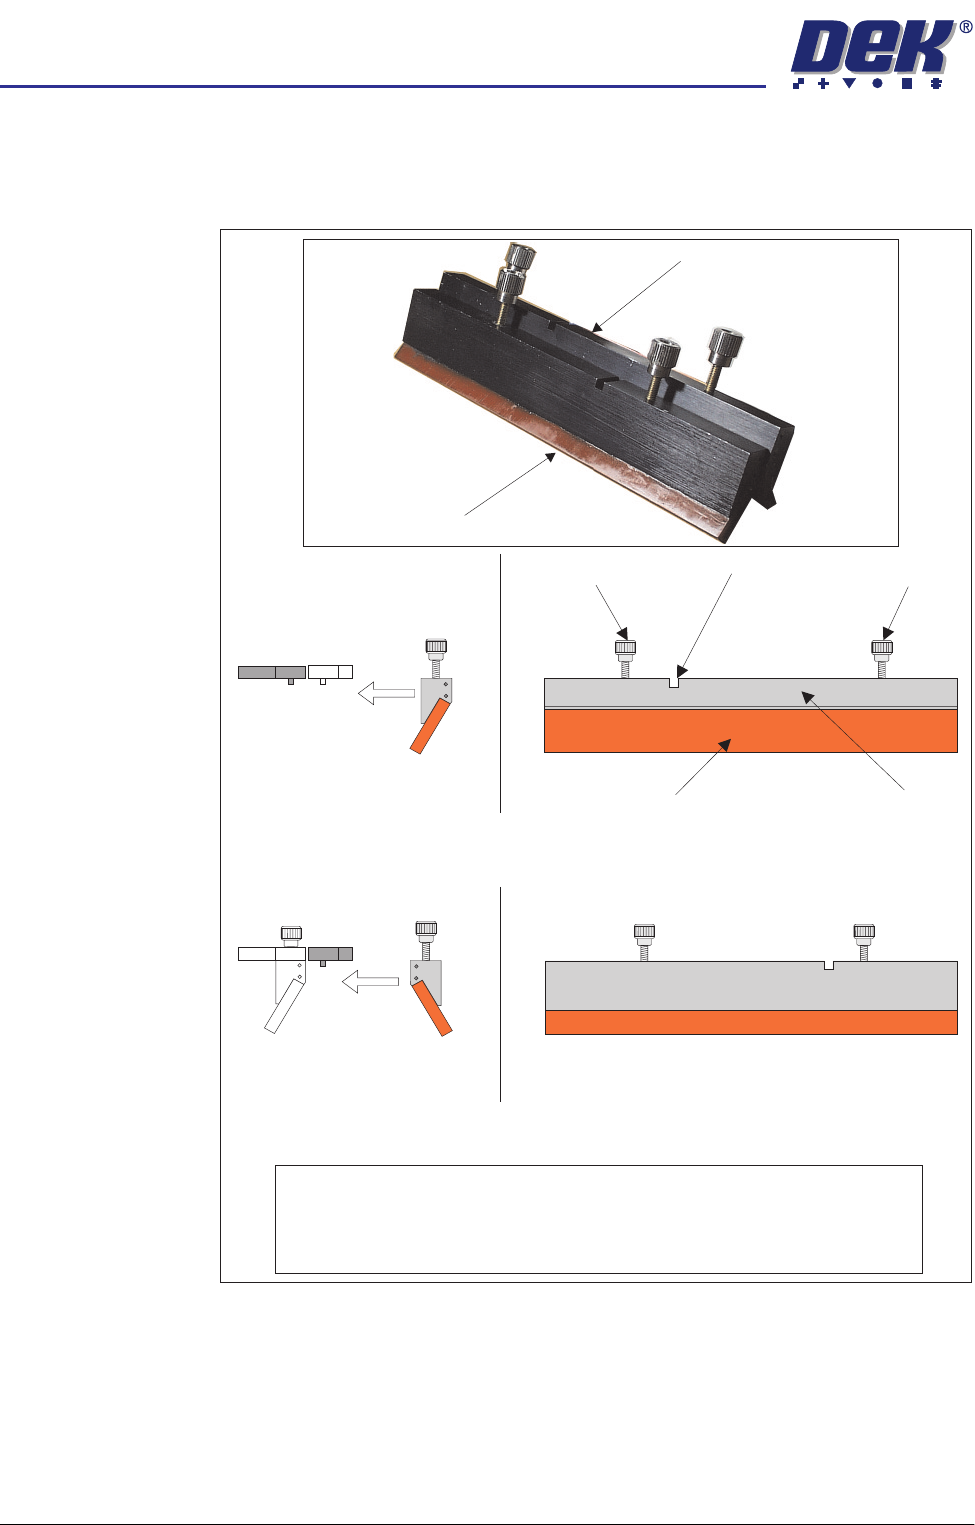
The front and rear squeegees must be fitted in the correct positions. Each
squeegee has a keyway machined into it to ensure that it cannot be
incorrectly fitted.
NOTE
To prevent incorrect orientation when fitting squeegees, the locking screws on
the rear squeegee are positioned wider apart than those on the front
squeegee. Keyway slots are also in different positions.
Rear Squeegee
Front Squeegee
Rear Squeegee (Front View)
Front Squeegee (Front View)
Squeegee Blade Squeegee Holder
Locking Screw Keyway
Locking Screw
Fit to Rear
Squeegee Mount
Fit to Front
Squeegee Mount
Side View of Squeegee
and Squeegee Mounts
Side View of Squeegee
and Squeegee Mounts