182050 User manual.pdf - 第57页
semi automatic 0$&+,1 (352*5 $00,1 * 67$*( ()2 50)/(; 722/,1* Software Version 07SP02 User Manual 1.47 23. Slide the appropri ate size and number of FormFlex blanking plat es on to the tooling modules out side…
semi automatic
0$&+,1(352*5$00,1*
67$*(()250)/(;722/,1*
1.46 User Manual Software Version 07SP02
15. Select Generic Tooling (F7). The print carriage moves to the front of the
machine.
The following window and menu bar are displayed:
NOTE
If contaminated squeegees are fitted, these should be replaced at this point.
16. Select Continue (F1). Cleaner moves to the Home position and the print
carriage moves to the rear of the machine. The message ‘Table at Home
Height’ is displayed.
17. Select Transprt Height (F3), the message ‘Table at Transport Height’ is
displayed.
18. Place a board at the input sensor of the transport rail.
19. Select Load (F1).
20. Select Auto Board (F1).
21. Select Open Cover (F7).
22. Raise the printhead cover.
Adjust
Open
Cover
Home
Cleaner
Board
Stop
Full
Width
Load
Width
Generic
Tooling
Exit
Generic Tooling Warning
WARNING Paste may drip into the machine
Remove Squeegees NOW
Continue
Open
Cover
No
Continue
Open
Cover
No
Load
Transpr t
Height
Board
Clamp
Change
Screen
Open
Cover
Exit
Load
Vision
Height
Home
Height
Board
Clamp
Change
Screen
Open
Cover
Exit
Auto
Board
Manual
Board
Unload
Vision
Height
Home
Height
Board
Clamp
Change
Screen
Open
Cover
Exit

semi automatic
0$&+,1(352*5$00,1*
67$*(()250)/(;722/,1*
Software Version 07SP02 User Manual 1.47
23. Slide the appropriate size and number of FormFlex blanking plates on to the
tooling modules outside the area of the squeegees/ProFlow transfer head.
Secure the plates using the thumbscrews.
24. If ASM is fitted continue with Step 25. If the standard chase is fitted go to
Step 27b.
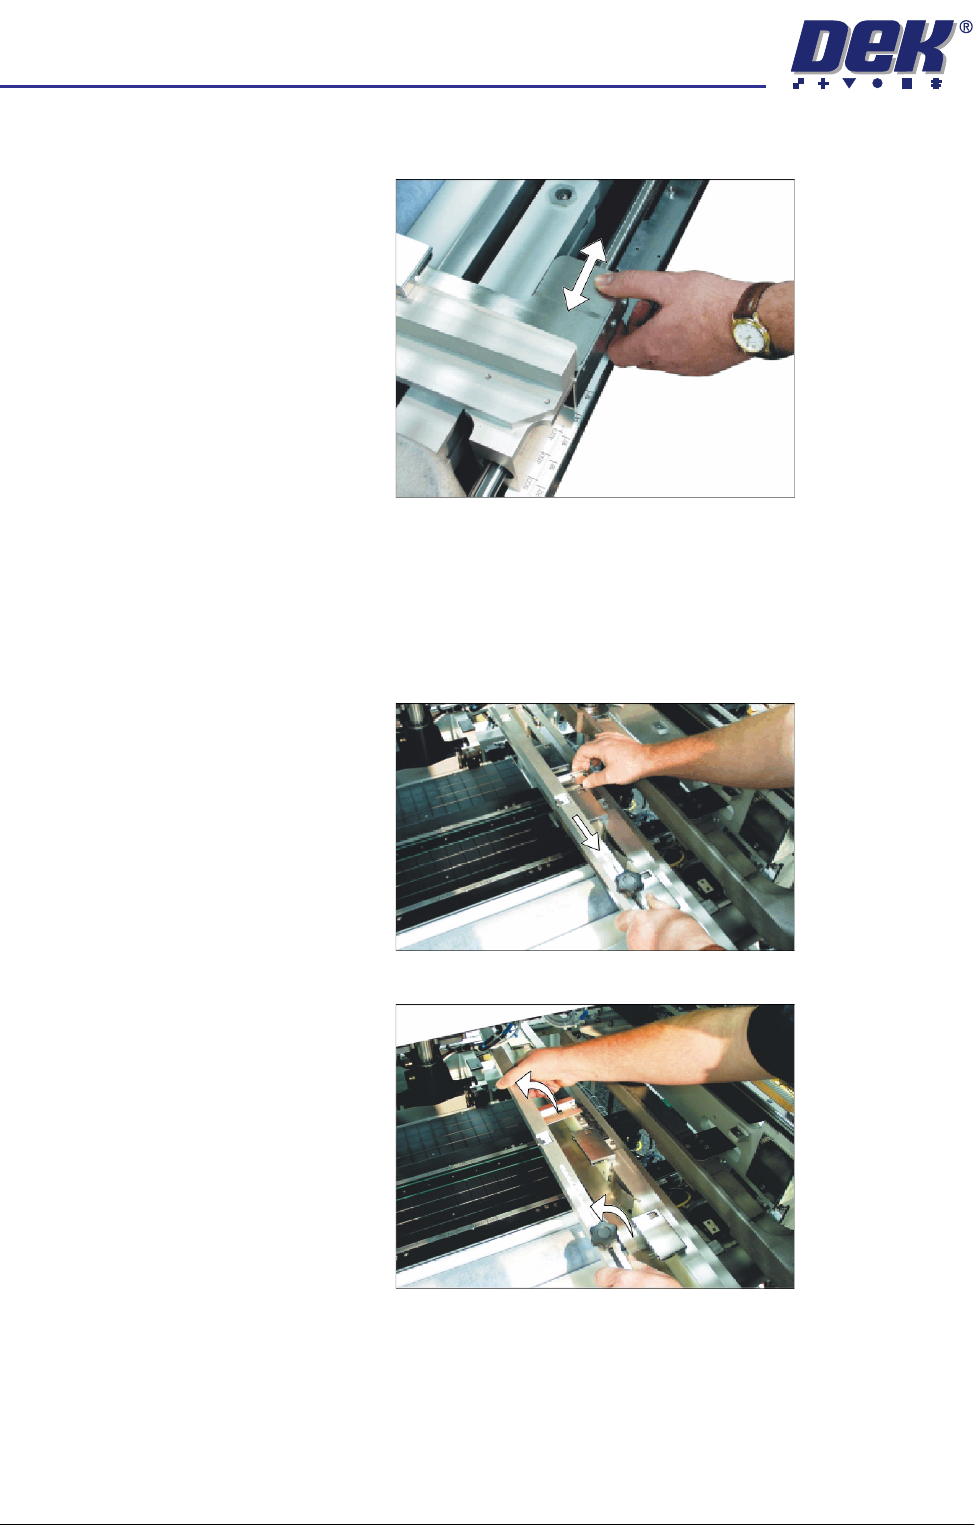
25. To adjust the width of the chase rails to accommodate the stencil for the
product file loaded, carry out the following:
a. Press and hold the left hand chase rail push button valve.
semi automatic
0$&+,1(352*5$00,1*
67$*(()250)/(;722/,1*
1.48 User Manual Software Version 07SP02
b. Slide the left hand chase rail to the desired position indicated on the
graduated scale.
c. Release the push button valve.
d. Repeat the procedure for the right hand chase rail.
26. If the stencil size is less than 29″ x 29″ the screen depth adjuster position is
to be adjusted as follows:
a. Slide the screen depth adjuster towards the front of the machine.
b. Lift the adjuster clear of the two locating screws.