M3plus_OperationManual_e.pdf - 第68页
3 - 3 3 Creating the PCB data 2 Enter a PCB name in the "File name" box on the Create tab screen. Enter a PCB name within 20 alphanumeric characters from the keyboard. n NOTE A space cannot be included in a PCB…

3
Creating the PCB data
3-2
2. Registering and selecting the PCB name
2.1 Registering PCB names
To create new PCB data for production, you must first register the PCB name. There are
some methods for registering a PCB name.
1. Registering a new PCB name
If no basic data is found in the previously registered PCB data. You should register a new PCB
name with empty data and then enter necessary data.
2. Utilizing PCB data already registered
Make a copy of PCB data which is already registered in the machine.
3. Converting CAD data or other manufacturer's mounter data
After converting CAD data or other manufacturer's mounter data into a standard format, take its
component coordinate data into the machine to create data that can be used with i-PULSE full
vision series mounters.
The following steps explain the procedure in "1. Registering a new PCB
name".
1
Press the [Create] button on the Setup screen.
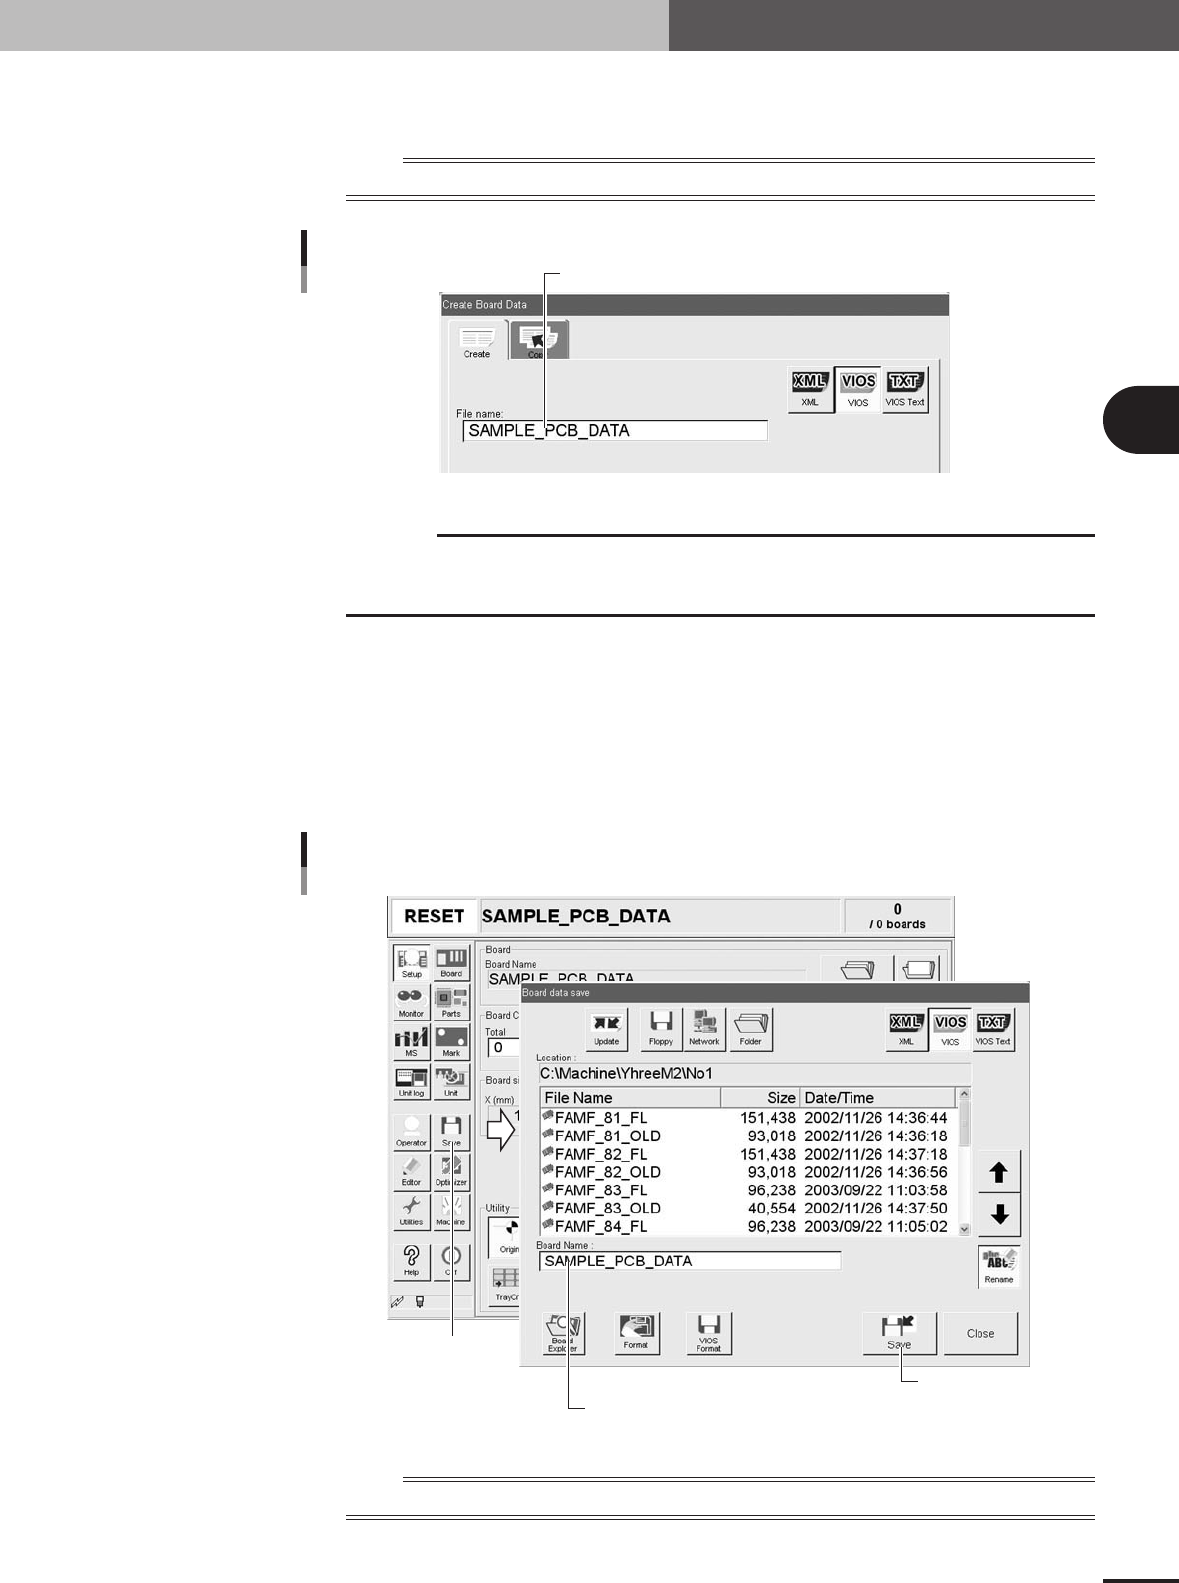
The "Create Board Data" dialog box appears as shown below.
[Create] button
Select the format to save data.
[Create] button
27401-5E-20
3 -3
3
Creating the PCB data
2
Enter a PCB name in the "File name" box on the Create tab screen.
Enter a PCB name within 20 alphanumeric characters from the keyboard.
n
NOTE
A space cannot be included in a PCB name. Use underbars instead.
Enter the PCB name and press [OK].
Entering a PCB name
27402-5E-20
c
CAUTION
An alert dialog appears if a PCB data with the same name has already been registered. Register
it with another PCB name in this case. Pressing the [OK] button on the alert dialog box will
overwrite the existing PCB data.
3
Press the [OK] button.
The display returns to the Setup screen.
4
Save the new PCB data.
1.Press the [Save] button in the main menu button area.
The Save dialog box appears showing the PCB list.
2.Check the drive, folder and file type to save the PCB data and press [Save] button.
Saving the PCB data
[Save] button
[Save] button
Check that the PCB name to be saved is displayed.
27403-5E-20
n
NOTE
VIOS format data should be saved in the "No 1" folder and XML format data in the "My Programs" folder.
2. Registering and selecting the PCB name
3 -4
3
Creating the PCB data
2.2 Selecting the PCB data
Proceed as follows to select the PCB data you already registered.
1
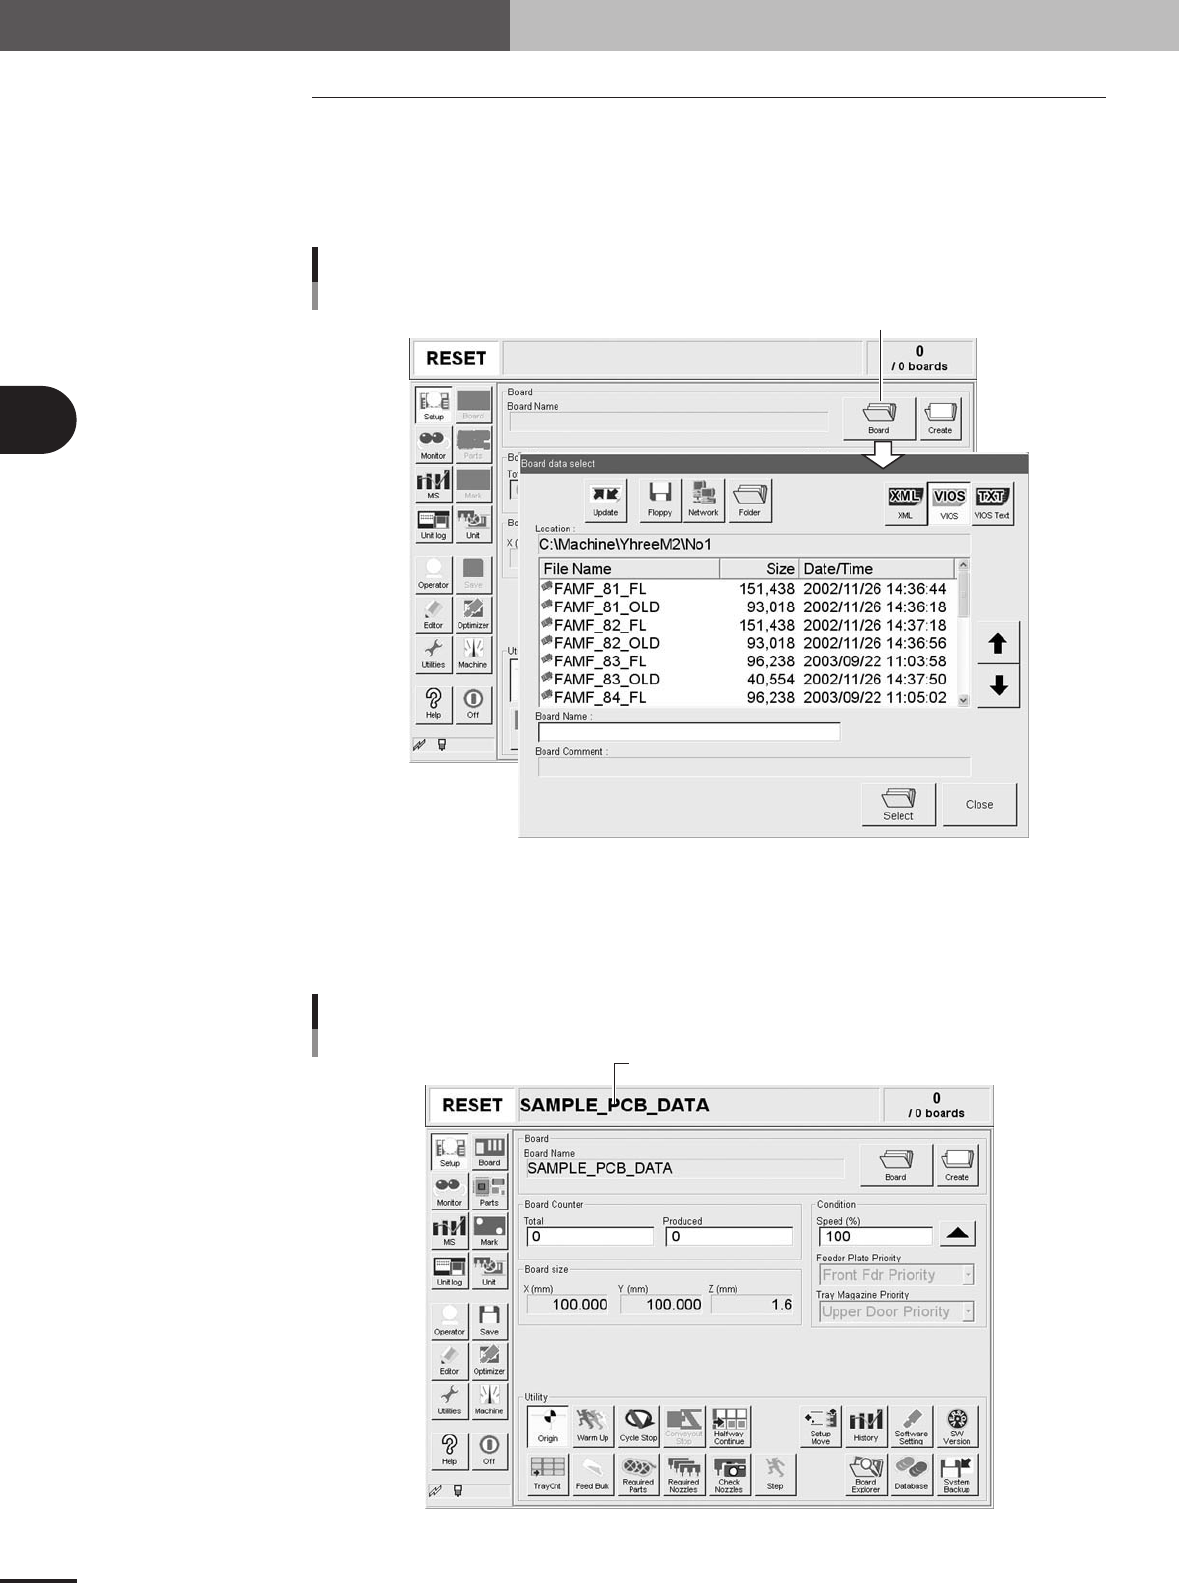
Press the [Board] button on the Setup screen.
The "Board data select" dialog box appears as shown below, showing the registered
PCB list.
[Board] button
[Board] button
27404-5E-20
2
Select the PCB name.
Line up the cursor with the PCB data you want to select and press the [Select] button.
The selected PCB data is loaded and its name is displayed on the status bar of the
operation screen.
Selected PCB name
Selected PCB name
27405-5E-20
2. Registering and selecting the PCB name