YSM20R_YSM20WR_Mainte_E.pdf - 第136页
4-1 4 Maintenance of options 1. Ionizer As the ionizer is used for a long time, the discharge needle (electrode) is worn out and deteriorates. Additionally , the periodic cleaning work is needed to maintain the static el…

Chapter 4 Maintenance of options
Contents
1. Ionizer 4-1
1.1 Cleaning the ionizer discharge needle (Monthly) 4-2
1.2 Replacing the ionizer discharge needle (2-year) 4-3
2. UPS (Uninterruptible Power Supply) 4-4
2.1 Replacing the UPS battery (3-year) 4-4
3. Nozzle station 4-5
3.1 Checking and cleaning nozzle sensor (1 year) 4-5
4-1
4
Maintenance of options
1. Ionizer
As the ionizer is used for a long time, the discharge needle (electrode) is worn out and deteriorates.
Additionally, the periodic cleaning work is needed to maintain the static elimination effect.
n
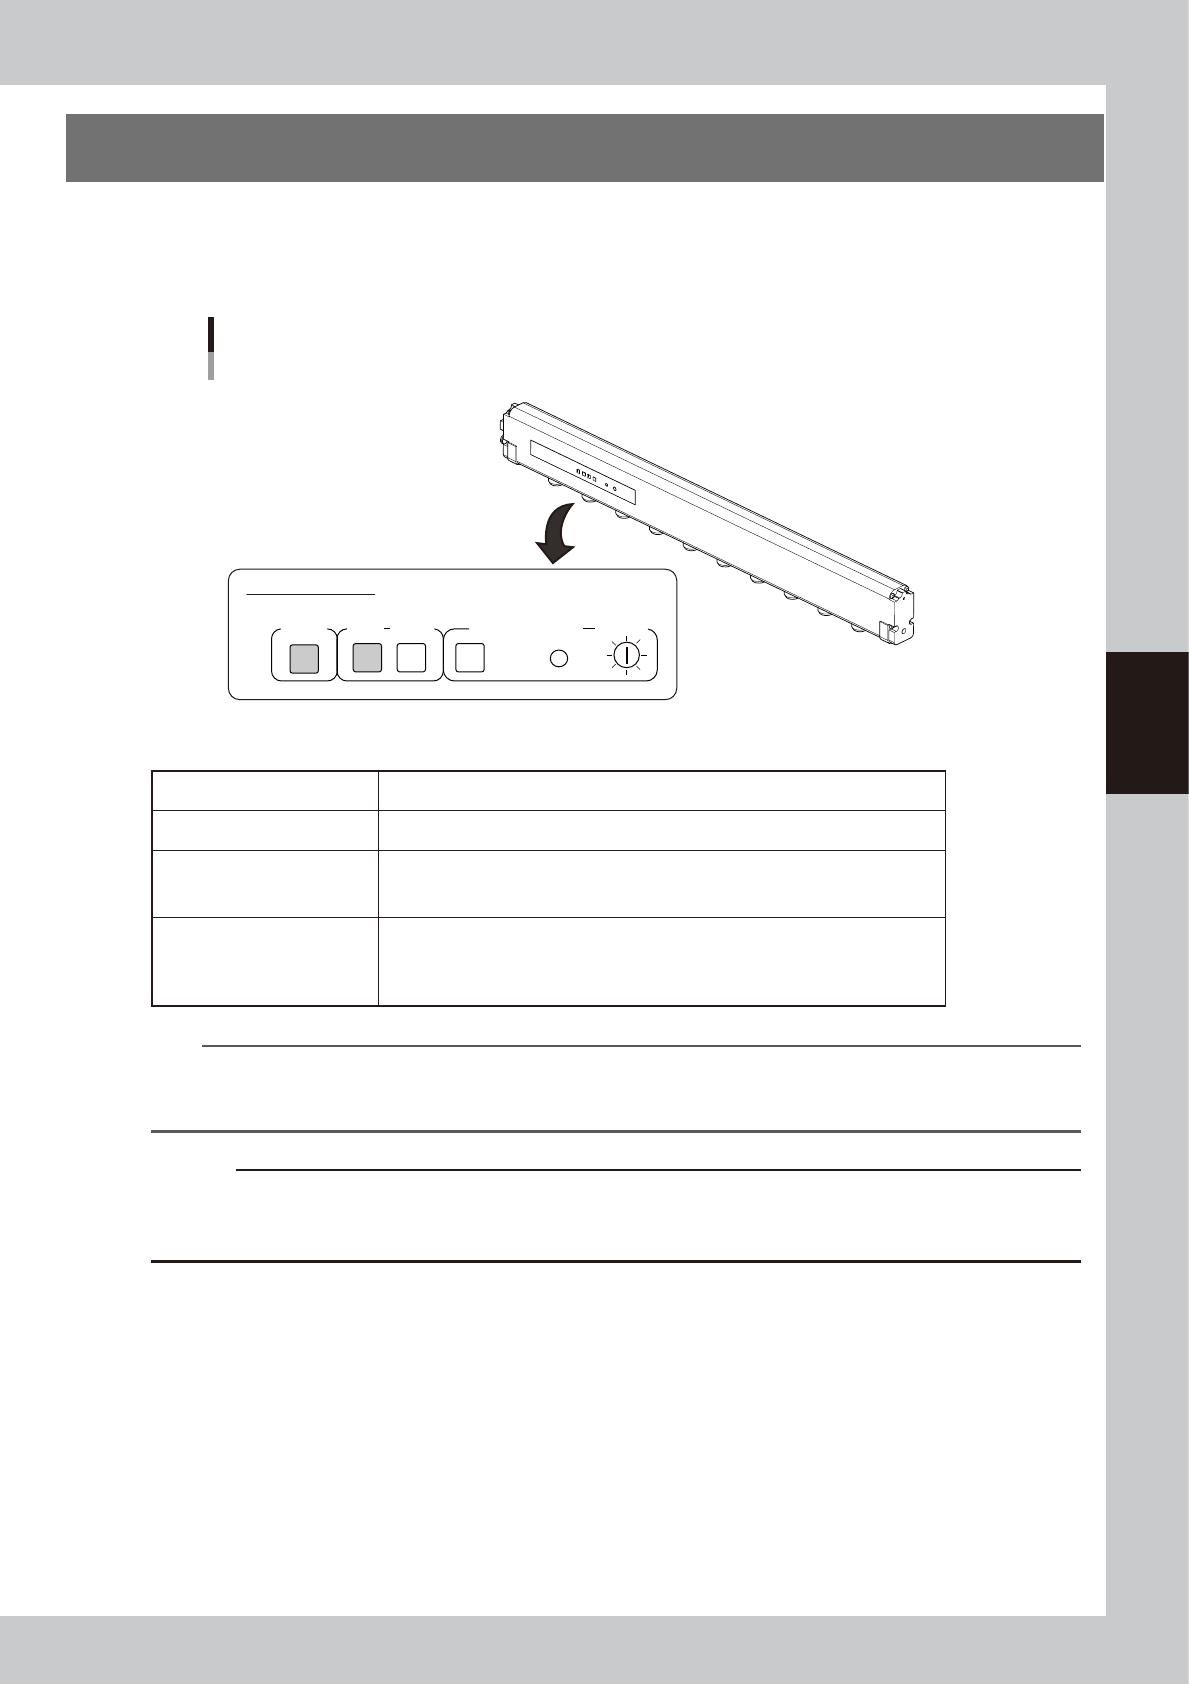
LED display on ionizer main unit
Ionizer
Indicator panel
Ionizer indicator panel
POWER ALARMRUN
CLEANING
RESET
CLEANING TIMER
T SELECT
53400-KMK-00
n
Ionizer indication
POWER The green LED lights up when the electric power is supplied normally.
RUN The green LED stays on during the normal operation.
ALARM
The red LED lights up if the discharge needle has deteriorated or an inner unit/
device is experiencing an error. The machine main body also generates an
alarm.
CLEANING TIMER
When the duration of time set up by operating the trimmer of T.SELECT has
expired, the “CLEANING” yellow LED lights up. Pressing the “RESET” button
makes the yellow LED go out. * Note that this timer is not set up at the time of
shipping from the factory.
n
NOTE
The performance and capability of the ionizer to remove static electricity depends on the operating environment or
the materials and shape of the items that the static electricity is removed. YAMAHA does not guarantee such
performance or capability.
c
CAUTION
The tip of the ionizer discharge needle is sharp and the voltage is applied. The power supply to the ionizer is stopped
by opening the safety cover. However, make sure not to touch the tip of the ionizer discharge needle when
performing maintenance in the machine.
4-2
4
Maintenance of options
1.1 Cleaning the ionizer discharge needle (Monthly)
Perform this work monthly or if the LED on the ionizer main unit is lit red.
1
Power off the ionizer.
1.
Press the emergency stop button and
then open the machine safety cover to
stop the power supply to the ionizer.
2.
Check that the green LED of the "POWER"
on the ionizer is turned off.
w
WARNING
A VOLTAGE REMAINS ON THE DISCHARGE NEEDLE
IMMEDIATELY AFTER TURNING OFF THE POWER. BE AWARE
THAT TOUCHING THE DISCHARGE NEEDLE IMMEDIATELY
AFTER TURNING OFF THE POWER IS HAZARDOUS.
2
Turn off the air supply.
Turn the air supply/exhaust switch (valve) on
the lower left of the machine clockwise (EXT)
to turn off the main air.
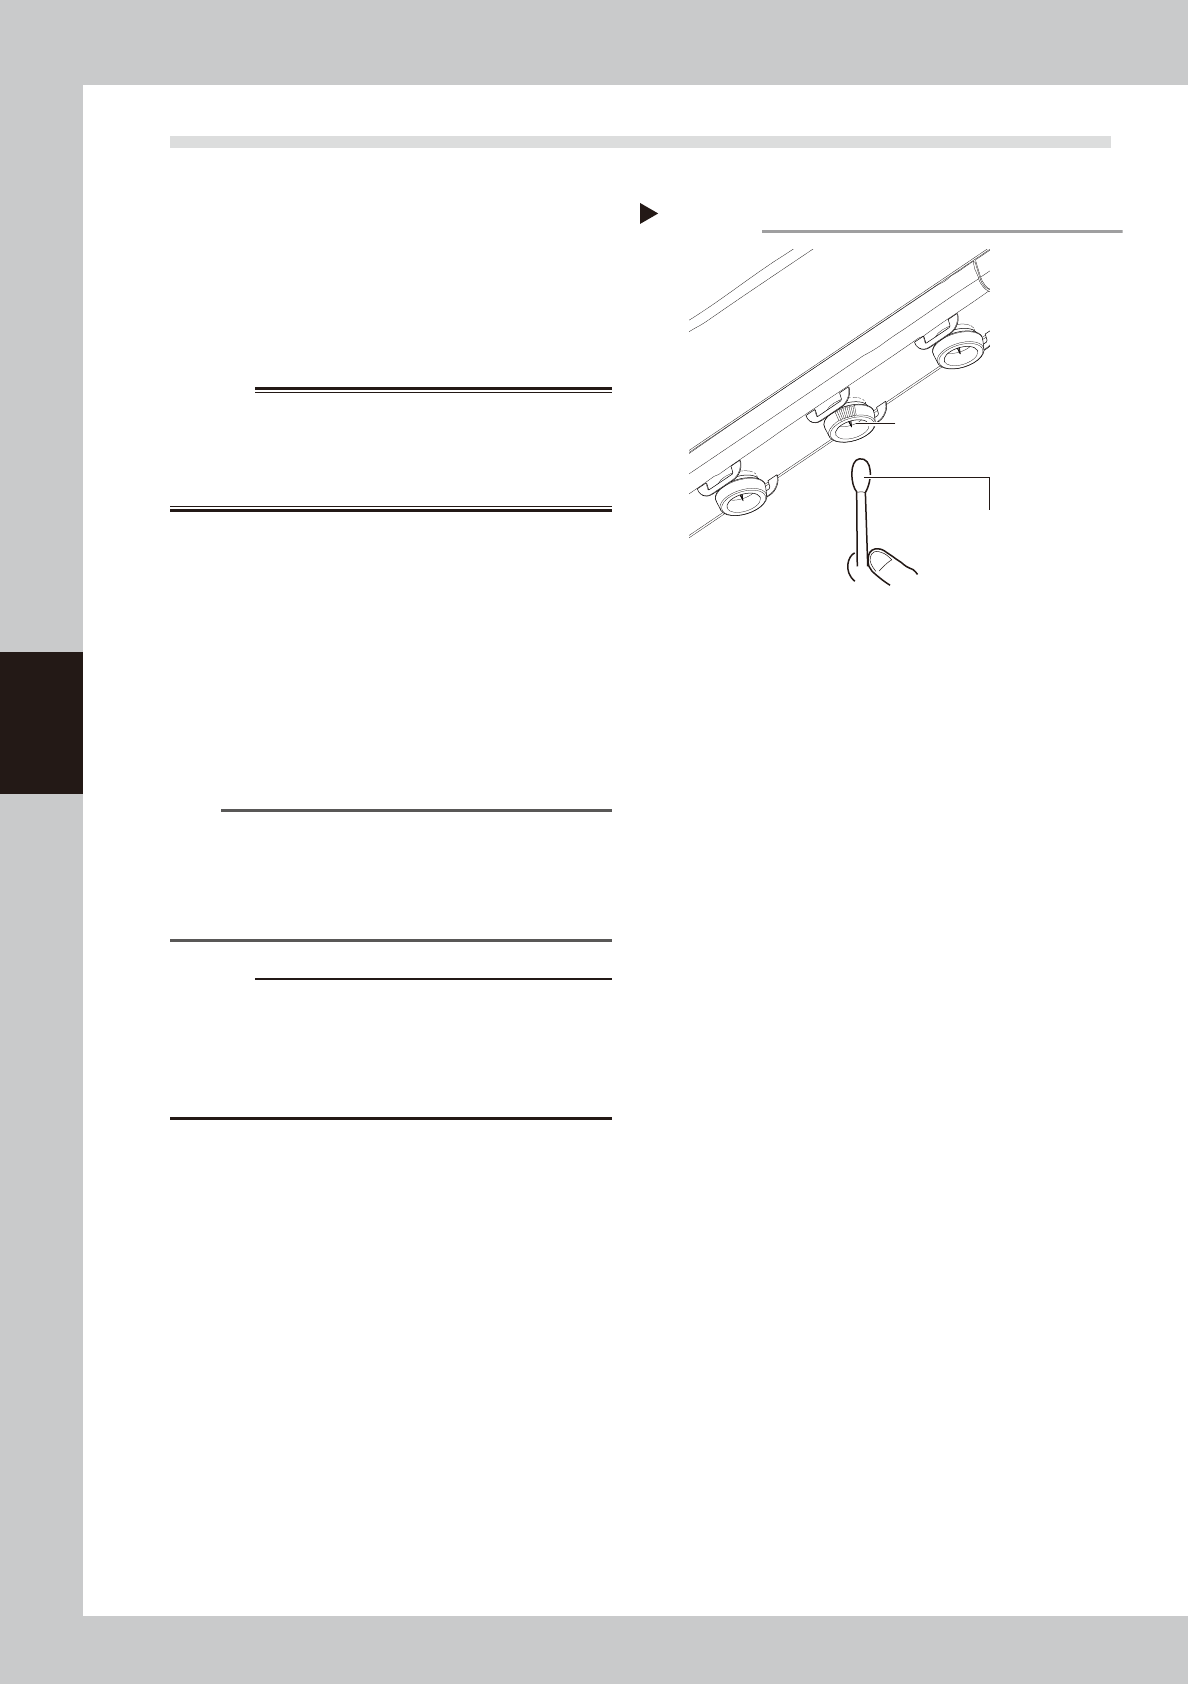
3
Clean the discharge needle.
1. Apply absolute ethanol to a cotton swab
slightly and clean the discharge needle.
2. Leave the cleaned discharge needle for
a while until it dries.
n
NOTE
It is also possible to clean the discharge needle by
detaching the discharge needle unit. See "1.2
Replacing the ionizer discharge needle (2-year)" on
next page for attaching and detaching the discharge
needle unit.
c
CAUTION
Do not dip the discharge needle unit to the absolute
ethanol when cleaning the detached discharge needle
unit. If applying a high voltage while absolute ethanol
remains in the unit, the ionizer main unit may be
damaged.
4
Supply the air and power on the
ionizer.
1. Turn the air supply/exhaust switch and
supply the air to the machine.
2. Close the machine safety cover and
press the [READY] button.
3.
Check that the green LED of the "POWER"
on the ionizer is turned on. Make sure that
no error is occurring.
Step 3
Cotton swab with
absolute ethanol
Cleaning the discharge needle
Discharge needle
53401-KMK-00