00196497-07_SM_SXDX12_en.pdf - 第273页
Settings 4.5.3 Jumpers on the Nozzle Changer N ozzle Changer Setting Service Manual SIPLACE SX1/SX2/DX1/DX2 FS02 273 Setting ► Set the correct value on the jumpe r for your head type, softw ar e and control method. Nozzl…
Settings
Nozzle Changer Setting 4.5.3 Jumpers on the Nozzle Changer
272 Service Manual SIPLACE SX1/SX2/DX1/DX2 FS02
4.5.3
4.5.3 Jumpers on the Nozzle Changer
Jumpers on the Nozzle Changer
Overview
Preparation
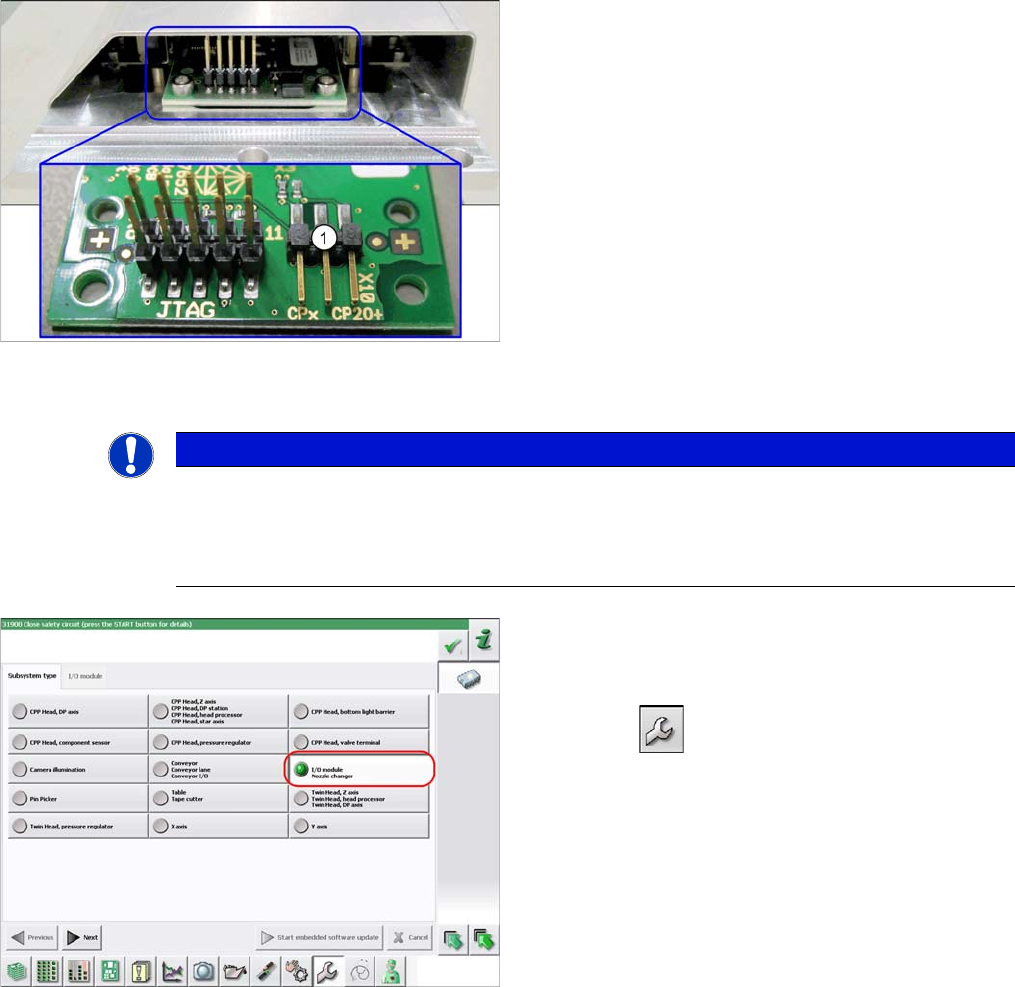
1. Jumper X10
The jumper X10 needs to be set at the following nozzle
changers:
▪ Nozzle changer basic structure CPx/all assembly -
short [03103649-xx]
▪ Nozzle changer basic structure CPx/all assembly -
long [03103514-xx]
NOTICE
Before installation
Due to the design, this setting must be performed before installation in the machine.
► If the new nozzle changer is being fitted as a spare part in a machine with I/O module con-
trol, you will need to reconnect the jumper to pin 1-2.
To check whether the machine has I/O module control,
proceed as follows:
► Switch over to the operator level Service.
► Select the button.
► Select the button Embedded Software.
► Select the button Update Subsystem.
► If I/O module control is present, you will see the entry
Nozzle Changer at I/O Module.

Settings
4.5.3 Jumpers on the Nozzle Changer Nozzle Changer Setting
Service Manual SIPLACE SX1/SX2/DX1/DX2 FS02 273
Setting
► Set the correct value on the jumper for your head type, software and control method.
Nozzle Changer CP20P - Jumper X10
Jumper X10
See also
5.5.2 Nozzle Changer Main Board C&P20P [03107652-xx] [ ➙ 330]
Head SW <= 706.x SW >= 707.x
I/O controller XFCU I/O controller XFCU
CPx, DLM 1-2 1-2 1-2 2-3
C&P20 P --- --- --- 2-3 (factory set-
tings)
Settings
Conveyor Settings 4.6.1 Belt Tension
274 Service Manual SIPLACE SX1/SX2/DX1/DX2 FS02
4.6
4.6 Conveyor Settings
Conveyor Settings
See also
5.3.1 TSP400 [03057341-xx] [ ➙ 321]
5.3.2 TSP400E [03057342-xx] [ ➙ 325]
4.6.1
4.6.1 Belt Tension
Belt Tension
The precalculated values for setting the belt tension can be found in the following chapters.
In addition, the value for any section of the conveyor belt can be calculated using a formula. (See "4.6.1.4
Calculating the Belt Tension" [ ➙ 277])
4.6.1.1
4.6.1.1 Setting the Tension of the Conveyor Drive Toothed Belt
Setting the Tension of the Conveyor Drive Toothed Belt
Parts, equipment and tools
Prerequisite
► Use the software to move the conveyor sides into the position which allows you best access. Alter-
natively, you can also loosen the conveyor side clamps on the dual conveyor (see "3.6.1 Loosening
the Conveyor Side Clamps" [ ➙ 143]).
► Switch off the machine, disconnect it from the power supply and secure it to prevent unauthorized
reactivation. Observe the instructions in section "1.2 Preparatory Work..." [ ➙ 13].
► The motor needs to be loosely fastened with three screws. Do not tighten these screws fully yet.
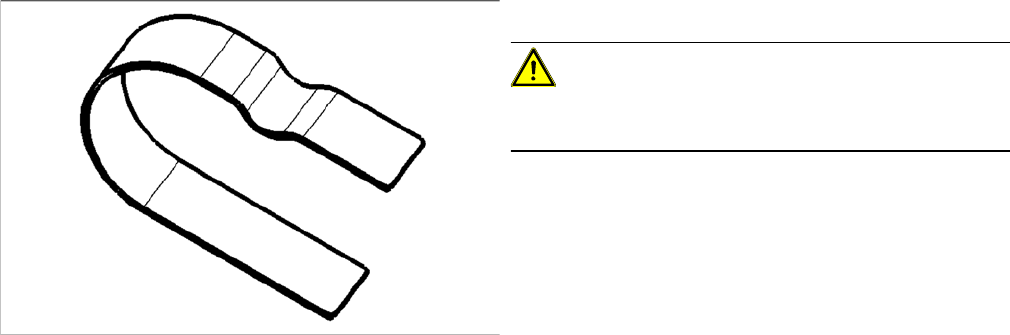
▪ Flat spiral spring [03075316-xx]
CAUTION!
If the flat spiral spring is used frequently or is bent, correct
setting can no longer be guaranteed.