KE-750_MS.pdf - 第80页
(5) Replace silencer and elbow union. Take care ful note of solenoid valve tap hole numbering. [E] - Silencer [A], [P] - Elbow union (6) Follow steps (1) ~ (5) in reverse sequence to reassemble. 4. Union Filter Replaceme…
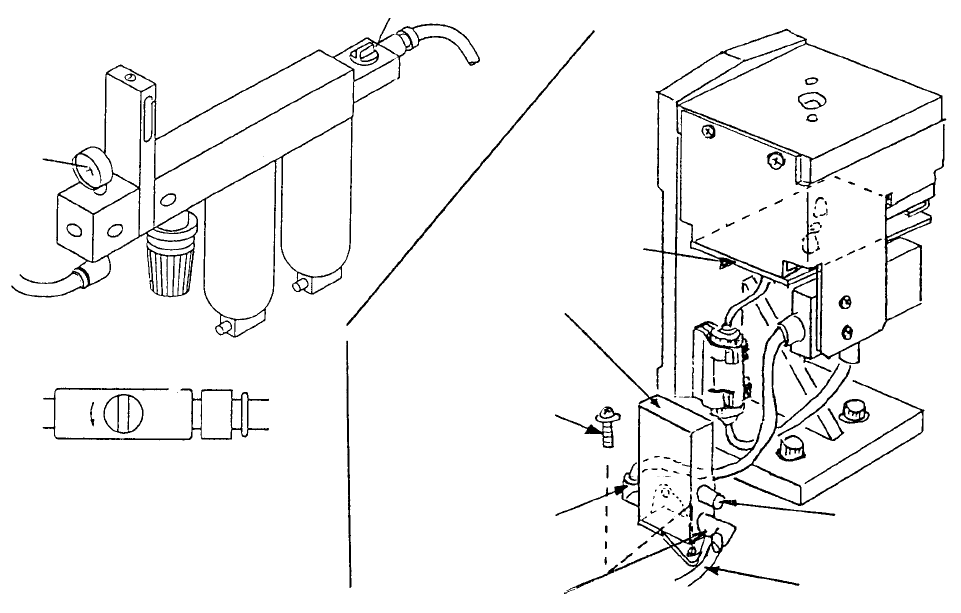
3. CAL Vacuum ON Cable Replacement
(1) Close hand valve at back of main body.
(2) Disconnect both φ6mm air tubes from elbow unions.
(3) Disconnect cable of CAL vacuum ON cable assy from CAL block PWB assy.
(4) Remove the 2 SEMS cap screws and remove CAL vacuum ON cable assy.
Silence
r
PX058001000
φ 6mm air tube
PJ304065101
Elbow union
PJ304040505
M3 SEMS cap scre
w
CAL vacuum
ON cable assy
E93677250A0
CAL bloc
k
PWB assy
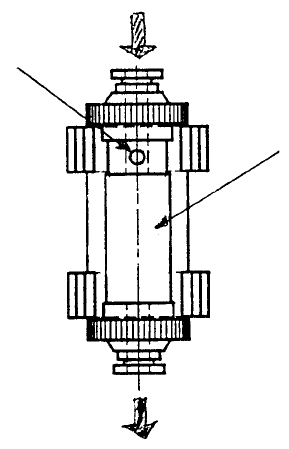
1. Hand valve
(A) When closed
Hand valve
Fig. 6-3-1 Fig. 6-3-2
1-72
(5) Replace silencer and elbow union. Take careful note of solenoid valve tap hole numbering.
[E] - Silencer
[A], [P] - Elbow union
(6) Follow steps (1) ~ (5) in reverse sequence to reassemble.
4. Union Filter Replacement
The union filter is replaced by removing it from the holder and separating the air tube. When replacing
with a new filter, be sure the orientation is correct.
to Ejecto
r
Union
Hole
from CAL plate
Fig. 6-4-1
1-73
Chapter 7 ATC Unit
1. Air Cylinder Replacement
(1) Close hand valve at the lower right of main body.
(2) Remove the 2 M6 SEMS cap screws to separate support angle from main body.
(3) Remove ATC and M3 SEMS cap screw and remove air cylinder (Detach φ4 air tube).
(4) Attach ATC OPN & CLS sensor assemblies straight onto the new air cylinder.
ATC CLS
sensor assy
A
TC OPN sensor ass
y
A
TC join
t
M3 SEMS cap scre
w
A
ir cylinde
r
A
TC support angle
M6 SEMS cap
screw
Fig. 7-1-1
1-74