Forte Max Manual.pdf - 第33页
ForteMAXDispensingSystemAddendum Recipe Creation © 2023 Nordson Corporation 29 6. Define the patt ern fiducials. In this example, it is recommended to use two corner fiducials (Figure 4-8). Refer to t he Canvas Dispe…
ForteMAXDispensingSystemAddendum Recipe Creation
28 © 2023 Nordson Corporation
4.4.1.2 Creating the Pattern
In this section, we will create a pattern that will dispense four (4) lines around each cell.
To create a pattern:
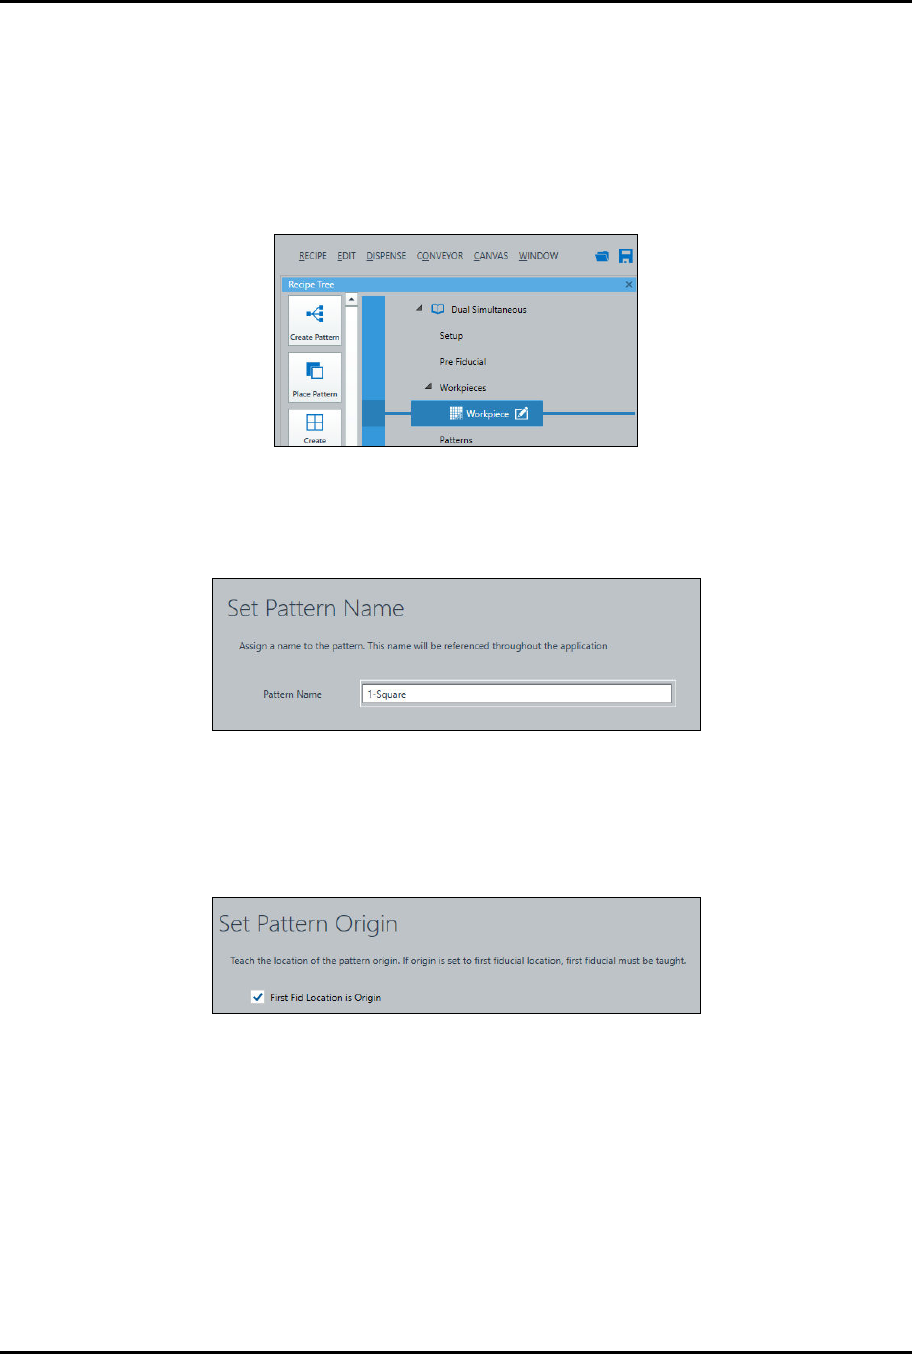
1. Select the Workpiece pattern in the Recipe Tree and click on Create Pattern in the
Instruction Panel (Figure 4-5).
> You will be prompted to enter a pattern name.
Figure 4-5 Create a Pattern
2. Enter a Pattern Name and click on Next (Figure 4-6).
> In this example, the pattern name will be "1-Square."
Figure 4-6 Set Pattern Name
3. Click on Next.
> You will be prompted to teach the pattern origin.
4. Select First Fid Location is Origin (Figure 4-7).
Figure 4-7 Set Pattern Origin
5. Click on Next.
> You will be prompted to define the fiducials.
ForteMAXDispensingSystemAddendum Recipe Creation
© 2023 Nordson Corporation 29
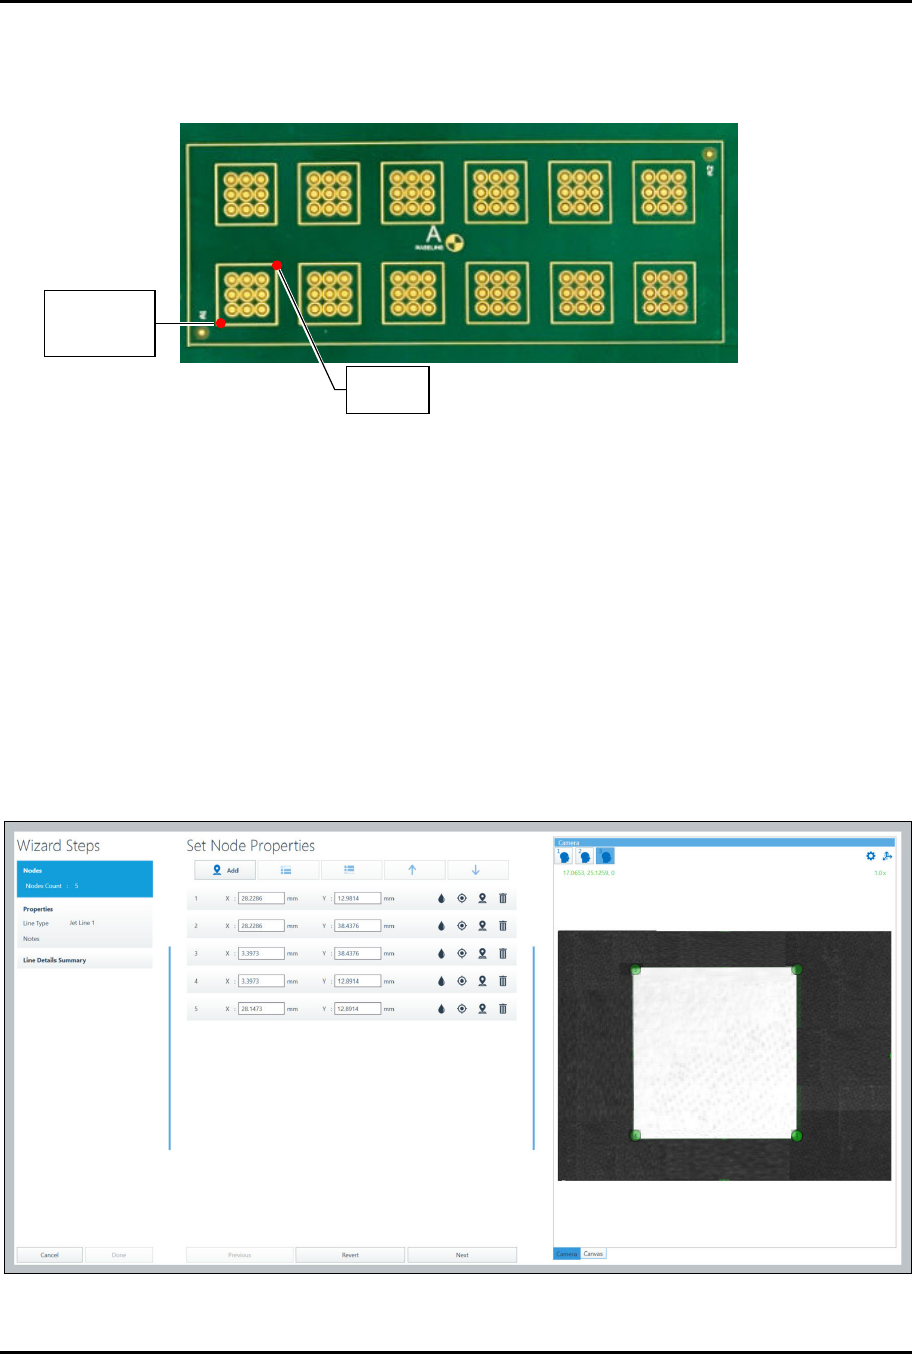
6. Define the pattern fiducials. In this example, it is recommended to use two corner fiducials
(Figure 4-8). Refer to the Canvas Dispensing Software User Guide if necessary.
7. Click on Done when finished.
1,1 1,2 1,3 1.4 1.5 1,6
2,1 2,2 2,3 2.4 2.5 2,6
Figure 4-8 Pattern Origin and Fiducial Locations
4.4.1.3 Adding Dispense Instructions
In this example, we will define five (5) line nodes to surround one box.
To add dispensing instructions:
1. Make sure the pattern you created is selected in the Recipe Tree.
2. Select Line from the Instruction Panel.
> The Pattern Wizard opens (Figure 4-9).
3. Jog the camera crosshairs to the first line point and click Add.
4. Repeat Step 3 until all the nodes have been defined.
5. Click on Next.
Figure 4-9 Pattern Wizard – Set Node Properties
P
a
t
t
e
r
n
O
r
i
g
i
n
and Pattern
F
i
d
u
c
i
a
l
1
P
a
t
t
e
r
n
F
i
d
u
c
i
a
l
2
ForteMAXDispensingSystemAddendum Recipe Creation
30 © 2023 Nordson Corporation
6. Set the line properties.
> Refer to the Canvas Dispensing Software User Guide if necessary.
7. Click on Done when finished.
8. The line instruction will appear in the recipe tree (Figure 4-10).
Figure 4-10 Recipe Tree
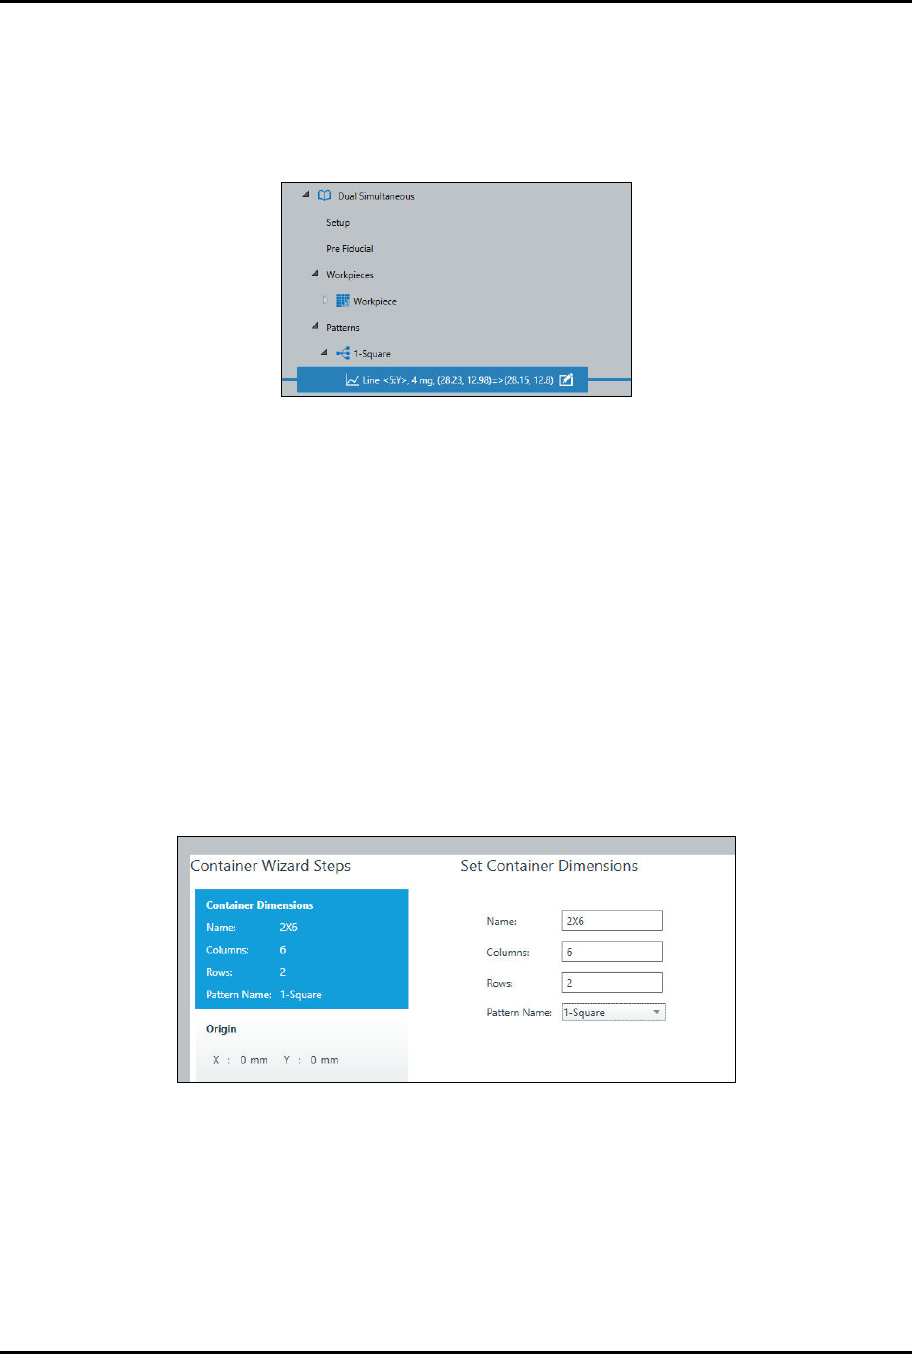
4.4.1.4 Creating the Container
After the dispensing instructions have been defined, create a container to define the number of columns
and rows in the array. You must use the container feature for dual simultaneous dispensing.
?
NOTE
In this example, the container origin will be the same as the pattern origin. Move to the
pattern origin before you create the container.
To create a container:
1. Select Create Container from the Instruction Panel.
> The Container Wizard opens.
> You will be prompted to set container dimensions (Figure 4-11).
> For the sample workpiece shown in Figure 3-4, you need to create a 2 x 6 container
and place it four times.
Figure 4-11 Set Container Dimensions