00192662-01.pdf - 第376页
6 Vision functions User Manua l SIPLACE F5/F5 HM 6.7 Guidelines for Describing Pa ckage Forms Software version S R.407.xx 01/2001 US Edition 376 Fig. 6.7 - 1 1 Illumination parameters for components on t he 6-segment C&a…

User Manual SIPLACE F5/F5 HM 6 Vision functions
Software version SR.407.xx 01/2001 US Edition 6.7 Guidelines for Describing Package Forms
375
6.7.8.3 Settings for Illuminating Standard Components
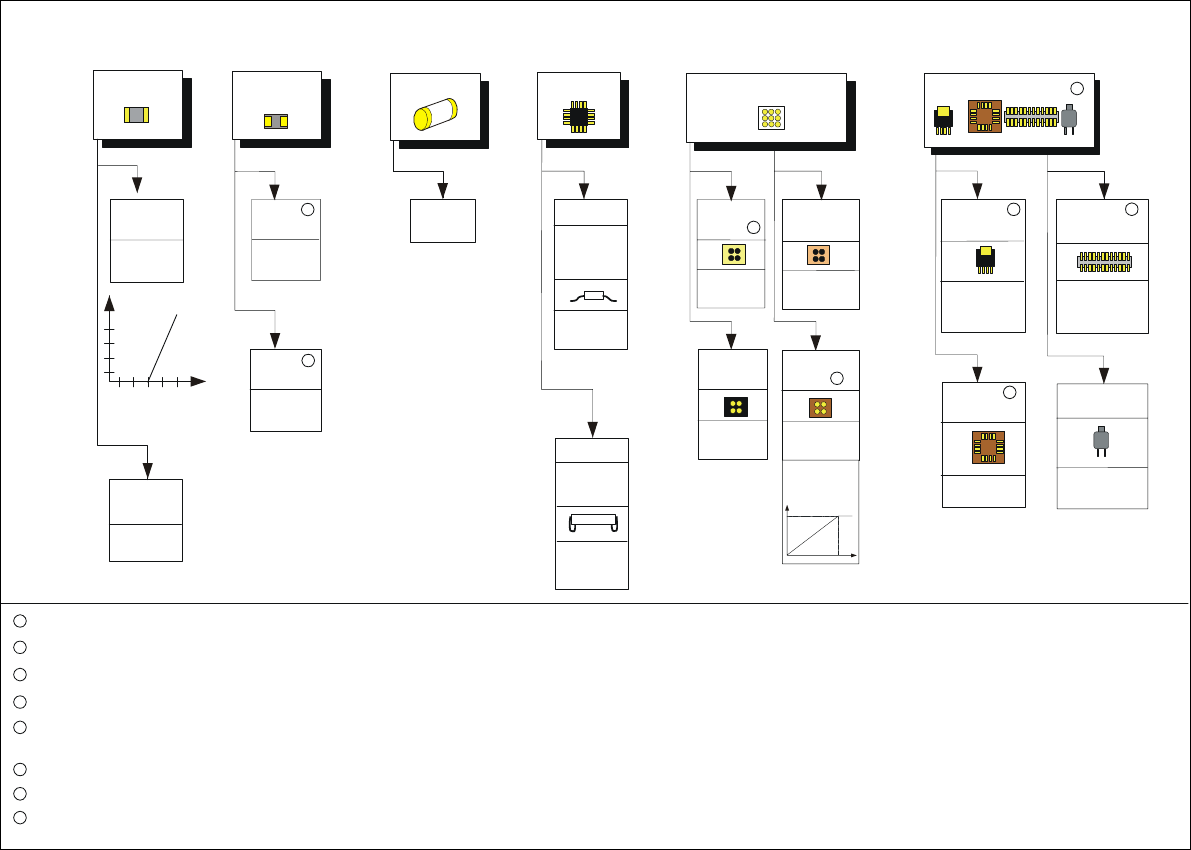
The standard range of components includes chips (0603 to 2220), tantalum capacitors, Melf com-
ponents, PLCCs, QFPs, SOs, SOJs, TSOPs, ICs, power components, flip-chips, µBGAs and
BGAs. 6
For the components which are listed below the GF interpreter in the station computer uses the
default illumination parameters listed in Fig. 6.7 - 11
: 6
– Chips (0603 to 2220)
– Tantalum capacitors (component bodies, non-reflective)
– Melf
– PLCC, QFP, SO, SOJ, TSOP, ICs, power ICs
– Flip-chips, µBGAs, BGAs
6
The odd-shaped components include 6
– power transistors
– plug connectors
– PLCC sockets
– quartz crystals
It is not generally necessary to modify the illumination parameters for different components. 6
6 Vision functions User Manual SIPLACE F5/F5 HM
6.7 Guidelines for Describing Package Forms Software version SR.407.xx 01/2001 US Edition
376
Fig. 6.7 - 11 Illumination parameters for components on the 6-segment C&P head camera (32x32)
Do not use for reflective components.
Use negative ball contrast when mapping the ball.
The description must only contain the innermost row of balls. Use negative contrast.
It must be possible to insert the components. The test must be carried out for each type.
The edge of the large cooling surface is extremely irregular on some types on account of the production methods used.
If you are unsure, do not use it for the measurement
Up to PLCC 52 base. Make sure that you are using the correct nozzle.
Describe as for a BGA, if necessary.
Describe as for an FDC. Measuring mode: size+ lead
Chip
IC
Melf
BGA
J-Lead
PLCC
BGA
BGA
0603
Gullwing
SO, SOT,
TSOP
QFP
,
PLCC-
TBGA
TBGA
ca. 180
255
1
8
6
2
7
5
3
4
6
1
2
3
4
5
7
8
150
255
flat:
steep:
150
200
flat:
steep:
120
150
flat:
steep:
255
40
flat:
steep:
200
120
flat:
steep:
255
130
flat:
steep:
150
150
flat:
steep:
70
140
flat:
steep:
0
255
flat:
steep:
200
0
flat:
steep:
200
0
flat:
steep:
0
150-200
flat:
steep:
0-30
150-200
flat:
steep:
255
150
flat:
steep:
0
150-200
flat:
steep:
200
120-180
Diagram for adjusting the illumination of components
Tantalum
capacitor
Ceramic
Plastic
0805 and
larger
General
Special components
Power
transistor
socket
Plug
Quartz
reflect. body
dull
If necessary,
use the LUT
below
Reflect.
body
Contrast
graduation

User Manual SIPLACE F5/F5 HM 6 Vision functions
Software version SR.407.xx 01/2001 US Edition 6.7 Guidelines for Describing Package Forms
377
6.7.8.4 Testing Illumination Settings
You can set the illumination parameters by calling the ’Illumination’ option (see Section 6.6.4.8 on
page 325
). Using the ’Measure Component Option’ on page 311 you can then measure the com-
ponent and check your settings with the aid of the measurement results. 6
Proceed as follows to test your illumination setting: 6
Å Using the illumination values suggested in Figure 6.7 - 11 carry out measurement. Measure-
ment should run through successfully.
Å For each level reduce the set brightness level by 50 %.
Measurement should run through successfully.
Å For each level raise the set brightness level by 50 %.
Measurement should run through successfully.
If you are not successful with the above procedure, proceed as follows: 6
Å Starting with the suggested illumination value, increase the brightness of each individual illu-
mination level for as long as measurement is still successful.
Å Find this upper limit value for each individual illumination level in turn.
Å Starting with the suggested illumination value, decrease the brightness of each individual illu-
mination level for as long as measurement is still successful. Find this lower limit value for each
individual illumination level in turn.
Å Determine the average value of the upper and lower limit values. This will be the optimum illu-
mination value.
Example of an illumination test: 6
– Settings from the diagram:
flat: 150
steep: 180
– Measure the component. Measurement is successful.
– Reduce setting values by 50%.
flat: 75
steep: 90
– Increase setting values by 50%.
flat: 225
steep: 255
– Measure the component. Measurement is successful.
– Reset the settings to the suggested values:
flat: 150
steep: 180
© optimum setting