DFD6361-Maintenance.pdf - 第176页
B-104 3-7-1. Shutting off po w er Procedur e for shut ting o ff power Step No. Do This 1 Press the <Sy stem Initial> button to effec t system initialization. - Each axis moves to its origin position. 2 Turn OFF the…
B-103
3-7. Changing the UV Irradiation Unit Frame Size
[Optional Accessory]
Safety precautions for changing the UV irradiation unit frame size
WARNING
- Since the UV irradiation unit has the N
2
purge specification. If the N
2
gas is filled and cause oxygen deficiency, it may lead to critical
condition or death.
To maintain proper oxygen concentration, sufficiently ventilate the
purge section before performing maintenance.
The oxygen concentration lowers while N
2
gasissuppliedor
immediately after stopping its supply. During such periods, do not
position your face near the N
2
gas discharge section.
- If the operation described in this section is performed while the UV
irradiation lamp is illuminated, exposure under the harmful
ultraviolet rays and ozone may cause vision and skin disorders.
Before starting the work, be sure to turn OFF the machine power.
Before operation
Have on hand the following tool.
- 3 mm Allen wrench
Operation flow
The operational procedures are summarized as follows.
3-7-1 Shutting off power
3-7-2 Removing the inspection plate
3-7-3 Changing the frame size
3-7-4 Completion of the frame size change
B-104
3-7-1. Shutting off power
Procedure for shutting off power
Step No. Do This
1
Press the <System Initial> button to effect system initialization.
- Each axis moves to its origin position.
2
Turn OFF the main switch and then pull out the key.
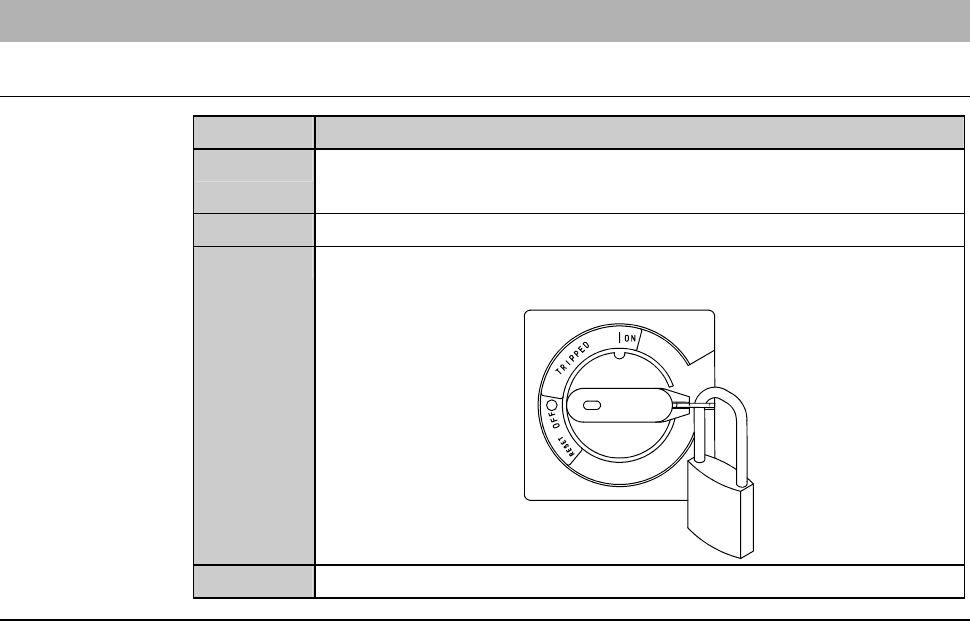
3
Turn OFF the circuit breaker at the rear of the machine. Then
lock out the circuit breaker lever with a padlock or the like.
4
Shut off the facility power supply.
Continued in the next section.
B-105
3-7-2. Removing the inspection plate
Procedures for removing the inspection plate
Step No. Do This
(Continued from the previous section)
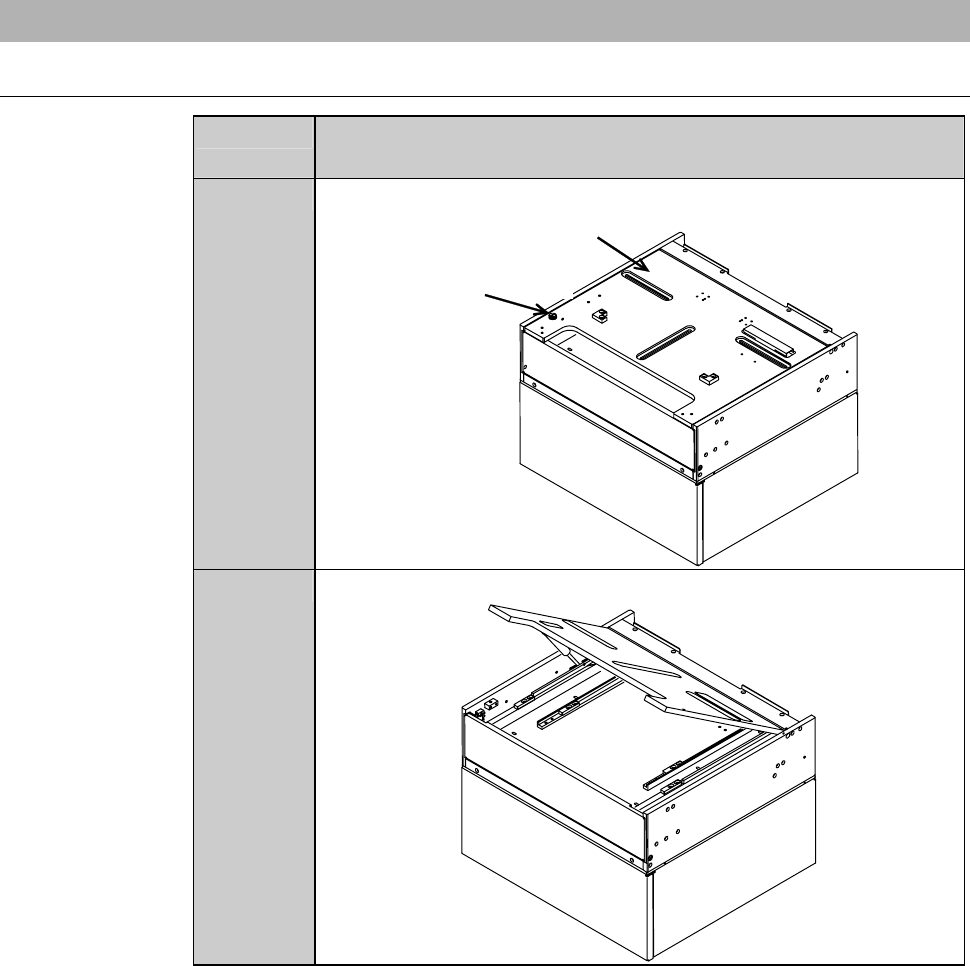
1
Loosen the retaining screw of the cassette stage.
Retaining screw
Cassette stage
2
Hold up the front edge of the cassette stage.