DFD6361-Maintenance.pdf - 第528页
E-92 6-3-1. Prep aration of greasi ng the push-p ull axis Procedur es for prep aration of gr easing the p ush-pull ax is CAUTION W he n you p erform mai ntenanc e with the transfer axis cover remov ed, obser ve the f oll…
E-91
Before greasing
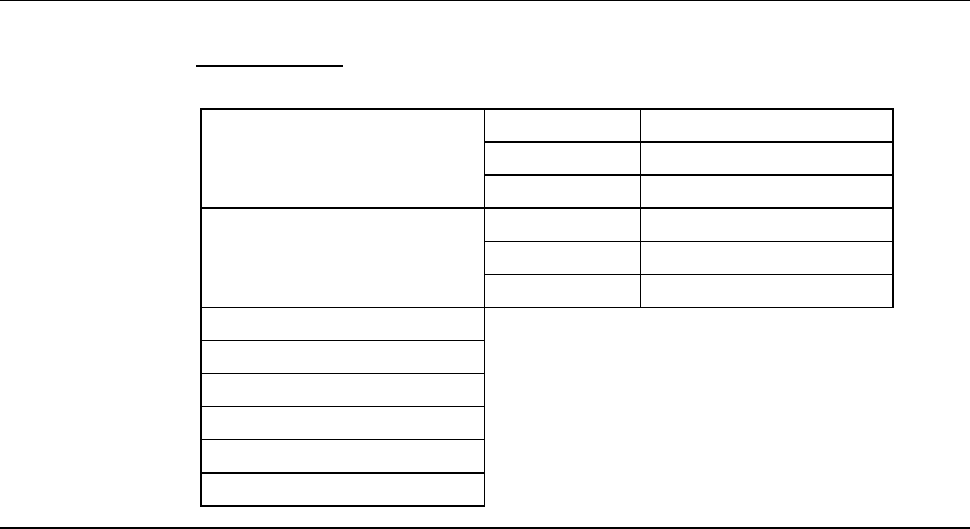
Have on hand the following tools before starting greasing.
For the MSDS;
See the section G-2, [Material Safety Data Sheet (MSDS)].
Grease Name AFC grease
Maker THK
Part No. MOELJ007
Grease gun unit Name MG-70
Maker THK
Part No. MOELJ006
Lint-free waste
Spatula (resin)
Flashlight
Protective gloves
3mm Allen wrench
Phillips screwdriver
E-92
6-3-1. Preparation of greasing the push-pull axis
Procedures for preparation of greasing the push-pull axis
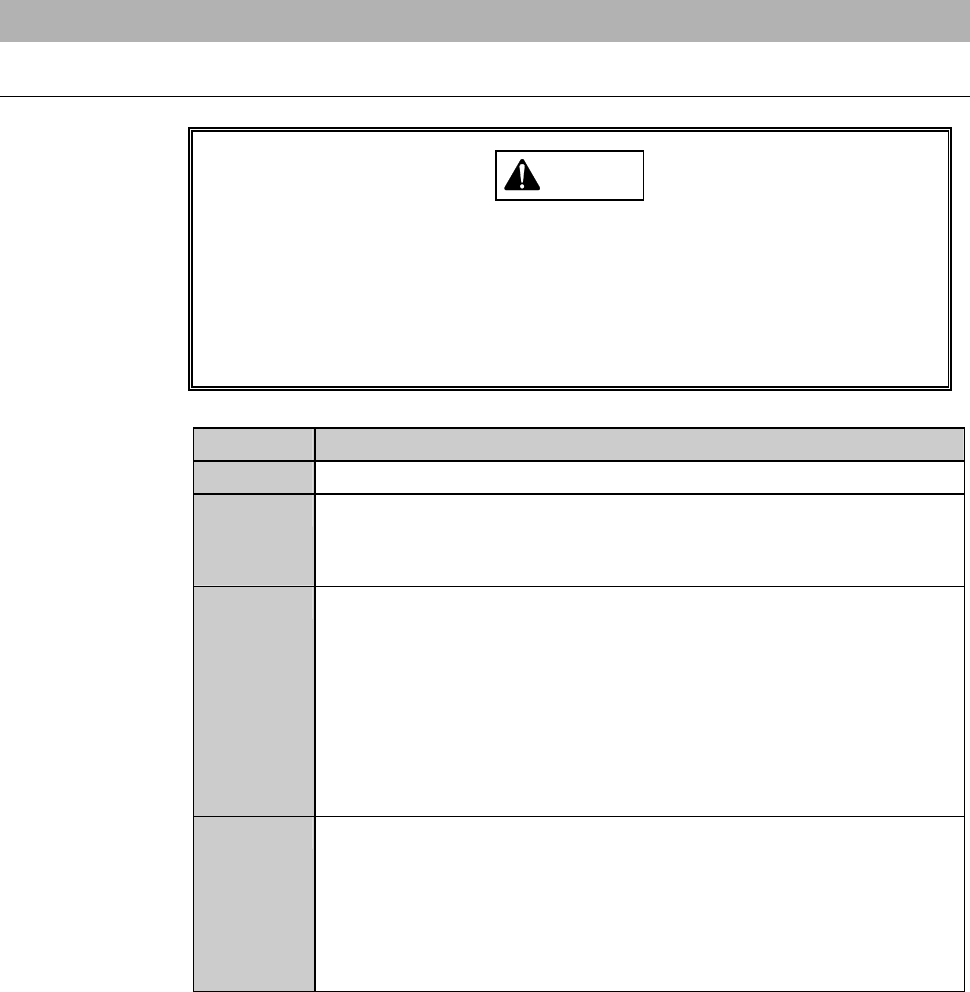
CAUTION
When you perform maintenance with the transfer axis cover
removed, observe the following precaution. If you stand the removed
cover against the machine, you may receive injury by the cover if it is
toppled by the earthquake or like that.
After taking off the cover for maintenance purposes, store it
sufficiently away from the working area.
Step No. Do This
1
Press the <System Initial> button to effect system initialization.
2
From the ENGINEERING MAINTENANCE screen [screen 7.0],
press the <F3> button.
- The I/O CHECK screen then appears.
3
Using the I/O CHECK screen, move the lower arm to its
lowermost position.
- To move the lower arm to its lowermost position, perform the
following steps.
1) Turn OFF <Lower arm/upper cylinder UP>.
2) Turn ON <Lower arm/upper cylinder DOWN>.
3) Turn OFF <Lower arm/lower cylinder UP>.
4) Turn ON <Lower arm/lower cylinder DOWN>.
4
Using the I/O CHECK screen, move the upper arm to its
lowermost position.
- To move the upper arm to its lowermost position, perform the
following steps.
1) Turn OFF <Upper arm UP>.
2) Turn ON <Upper arm DOWN>.
E-93
Procedures for preparation of greasing the push-pull axis (Continued)
Step No. Do This
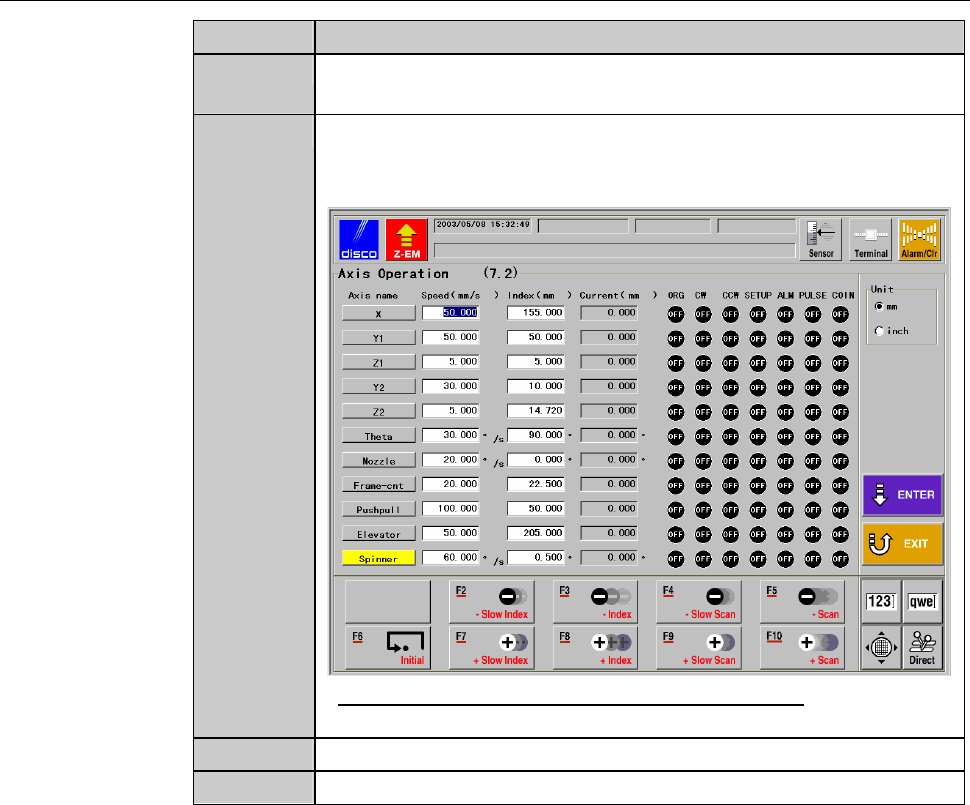
5
Press the <EXIT> button to return to the ENGINEERING
MAINTENANCE screen [screen 7.0].
6
From the ENGINEERING MAINTENANCE screen [screen 7.0],
press the <F2> button.
- The AXIS OPERATION screen [screen 7.2] then appears.
- For the AXIS OPERATION screen [screen 7.2];
see the section C-3, [Axis Operation Check].
7
Move the push-pull axis to its rear end.
8
Turn OFF the main switch and pull out the key.