DFD6361-Maintenance.pdf - 第525页
E-89 6-3. Greasing the Push-Pull Axis Operation flow The procedure for greasing the push-pull axis con sists of the following steps. 6-3-1 Preparation of greasin g the push-pull axis 6-3-2 Greasing the push-pull ax is 6-…
E-88
6-2-5. Completion of greasing the X-axis
Procedures for completion of greasing the X-axis
Step No. Do This
(Continued from the previous section)
1
Turn ON the facility power source.
2
Open the circuit breaker lever lockout and then turn ON the
circuit breaker.
3
Insert the key into the main switch and then turn ON the main
switch.
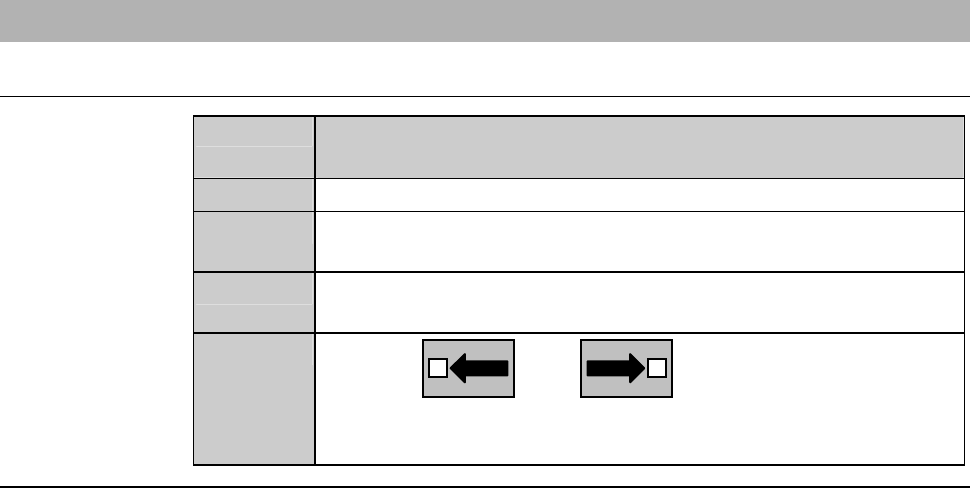
4
With the and buttons, shuttle the X-axis
between the right and left end at least three times to apply the
grease uniformly to the entire axis.
E-89
6-3. Greasing the Push-Pull Axis
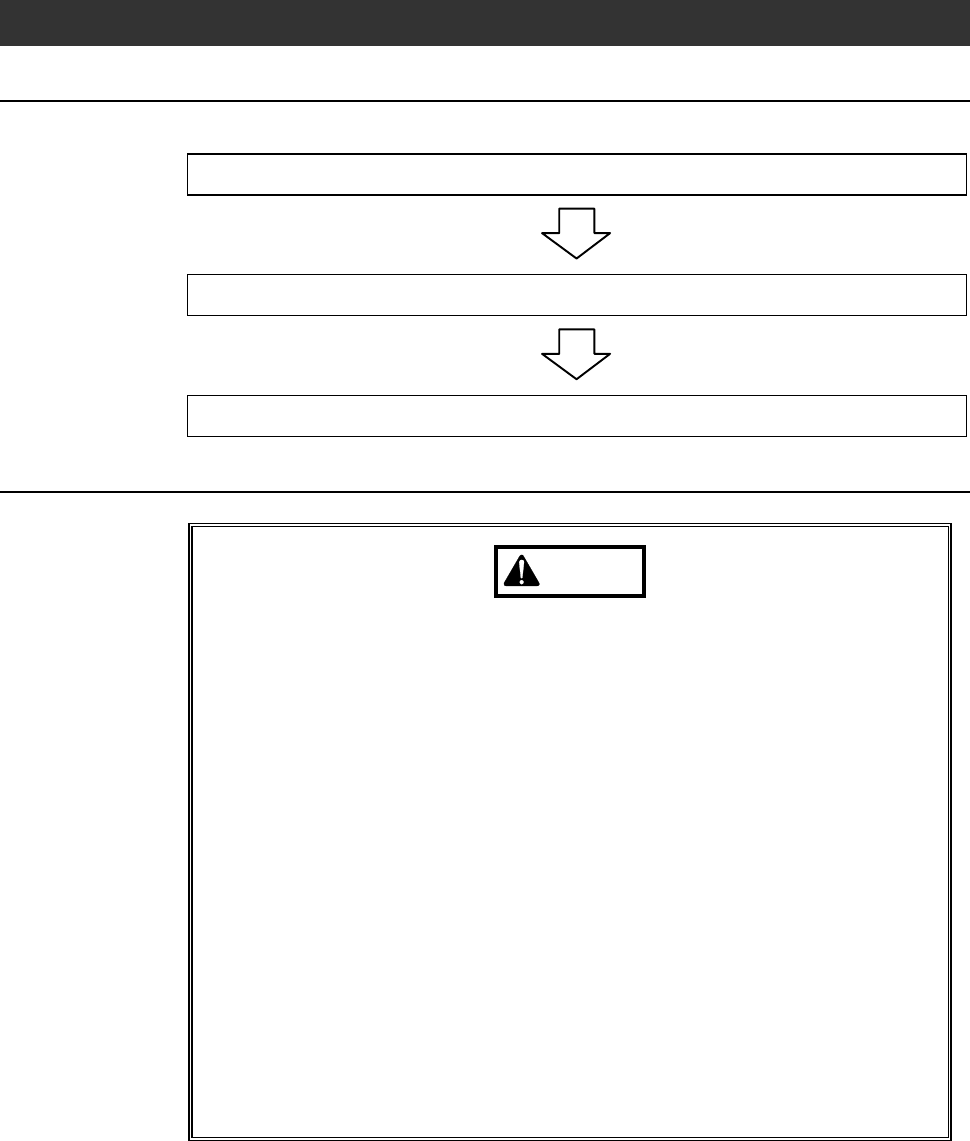
Operation flow
The procedure for greasing the push-pull axis consists of the following steps.
6-3-1 Preparation of greasing the push-pull axis
6-3-2 Greasing the push-pull axis
6-3-3 Completion of greasing the push-pull axis
Safety items for greasing the push-pull axis
WARNING
- In the digital I/O check procedures, any touch panel buttons other
than function buttons are inoperative.
Even if, for example, you press the <Cut Water> button, the wheel
coolant supply does not stop.
The personnel performing digital I/O checkout must bear this in
mind and exercise due care to ensure safety.
- In the digital I/O check procedures, the operation command for
solenoid valves and etc. can be forcibly turned ON and OFF, using
the function buttons. In some cases, therefore, a cylinder may be
invoked to operate.
Ensure that no person other than the maintenance personnel
touches the machine during this procedure.
- If any touch panel control is inadvertently activated during
maintenance or inspection, unexpected machine operation may
cause death or serious injury.
While you don't use the touch panel, press the Disco's logo button
located at the upper left of the screen in order to lock up and
deactivate the touch panel.
E-90
Safety items for greasing the push-pull axis (Continued)
CAUTION
- If the axis does not move for a long time after being greased, the
grease will harden. This could adversely affect the precision of the
machine, such as a position error during axis operation.
Do not perform greasing before a long-term operation suspension.
- In a greasing operation, it is necessary to raise or lower the upper
and lower arm, using the I/O CHECK screen.
- When lowering the arms, be sure to move down the lower arm
first. If the upper arm is lowered first, it will contact with the lower
arm and could be broken.
- When raising the arms, be sure to move up the upper arm first. If
the lower arm is raised first, it will contact with the upper arm and
couldbebroken.
- Do not move the upper and lower arms back and forth while they
are lowered. The arms could be broken.
NOTICE
- If the areas to be lubricated are dark due to the environmental
conditions, confirm the nipple locations and cleaning areas with a
flashlight or the like to ensure proper lubrication.
- Neither safety goggles, protective gloves, stepstools, flashlights nor
alcohol, all of which are necessary for maintenance work, are not
supplied with the machine. Use what are furnished in your factory or
what comply with your factory's standards.