DFD6361-Maintenance.pdf - 第527页
E-91 Before g reasing Have on hand the following tools before starting greasin g. For the MSDS; See the section G-2, [Mater ial Safe t y Data Sheet (MSDS) ]. Grease Name AFC gre ase Maker THK Part No. MOELJ007 Grease gun…
E-90
Safety items for greasing the push-pull axis (Continued)
CAUTION
- If the axis does not move for a long time after being greased, the
grease will harden. This could adversely affect the precision of the
machine, such as a position error during axis operation.
Do not perform greasing before a long-term operation suspension.
- In a greasing operation, it is necessary to raise or lower the upper
and lower arm, using the I/O CHECK screen.
- When lowering the arms, be sure to move down the lower arm
first. If the upper arm is lowered first, it will contact with the lower
arm and could be broken.
- When raising the arms, be sure to move up the upper arm first. If
the lower arm is raised first, it will contact with the upper arm and
couldbebroken.
- Do not move the upper and lower arms back and forth while they
are lowered. The arms could be broken.
NOTICE
- If the areas to be lubricated are dark due to the environmental
conditions, confirm the nipple locations and cleaning areas with a
flashlight or the like to ensure proper lubrication.
- Neither safety goggles, protective gloves, stepstools, flashlights nor
alcohol, all of which are necessary for maintenance work, are not
supplied with the machine. Use what are furnished in your factory or
what comply with your factory's standards.
E-91
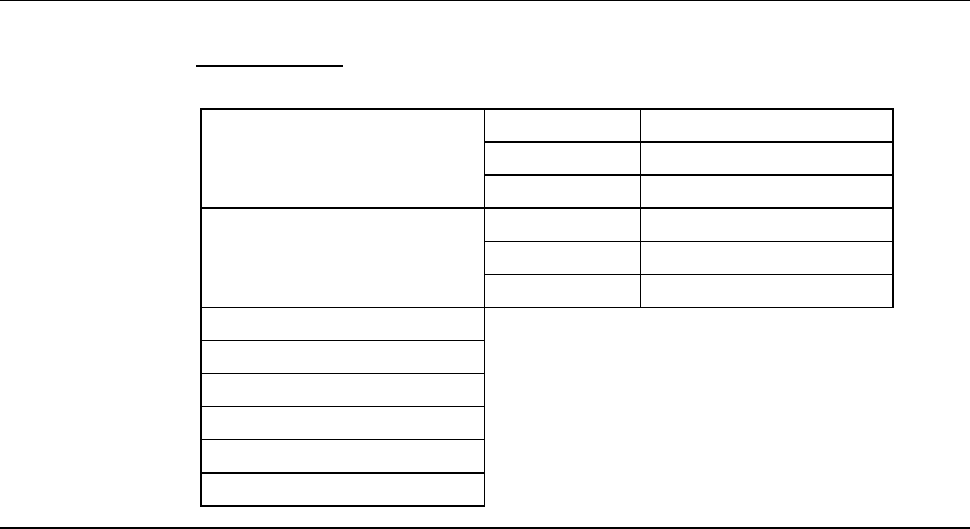
Before greasing
Have on hand the following tools before starting greasing.
For the MSDS;
See the section G-2, [Material Safety Data Sheet (MSDS)].
Grease Name AFC grease
Maker THK
Part No. MOELJ007
Grease gun unit Name MG-70
Maker THK
Part No. MOELJ006
Lint-free waste
Spatula (resin)
Flashlight
Protective gloves
3mm Allen wrench
Phillips screwdriver
E-92
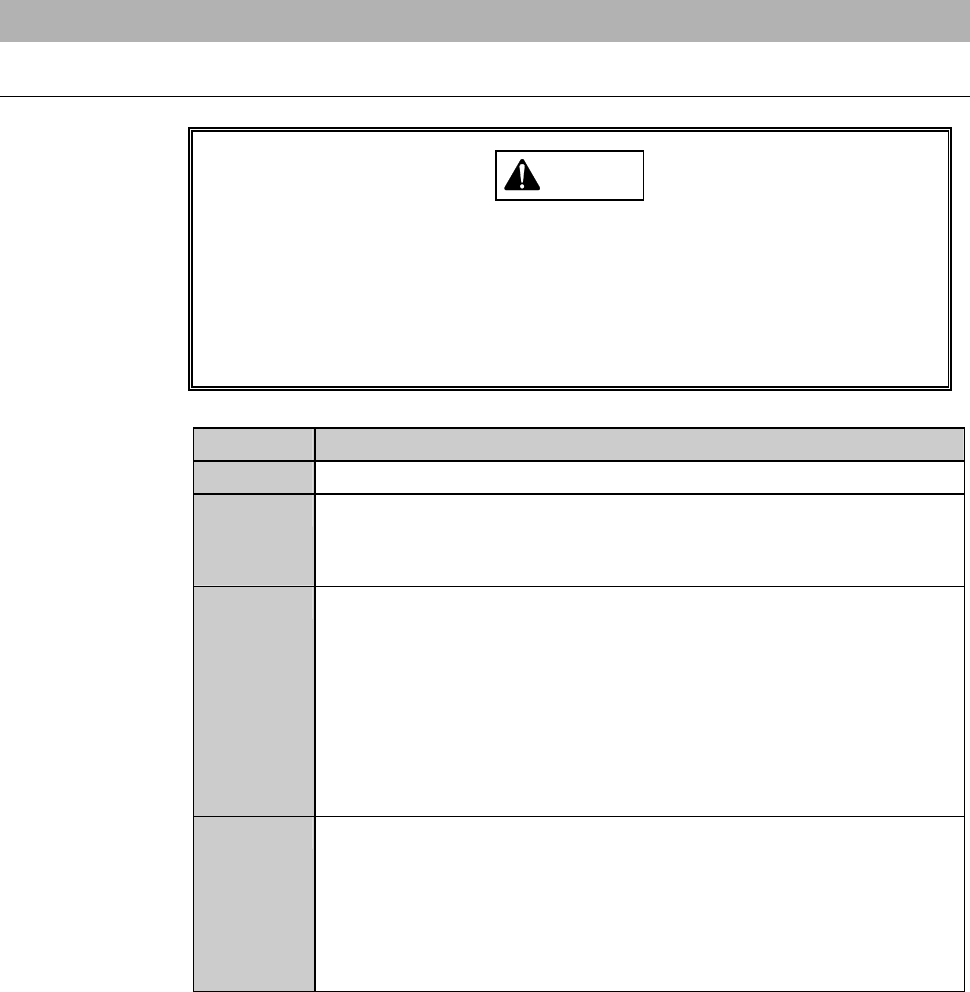
6-3-1. Preparation of greasing the push-pull axis
Procedures for preparation of greasing the push-pull axis
CAUTION
When you perform maintenance with the transfer axis cover
removed, observe the following precaution. If you stand the removed
cover against the machine, you may receive injury by the cover if it is
toppled by the earthquake or like that.
After taking off the cover for maintenance purposes, store it
sufficiently away from the working area.
Step No. Do This
1
Press the <System Initial> button to effect system initialization.
2
From the ENGINEERING MAINTENANCE screen [screen 7.0],
press the <F3> button.
- The I/O CHECK screen then appears.
3
Using the I/O CHECK screen, move the lower arm to its
lowermost position.
- To move the lower arm to its lowermost position, perform the
following steps.
1) Turn OFF <Lower arm/upper cylinder UP>.
2) Turn ON <Lower arm/upper cylinder DOWN>.
3) Turn OFF <Lower arm/lower cylinder UP>.
4) Turn ON <Lower arm/lower cylinder DOWN>.
4
Using the I/O CHECK screen, move the upper arm to its
lowermost position.
- To move the upper arm to its lowermost position, perform the
following steps.
1) Turn OFF <Upper arm UP>.
2) Turn ON <Upper arm DOWN>.