SIPLACE Line Computer UNIX.pdf - 第93页
User Manual Line Computer UNIX 3 Desktop (Root Window) Software Version 502.xx 10/2000 Issue 3.2 Desktop User Interface 91 I t I I ● Cli ck on No or Abort if the ac tion displa yed in th e dialog b ox is not to be execu …
3 Desktop (Root Window) User Manual Line Computer UNIX
3.2 Desktop User Interface Software Version 502.xx 10/2000 Issue
90
I
t I I
- Replace GF-number
Following any changes in the GF library, this menu option is used to replace the GF number
associated with given components with a different one.
● Click on OPTIONS --> Replace GF-number.
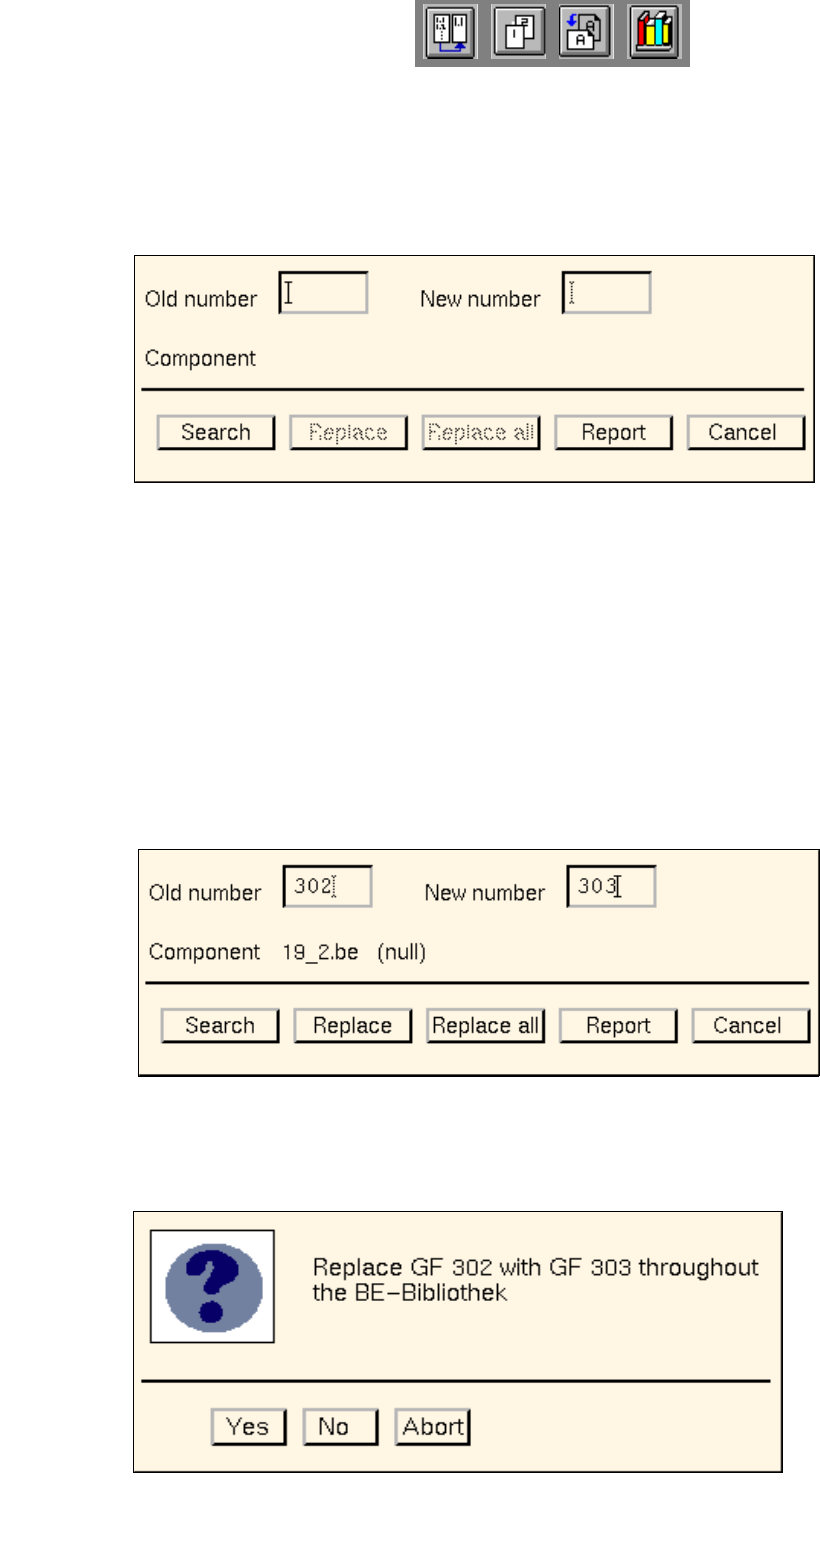
The following dialog box opens.
Procedure:
● In the "Old number" editing field enter the GF number that is to be replaced.
● In the "New number" editing field enter the GF number that is to replace the old number.
● Click on the Search button.
The file name of the first component found that is associated with the GF number entered under
"Old number" is displayed next to the "Component" entry. In addition, the comment that may have
been entered in the Component Editor for the component concerned is displayed next to the file
name.
● Click on the Replace button.
The old GF number is replaced with the new GF number in the component file displayed, and the
search for the next matching component is started.
Or else:
● Click on the Replace all button.
The following dialog box opens.
User Manual Line Computer UNIX 3 Desktop (Root Window)
Software Version 502.xx 10/2000 Issue 3.2 Desktop User Interface
91
I
t I I
● Click on No or Abort if the action displayed in the dialog box is not to be executed.
● Click on Yes if the action displayed in the dialog box is to be executed.
From the currently found occurrence of the component (component file) onwards, the old GF
number will be replaced with the new GF number in all subsequently found occurrences of the
component (component files).
The Report button in the dialog box can be used to display the results of the action.
● Click on Report in the dialog box.
The File Display main window opens.
● For details on how to continue, refer to page 3 - 86.
● When all desired replacements have been made, click on Cancel in the dialog box.
The window closes.
- Similarity Check
This menu option is used to compare all customer-specific package forms (GF no.
>
1500) for simila-
rity with the standard package forms (GF no.
<
1499).
(For details on the criteria for the similarity check refer to the note on page 3 - 86).
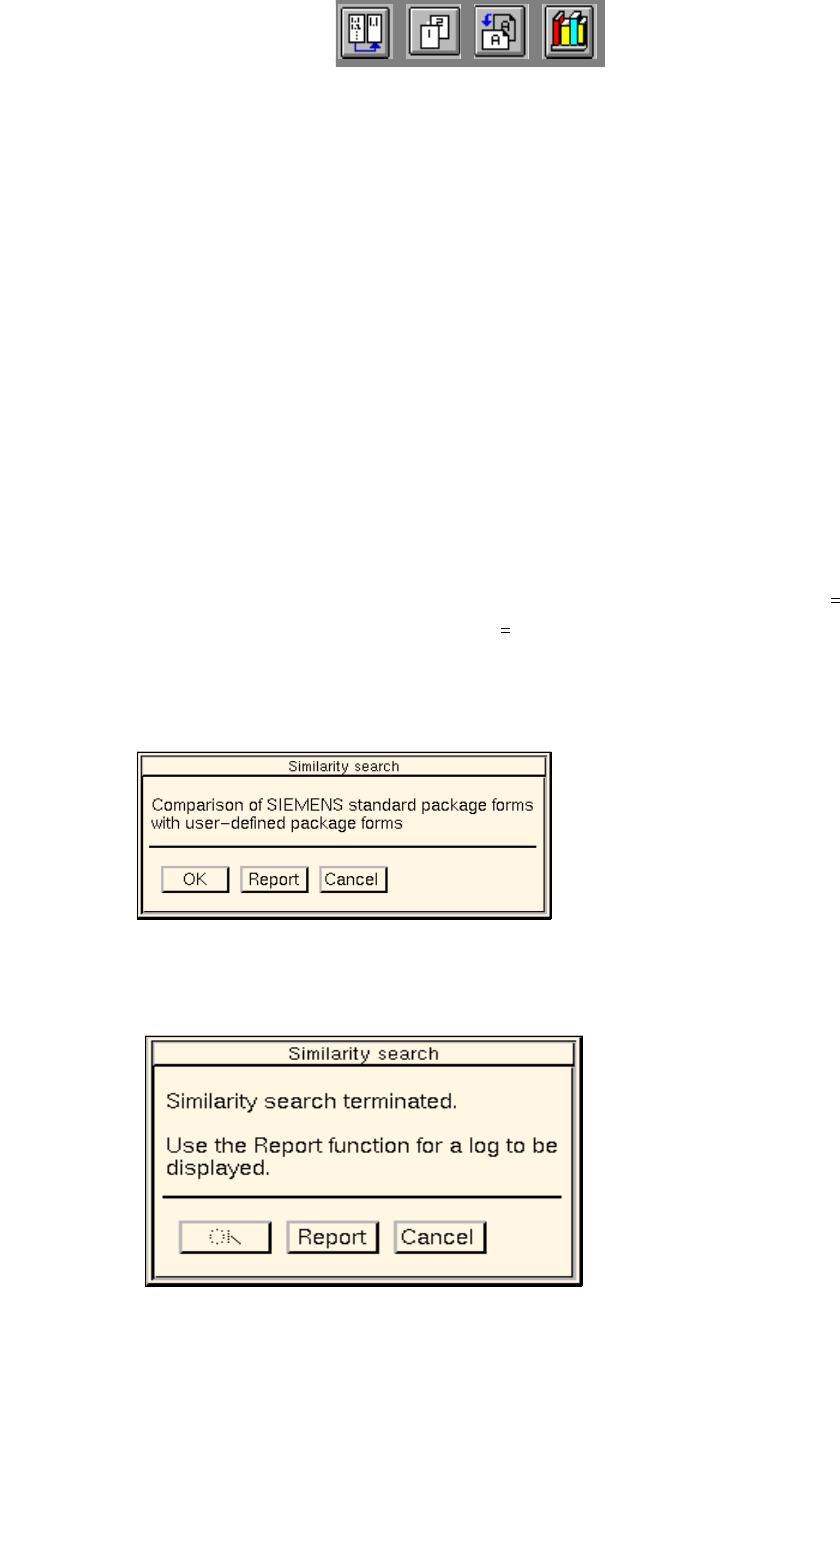
● Click on OPTIONS --> GF Handling --> Similarity check.
The dialog window below opens.
● Click on the OK button.
The dialog window indicates that the similarity check is being performed.
After the comparison is completed, the dialog window is displayed as follows:
● Click on Report.
The File Display main window opens. The contents of the log file "GF_LibInstall.log" are dis-
played in the view area (see
page 3 - 87).
● Close the File Display main window using the menu option FILE --> Quit.
● Click on Cancel in the dialog window.
The dialog window closes.
3 Desktop (Root Window) User Manual Line Computer UNIX
3.2 Desktop User Interface Software Version 502.xx 10/2000 Issue
92
I
t I I
- Restore GF-Bibliothek
Upon the installation of a new GF-Bibliothek (see page 3 - 87) or the conversion of the current GF-
Bibliothek (see page 3 - 87), a back-up of the entire GF-Bibliothek will be created in the directory
"Stammdaten/tmp/". The "Restore GF-Bibliothek" menu option provides the ability to restore the
backed-up GF-Bibliothek to the "Stammdaten" directory.
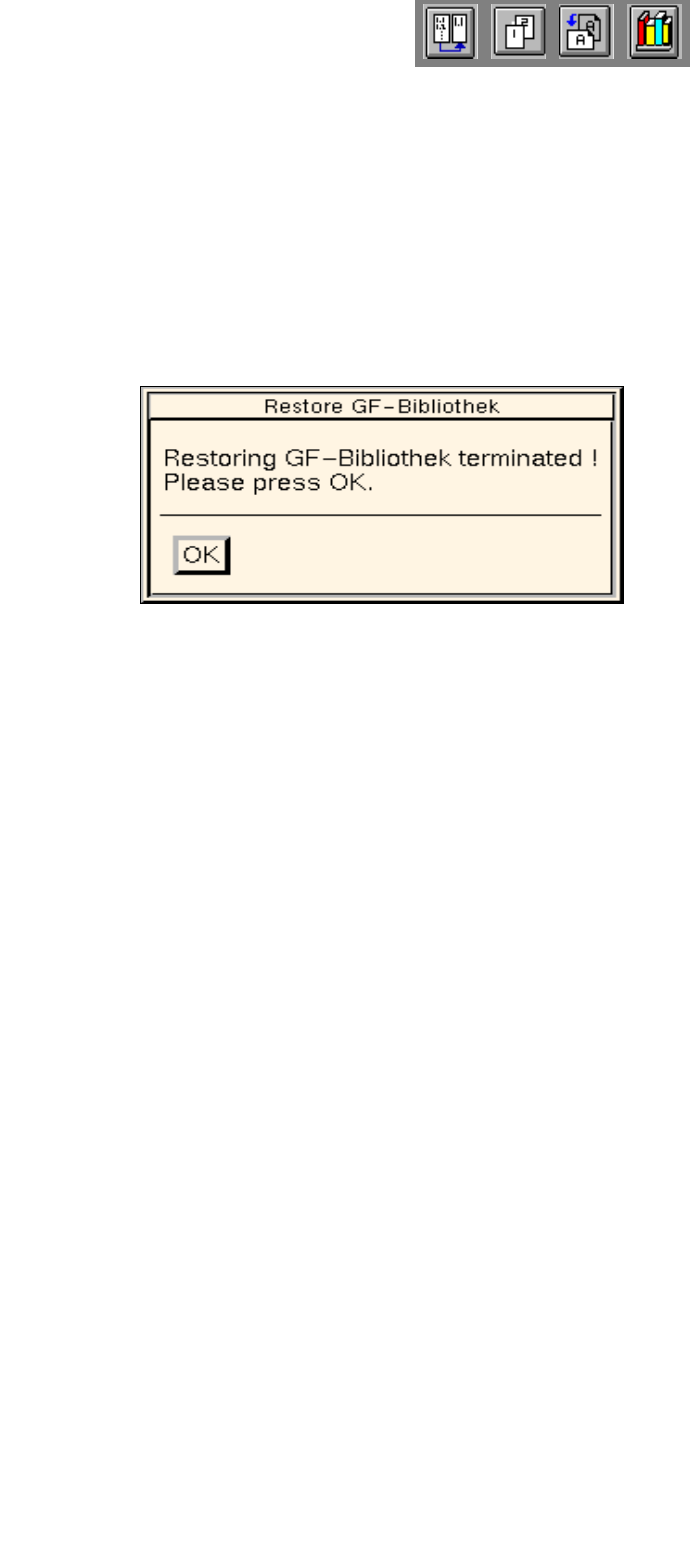
● Click on OPTIONS --> GF-Handling --> Restore GF-Bibliothek.
The data of the current GF-Bibliothek will be overwritten with the data of the backed-up GF-Biblio-
thek held in the "Stammdaten/tmp/" directory.
Upon completion of the action, the following dialog box is displayed.
● Click on Ok in the dialog box.
The dialog box closes.
- Install options
This menu option allows the files of software options (e.g. "Barcode mode") to be read in from diskette
and to be installed on the hard disk.
● Click on OPTIONS --> Install options.
A UNIX window opens.
● Insert the diskette containing the files of the software option into the floppy disk drive.
● Press the RETURN key twice.
The software option is installed on the hard disk.
● After the installation has been completed successfully, press the RETURN key.
The UNIX window closes.
● Remove the diskette from the disk drive and
● terminate the line computer session using LC-End.
● Using LC-Start restart the line computer session.
After the start, the new software option is ready for use.
- Operating system level
This menu option permits the access to directories and files at the UNIX level provided the current
user’s access right for the function group "Operating system level" includes the "full access" privilege
(see section 3.2.1.3, page 3 - 102).
● Click on OPTIONS --> Operating system level.
A UNIX window in the directory path "/u/P_lr/conf>" opens.
● Perform the desired actions and subsequently close the UNIX window clicking on File --> Exit.