00196351-04_UM_ACT_de_en.pdf - 第118页
ACT - Accurac y Check T ool / User Manual 07/2014 Edit ion 44 4.2.3 Loading the Pla te into the Measuring Machine 4.2.3.1 D- and X - Seri e s On the SIPL ACE D - and X - s eries m achines the glass plate can be inser ted…
ACT - Accuracy Check Tool / User Manual 07/2014 Edition
43
NOTICE
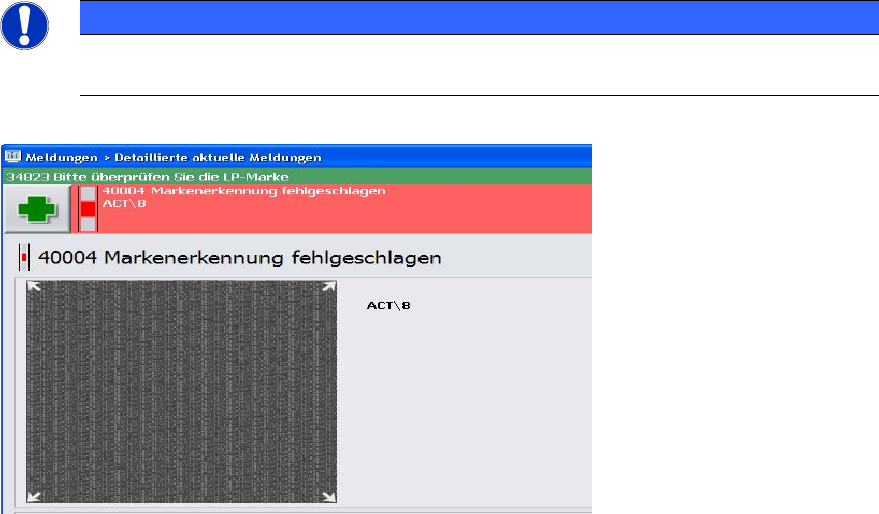
► Check the orientation of the inserted plate, if you see the following error message
(ACT cross cannot be measured).
Figure 4-18: Error message caused by faultily inserted plate; example SW 705
ACT - Accuracy Check Tool / User Manual 07/2014 Edition
44
4.2.3 Loading the Plate into the Measuring Machine
4.2.3.1 D- and X-Series
On the SIPLACE D- and X-series machines the glass plate can be inserted into the conveyor by
opening the covers of the input section (extension kit) or the machine cover.
► Insert the plate directly into the input section of the measuring machine so that the sensor is
activated.
► Press Start.
The board is automatically moved into the placement area and gets placed.
Thereafter, the measurement is automatically started, see section 4.2.4.
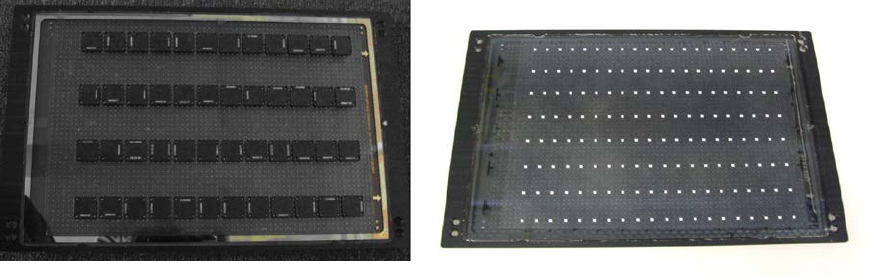
Figure 4-19 and Figure 4-20 show an assembled ACT plate, in one example with glass
components and in the other with ceramic components.
Figure 4-19: Measuring plate with placed glass comp. Figure 4-20: Measuring plate with placed ceramic comp.
ACT - Accuracy Check Tool / User Manual 07/2014 Edition
45
4.2.3.2 SX-Series and DX-Series
On the SIPLACE SX- and DX-series machines the reachability to insert the plate in the input
section is limited, particularly on machines that are placed in the middle or at the end of a line.
Therefore, the plate has to be inserted at the first machine of the line.
► Press Start.
► Insert the plate up to 50%+x into the input section of the first machine.
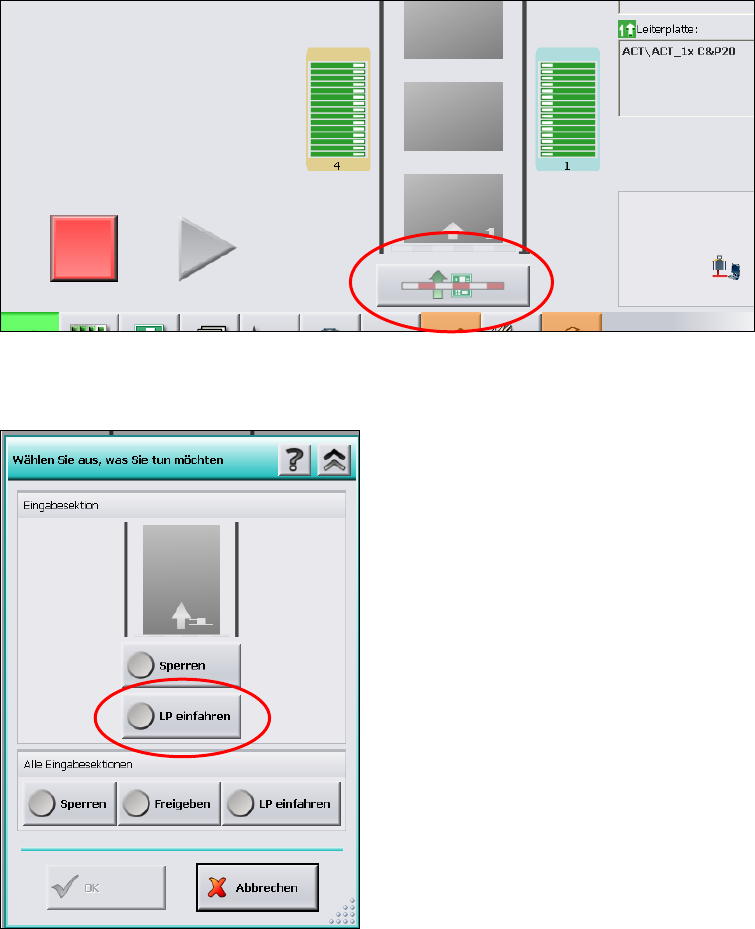
► Click on the Conveyor interface button directly under the conveyor in the station software
(see Figure 4-21).
Figure 4-21: Conveyor interface button
Figure 4-22: Conveyor interface window
► Select LP einfahren (Loading PCB).
► Click OK.