00196351-04_UM_ACT_de_en.pdf - 第120页
ACT - Accurac y Check T ool / User Manual 07/2014 Edit ion 46 If this is no t the p lacem ent statio n on whic h the AC T is to b e perfor med, the p late i s autom aticall y passed thro ugh th e m achine, since there is…
ACT - Accuracy Check Tool / User Manual 07/2014 Edition
45
4.2.3.2 SX-Series and DX-Series
On the SIPLACE SX- and DX-series machines the reachability to insert the plate in the input
section is limited, particularly on machines that are placed in the middle or at the end of a line.
Therefore, the plate has to be inserted at the first machine of the line.
► Press Start.
► Insert the plate up to 50%+x into the input section of the first machine.
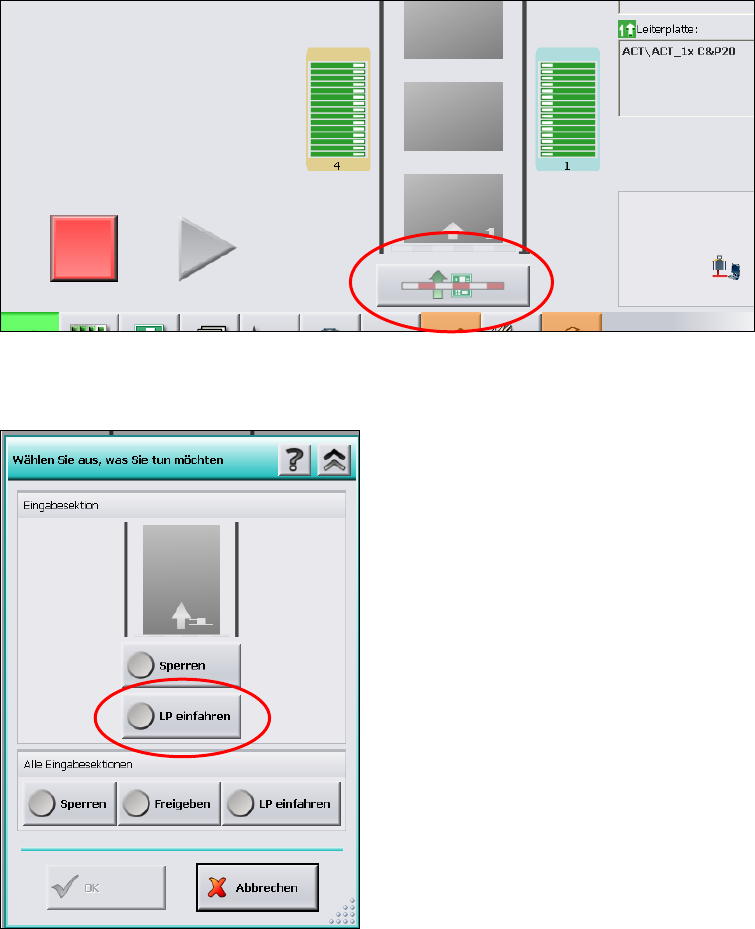
► Click on the Conveyor interface button directly under the conveyor in the station software
(see Figure 4-21).
Figure 4-21: Conveyor interface button
Figure 4-22: Conveyor interface window
► Select LP einfahren (Loading PCB).
► Click OK.
ACT - Accuracy Check Tool / User Manual 07/2014 Edition
46
If this is not the placement station on which the ACT is to be performed, the plate is automatically
passed through the machine, since there is no specification by SIPLACE Pro for components to be
placed.
If no components are to be placed on the next machine either, the plate is automatically passed
through this machine, too.
On the station being in ACT mode and for which a corresponding specification for components to
be placed is available, the plate is stopped and gets placed automatically in the placement area,
see section 4.2.5.
Then the measurement is started automatically.
ACT - Accuracy Check Tool / User Manual 07/2014 Edition
47
4.2.4 Working with the ACT Function under Station Software 605.xx
NOTICE
On SIPLACE X and D machines running station software 605.xx (platform 2+), it is
necessary to install additional software on the station computer to be able to use the
ACT.
The installation is described in the Appendix of the document (Chapter 5).
► Switch on the machine.
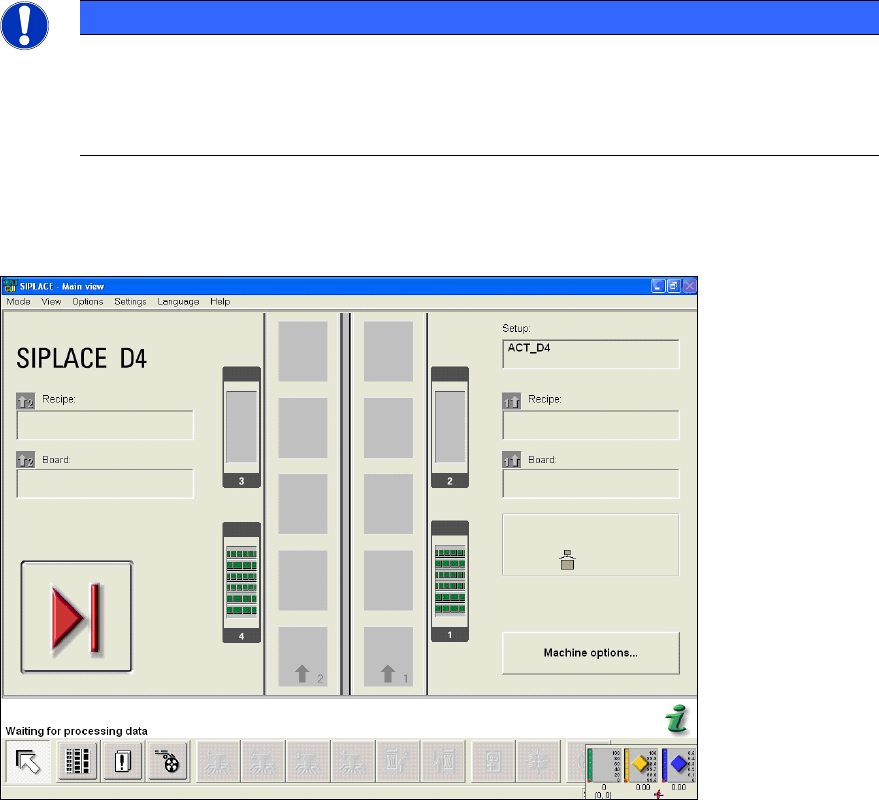
The station computer will boot. The user interface basic view for the SC program will soon appear.
Figure 4-23: Basic view of user interface GUI at the station
► From the Options menu, choose Access level... (Figure 4-24).
The Access level dialog box opens.