00198150-02_SM_TX_en.pdf - 第201页
8 Placement Heads and Stationary Cameras 8.1 Fast Head Exchange Service Manual SIPLACE TX Series 06/2017 201 Fig.272: Performing calibration ► Wait until calibration has been completed. Fig.273: Finishing calibration ►…

8 Placement Heads and Stationary Cameras
8.1 Fast Head Exchange
200 Service Manual SIPLACE TX Series 06/2017
NOTICE
Nozzles
In the event of repairs, it is not possible to simply return the nozzles from a defective head
to the nozzle changer, in order to achieve a defined state. After the head exchange the soft-
ware stores the nozzle configuration of the defective head and the nozzle changer. You can
then refill the garages to restore the same level as before the head failure.
If the newly fitted head is equipped with calibration nozzles, these will automatically be re-
jected after the calibration. Depending on the job the required nozzles can the be picked up
and the production can be started.
Fig.270: Refilling nozzle changer
► Refill the nozzle changer garages of the nozzle
changer with the relevant nozzles.
NOTICE!
You can skip refilling the garages. In this case
you have to refill the nozzle changer before the
start of the production.
In the columns "Nozzle" and "Location -
Magazine Carrier/Magazine/Garage" you see
the nozzles that were present on the removed
head and that are now missing in the nozzle
changer.
If the garage has been refilled, confirm this in the
"Confirm" column.
.
► Click on the Continue button.
Fig.271: Starting calibration
The default configuration for calibration is displayed.
Click on the Start button to start head calibration.
In the event that there is no or incorrect EPROM data
(star and Z zero point correction), an error message
will appear.
► Provide the necessary calibration tools and click
on "Start".
ð The calibration will be started. The nozzles
will be rejected.
8 Placement Heads and Stationary Cameras
8.1 Fast Head Exchange
Service Manual SIPLACE TX Series 06/2017 201
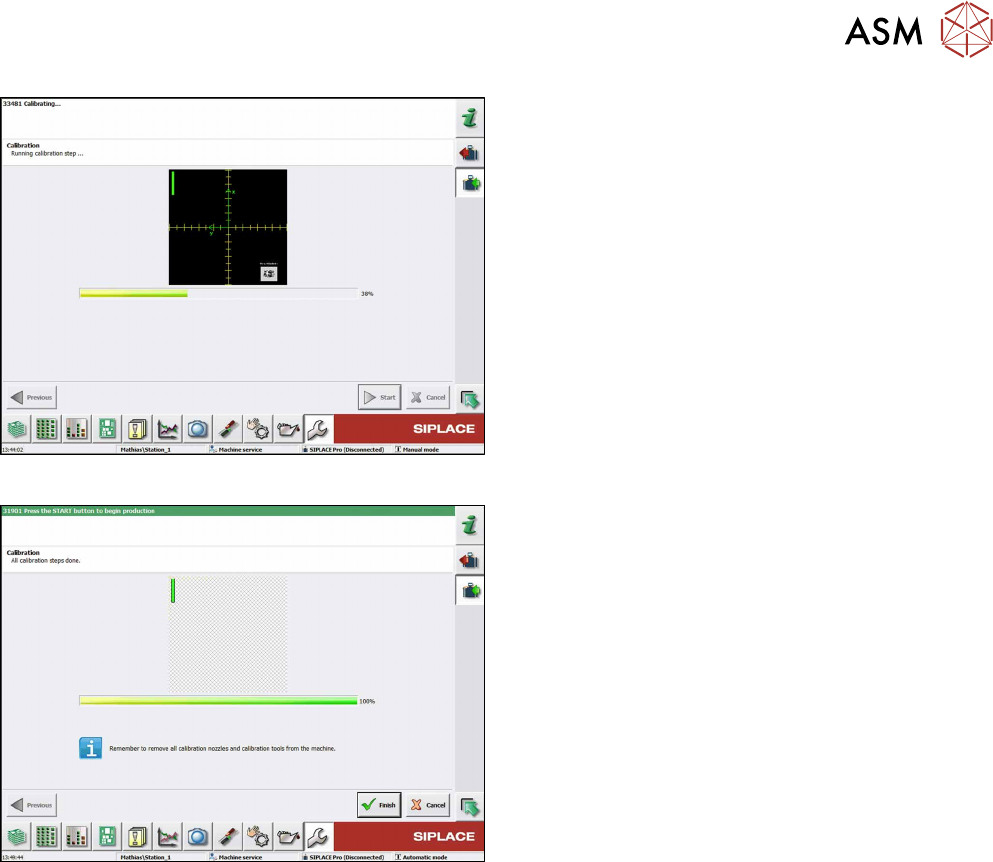
Fig.272: Performing calibration
► Wait until calibration has been completed.
Fig.273: Finishing calibration
► If there is an empty magazine in the machine
after the calibration has been completed, select
the Remove calibration nozzlesbutton.
► Click on Finish.
► If there are any problems during the reference
run (vacuum check), perform zero correction for
the pressure control valve.
The Fast Head Exchange has now been completed
and production can be restarted.
8 Placement Heads and Stationary Cameras
8.2 Replacing the SIPLACE C&P20 P/M2 Head
202 Service Manual SIPLACE TX Series 06/2017
8.2 Replacing the SIPLACE C&P20 P/M2 Head
NOTICE
Vacuum test
► If required, perform a vacuum test before removing the placement head.
Read the "Service manual Vacuum test at C&P placement head" [DE+EN:
00196101‑xx] for this.
NOTICE
Fast Head Exchange (FHE)
► Observe the instructions in section 8.1 "Fast Head Exchange" [}197] when exchan-
ging a head.
Parts, equipment and tools
●
C&P20 P placement head [03091157-xx] (without camera)
●
C&P20 M2 placement head [03125907Sxx] (without camera)
NOTICE
Vacuum pump/compressed air operation
As a spare part, the head is prepared for vacuum pump operation.
► Convert the placement head for compressed air operation using the "Hold-circuit com-
plete/C&P20" [03005123Sxx] kit.
●
Torx screwdriver ESD 1.0-5.0 Nm [03078400-xx]
●
Bit holder for TorqueVario screwdriver [03078706-xx]
●
Extension/straight TX20 [03073256-xx]
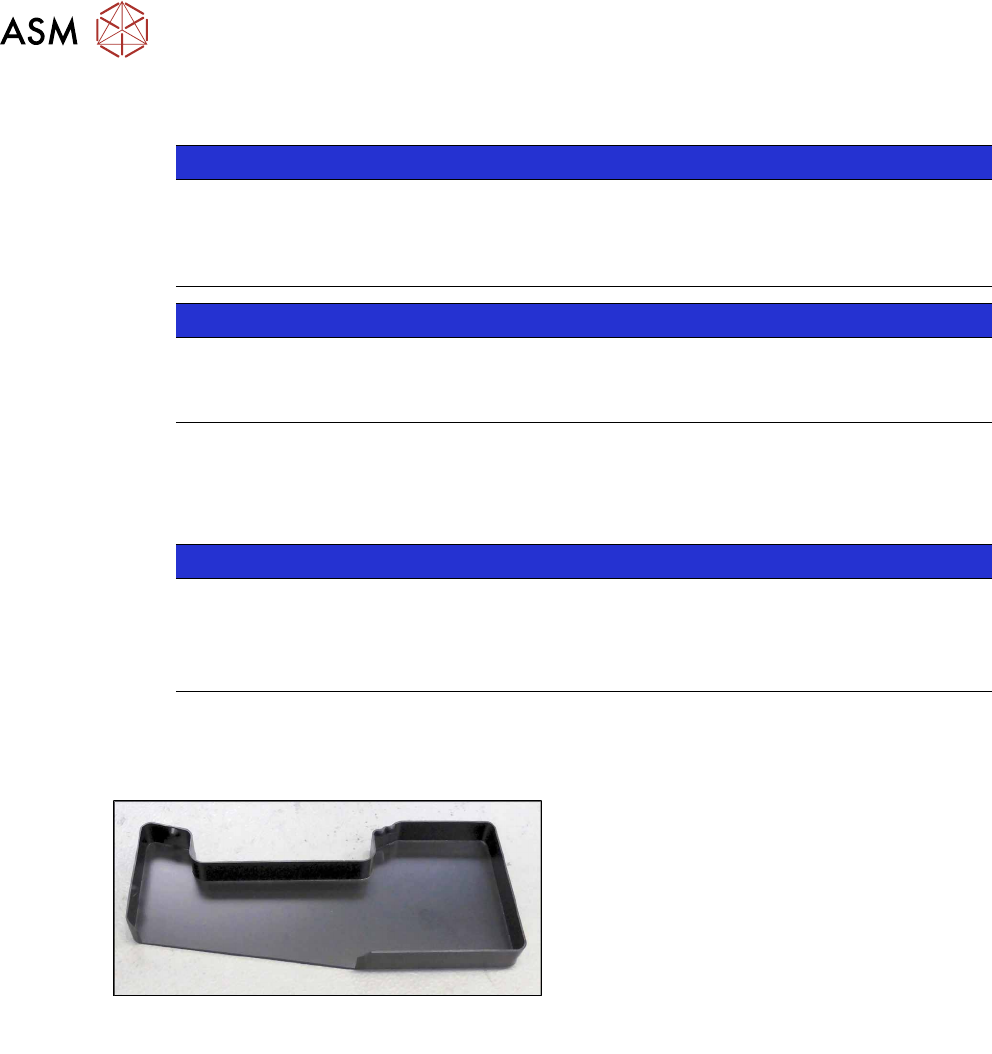
Fig.274: Component sensor protective cap
[03092400‑xx]
●
Component sensor protective cap
[03092400‑xx]
●
Calibration tool version SST23 [03034148-
xx]
For additional work to the placement head:
●
Head mount [03056231‑xx]
●
Service manual "SIPLACE C&P20P head" [DE:00197489‑xx] [EN:00197490‑xx]