00900194-01_SM_ASM ProcessLens_Dual-lane_EN.pdf - 第50页
4 Replacing spare parts at the conveyor 4.3 Conveyor drive 50 Service Manual ASM ProcessLens Dual-lane 09/2018 Fig.23: Fastening screws ► Remove the three screws (1) fastening the con- veyor drive. ► Carefully unthread…
4 Replacing spare parts at the conveyor
4.3 Conveyor drive
Service Manual ASM ProcessLens Dual-lane 09/2018 49
Removal
► Use the software or manually move the conveyor rail into a position which allows you best
access.
– To move the conveyor rail manually, pull the toothed belt of the width adjustment unit.
► Switch off the machine, disconnect it from the power supply and secure it to prevent
unauthorized reactivation.
► The fastening screws of the conveyor drives are on the outer side of the conveyor.
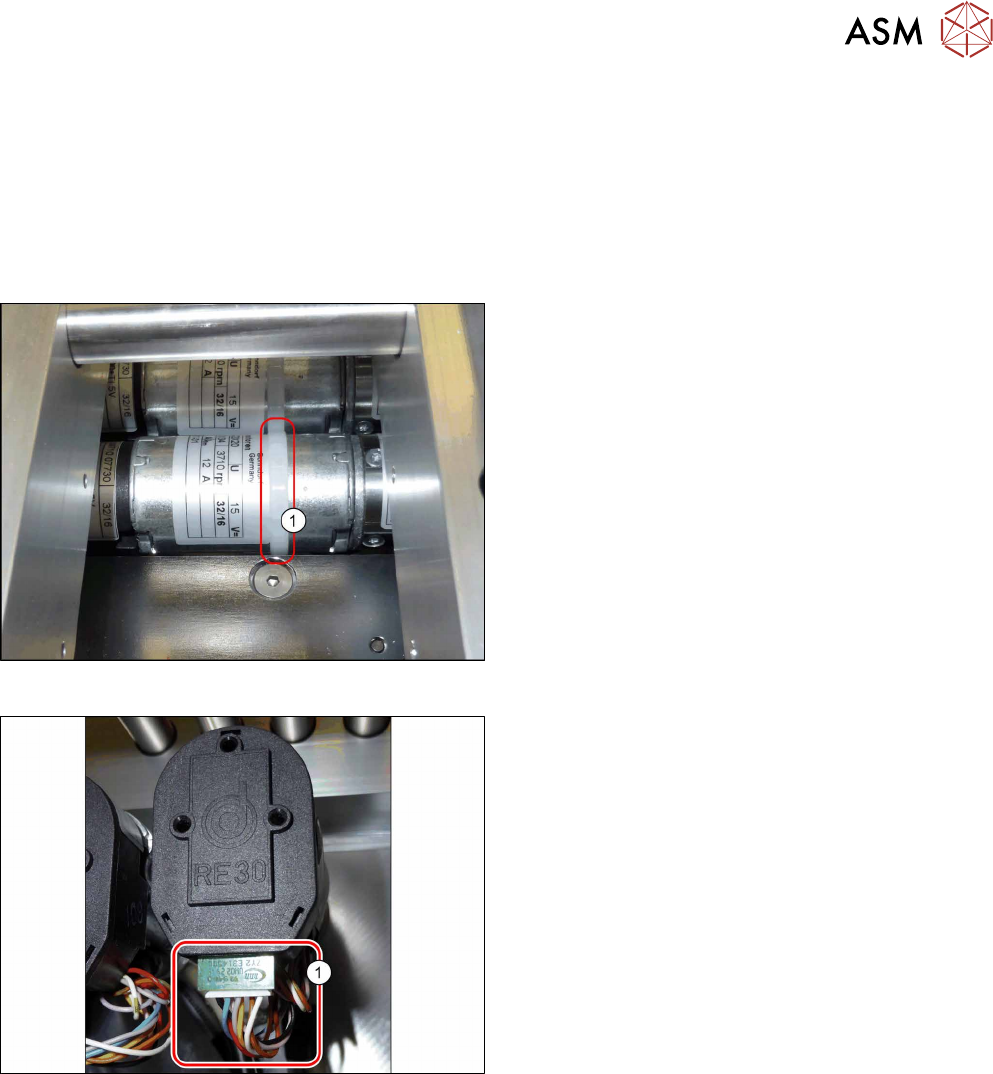
Fig.21: Cable tie
► Remove the cable tie(1) around the conveyor
drive.
Fig.22: Electrical connections
► Unplug all electrical connections from the con-
veyor drive(1). You may want to mark their posi-
tions for easier exact replacement later on.
4 Replacing spare parts at the conveyor
4.3 Conveyor drive
50 Service Manual ASM ProcessLens Dual-lane 09/2018
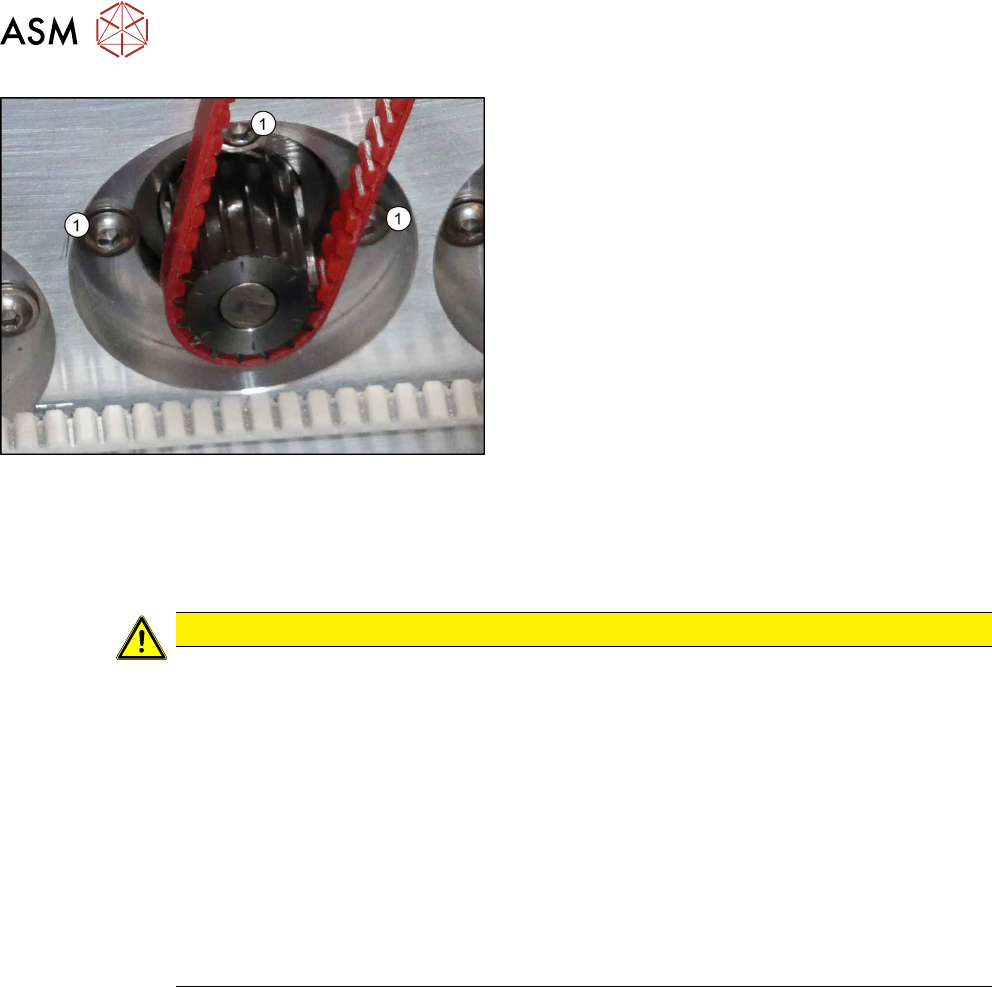
Fig.23: Fastening screws
► Remove the three screws(1) fastening the con-
veyor drive.
► Carefully unthread the motor from the toothed
belt and remove the motor from the machine.
Installation
► Follow the removal instructions in reverse order for installation. Also observe the following
instructions:
CAUTION
Installation instructions
► Make sure that the toothed belt is not folded or otherwise damaged.
► Make sure that the toothed belt is accurately positioned in the guidance on the motor
shaft.
► Carefully thread in the toothed belt. To do this, carefully lift the toothed belt a little (e.g.
with the shorter end of an Allen key).
► Replace any cables ties where needed.
Replace, in particular, the cable tie on the motor. Make sure that the cables, cable ties
and, in particular, the cable tie heads are not damaged on edges or rubbed against
anything when you adjust the conveyor rails.
Also pay attention to the cable ties on the trailing cable and to the shield connection
on the conveyor drive.
Perform these checks along the whole width of the conveyor.
4 Replacing spare parts at the conveyor
4.3 Conveyor drive
Service Manual ASM ProcessLens Dual-lane 09/2018 51
4.3.2 Replacing the toothed belt (conveyor drive)
Parts
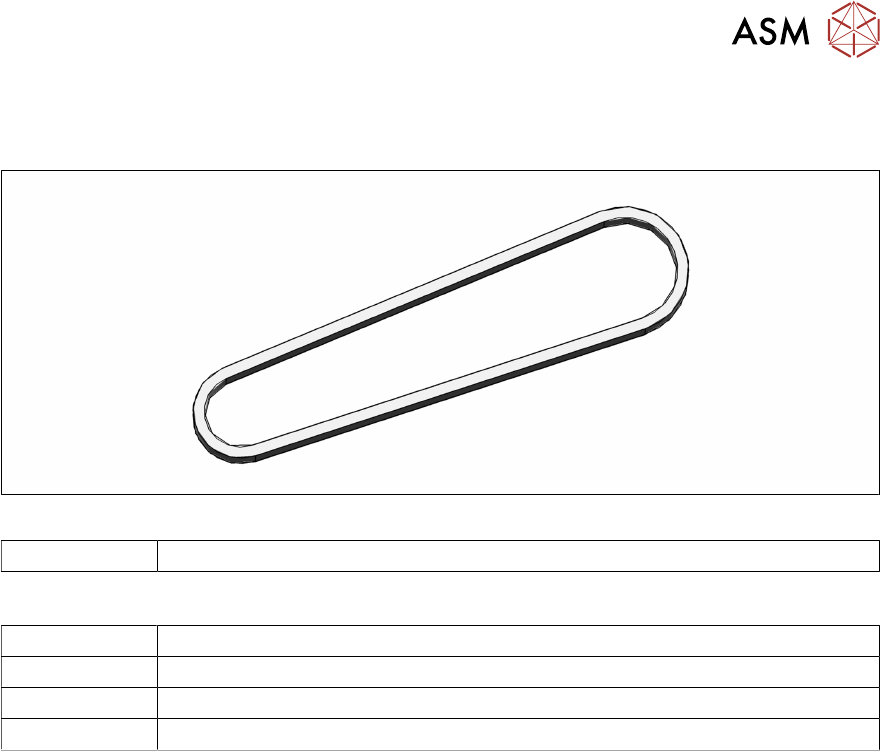
Fig.24: Toothed belt (conveyor drive)
03121566‑xx Toothed belt Synchroflex 5+-0.1 AT3/201
Equipment and tools
00326015‑xx Belt tension measuring device
00353832-xx Allen key set
Side cutter
Cable ties