00193407-02 HWWS SIPLACE Machine Accuracy EN.pdf - 第108页
. Seite 8 © Siemens AG . . Änderungen vorbehalten SIPLACE Placement Systems ¾ place the front part of the head with the star downward. ¾ remove the 4 screws of the inte rmediate distributi on board. Use a spanner 5,5 mm …
. Seite 7
© Siemens AG . . Änderungen vorbehalten
SIPLACE
Placement Systems
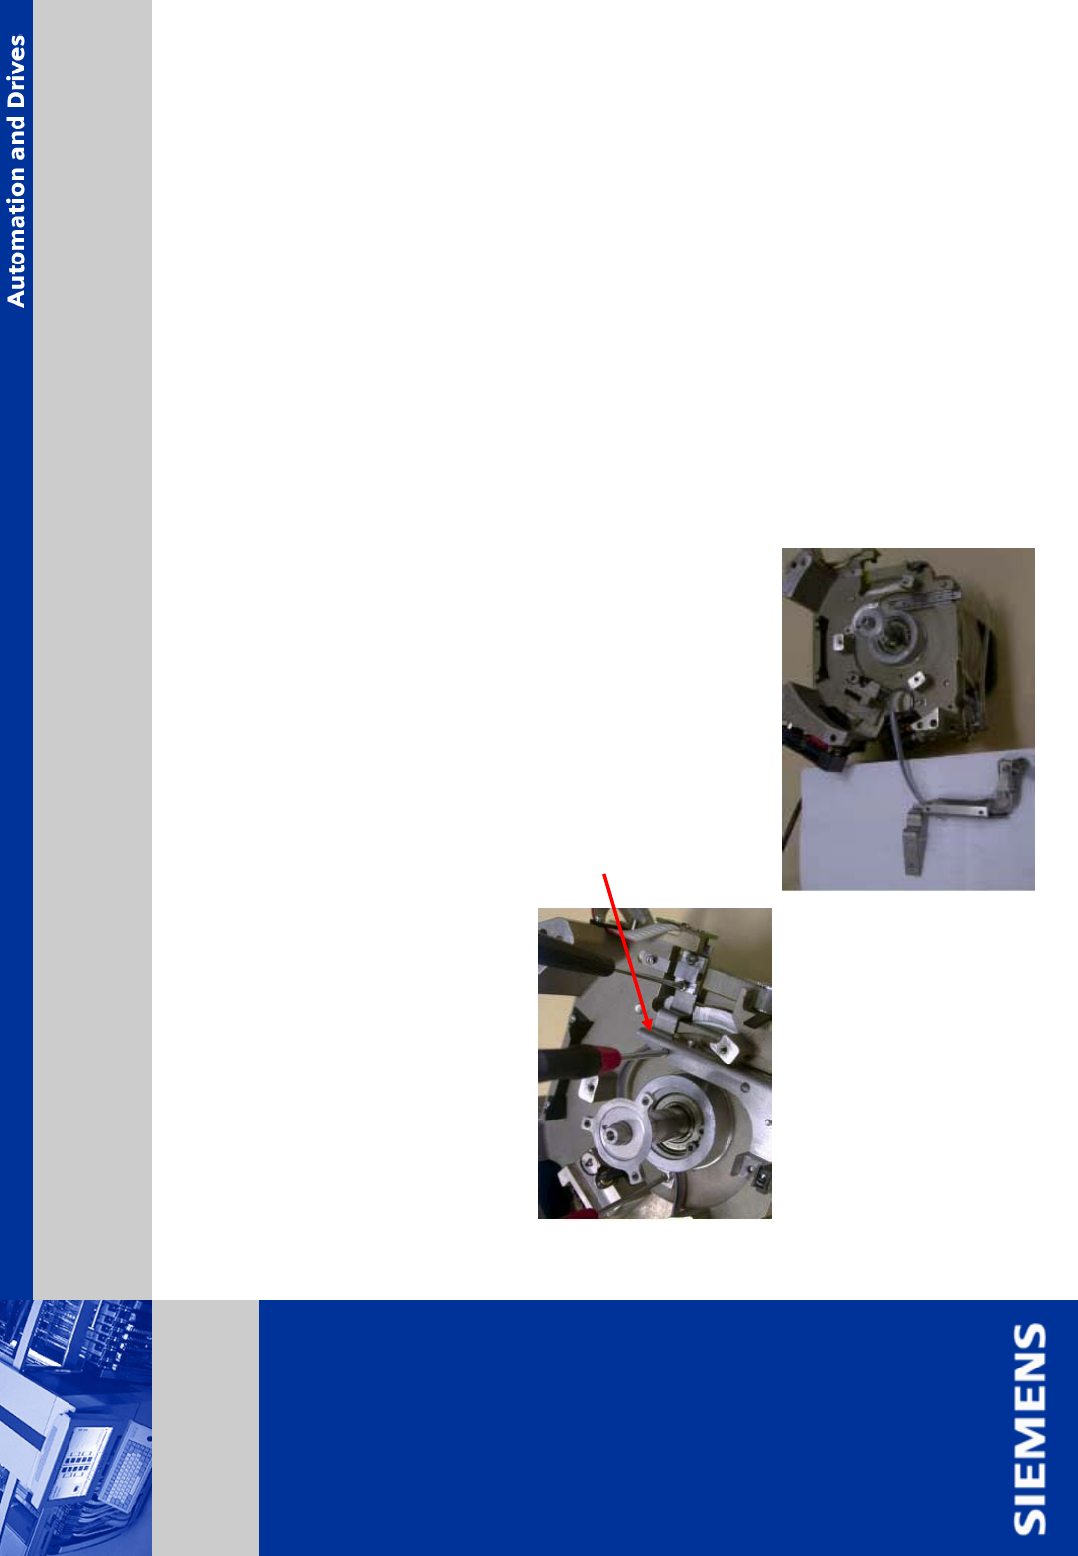
¾ loosen and remove the 3 hexagon socket screws (allen wrench 2,5 mm) of the raceway and
take it out.
¾ check the raceway. Exchange the raceway if it is damaged.
¾ unfasten the angle piece (cable, depending on head type).
¾ loosen and remove the 2 hexagon screws (allen wrench 1,5 mm) used to fasten the driving
plate to the rolling slides.
¾ loosen and remove the 2 hexagon screws (allen wrench 2 mm) of belt fastener.
¾ remove the driver plate.
Disassembly Z-Axis (continuing)
. Seite 8
© Siemens AG . . Änderungen vorbehalten
SIPLACE
Placement Systems
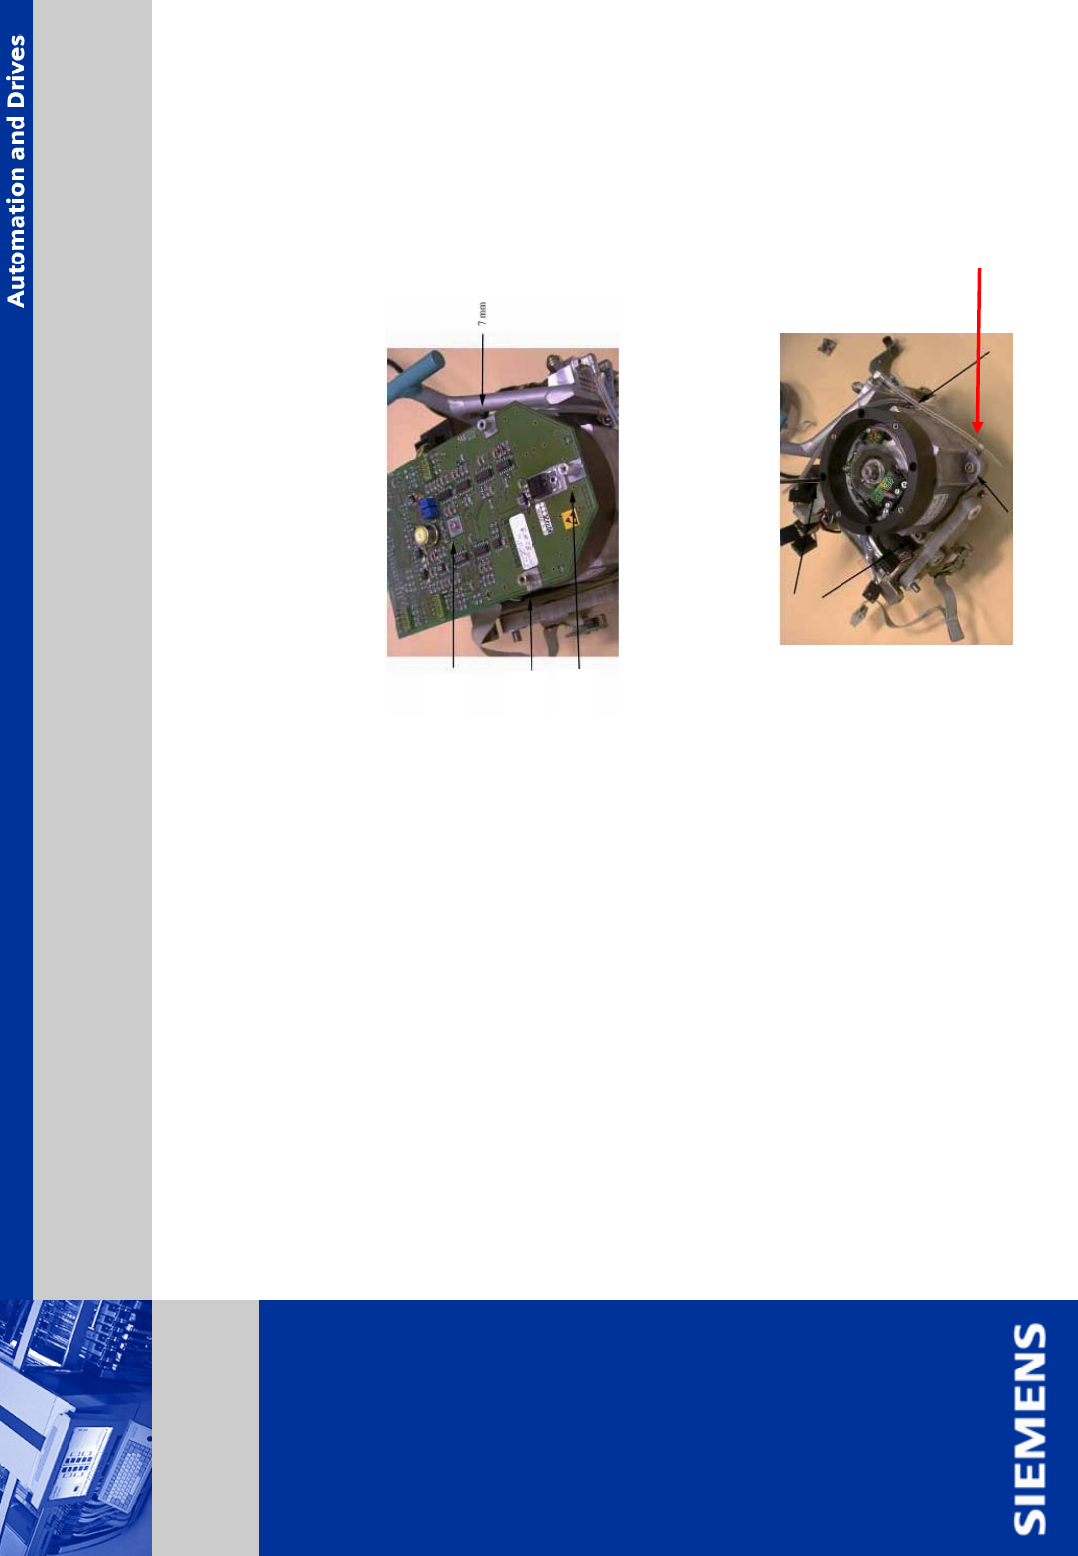
¾ place the front part of the head with the star downward.
¾ remove the 4 screws of the intermediate distribution board. Use a spanner 5,5 mm and an allen
wrench 2,5 mm.
¾ take specific care about screw size and allocation.
¾ remove the intermediate distributor board.
¾ take off all cables and the compressed air hose from intermediate distributor board
(plugs are coded).
¾ loosen and remove the 4 hexagon socket
head screws (allen wrench 4 mm) of the star
motor.
10 mm
9 mm
M 3x5
Disassembly Z-Axis (continuing)
. Seite 9
© Siemens AG . . Änderungen vorbehalten
SIPLACE
Placement Systems
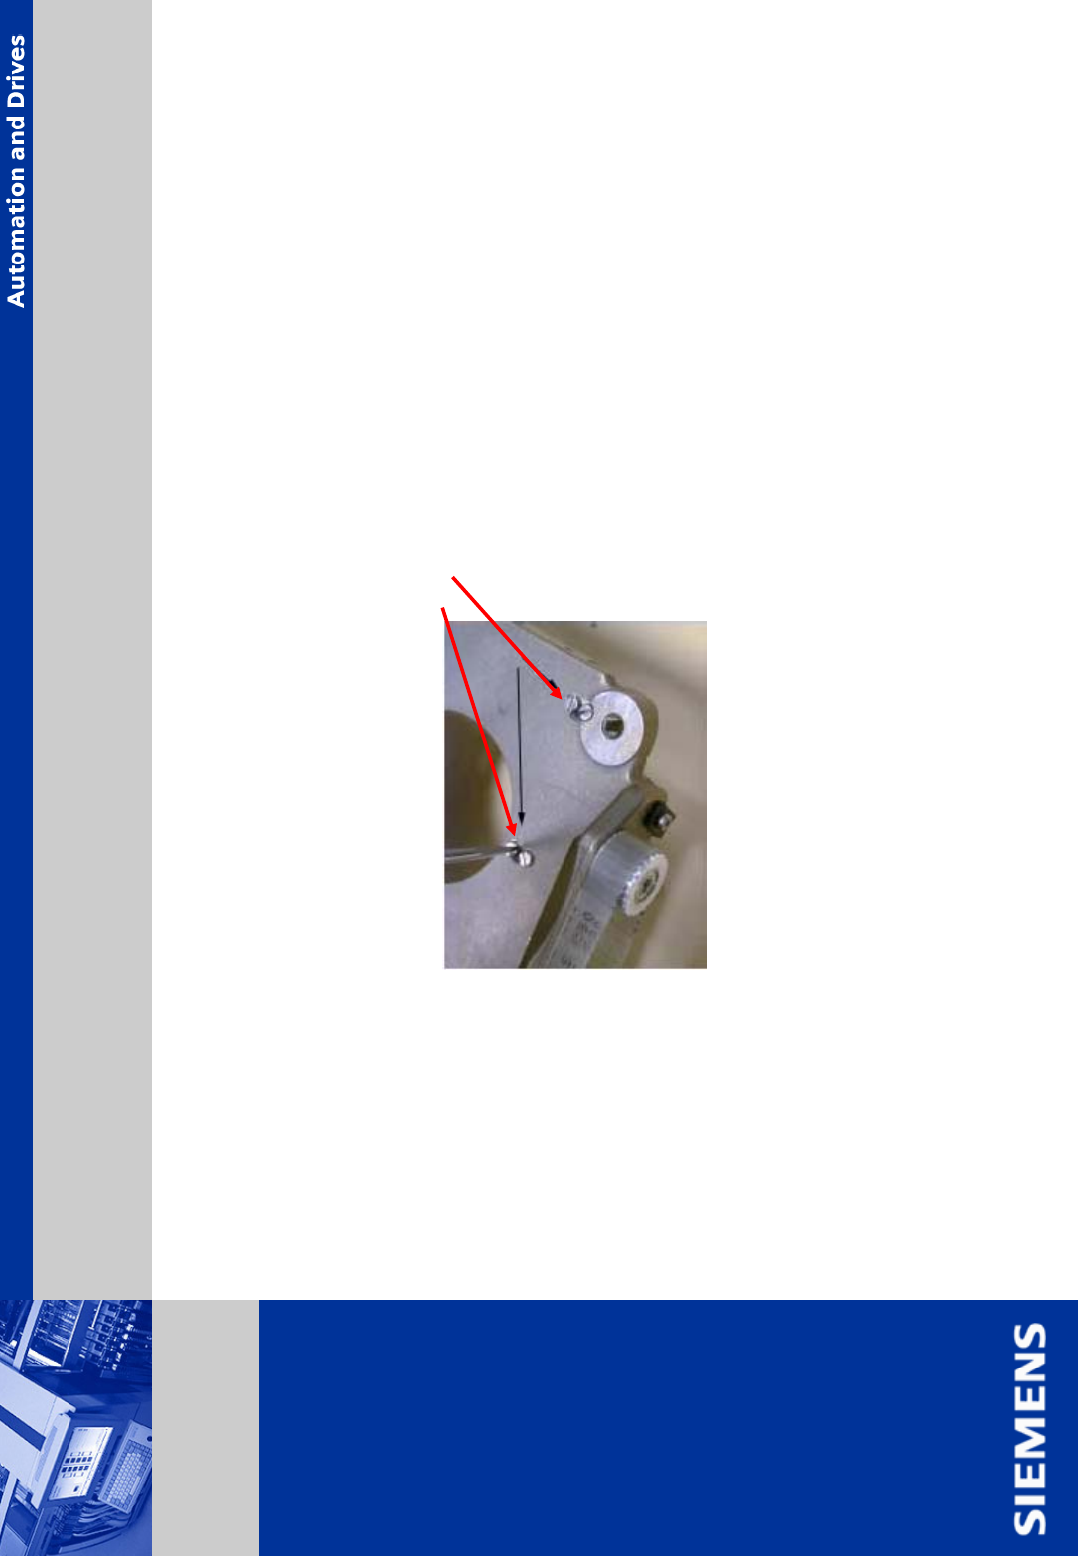
¾ remove the star motor and handle and set them down carefully.
¾ pay attention not to damage or pollute the glass scale of the star motor. Notice the star
motor position (motor cable points towards blast unit)
¾ loosen and remove the 4 screws from the miniature rolling bearing z-axis from star motor
side (screw driver size 1).
¾ take off the miniature rolling bearing.
¾ clean the surface below the miniature rolling bearing.
Disassembly Z-Axis (continuing)