00193407-02 HWWS SIPLACE Machine Accuracy EN.pdf - 第110页
. Seite 10 © Siemens AG . . Änderungen vorbehalten SIPLACE Placement Systems ¾ assemble a new miniat ure rolling bearing. Attention: this must be done in a specific way, the screws at the bottom side point to the left si…
. Seite 9
© Siemens AG . . Änderungen vorbehalten
SIPLACE
Placement Systems
¾ remove the star motor and handle and set them down carefully.
¾ pay attention not to damage or pollute the glass scale of the star motor. Notice the star
motor position (motor cable points towards blast unit)
¾ loosen and remove the 4 screws from the miniature rolling bearing z-axis from star motor
side (screw driver size 1).
¾ take off the miniature rolling bearing.
¾ clean the surface below the miniature rolling bearing.
Disassembly Z-Axis (continuing)

. Seite 10
© Siemens AG . . Änderungen vorbehalten
SIPLACE
Placement Systems
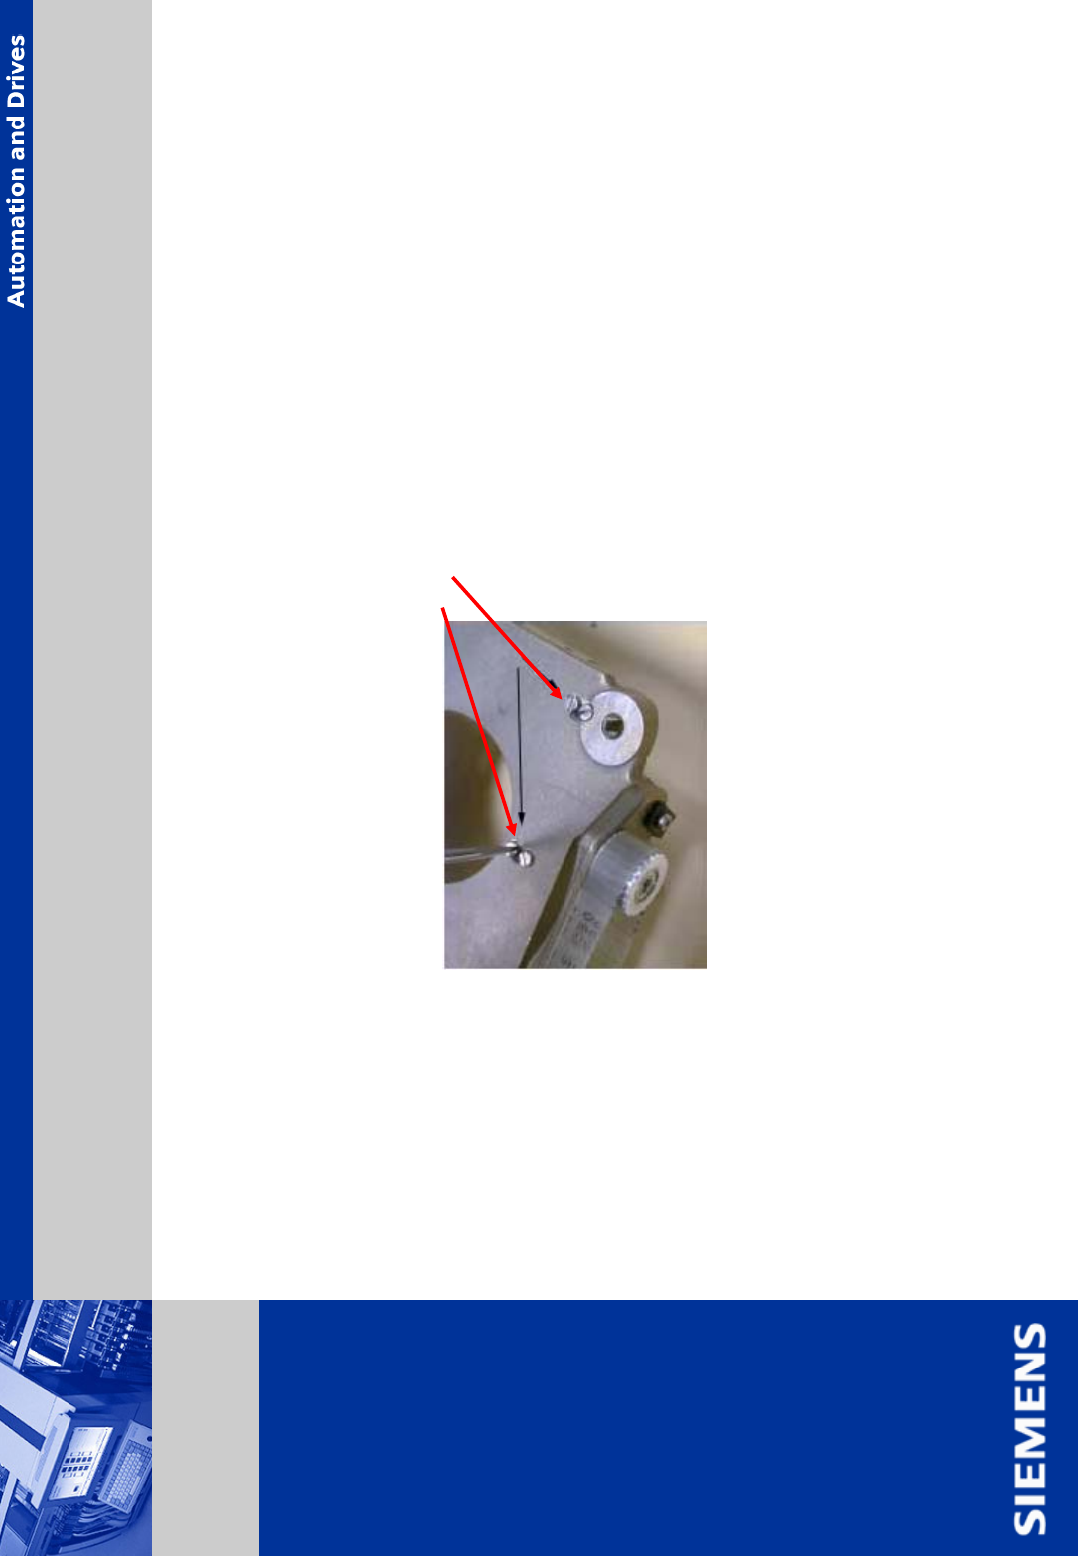
¾ assemble a new miniature rolling bearing.
Attention: this must be done in a specific way, the screws at the bottom
side point to the left side (front head part must be turned over).
¾ starting from the back, loosely insert the 4 screws (DIN 84 M2x4mm). Use
new screws for this purpose.
¾ insert the feeler gauge (0,4 mm) at the right side, next to the miniature
rolling bearing.
¾ press the rolling bearing against the feeler gauge and likewise against the
upper stop.
.
feeler gauge 0,4 mm
Assembly Z-Axis

. Seite 11
© Siemens AG . . Änderungen vorbehalten
SIPLACE
Placement Systems
¾ tighten the 4 screws and remove the feeler gauge.
¾ mount the motor and handle.
¾ locate the star motor with 1 screw only at first. Do not forget to mount the
handle.
¾ evenly tighten all screws.
¾ plug the cables back into the intermediate board.
¾ take specific care of the cable and the compressed air hose. If the hose is
discolored, replace it.
Assembly Z-Axis (continuing)