SOM-1655-002.pdf - 第62页
61 Tg0742-PM-SO 0301-001 12.3 Offset T eaching • For "Scan Times", set the number of detection operations. Standard: 6 times • When the head and nozzle to be detected are specified, the unit detects and calcula…
60 Tg0742-PM-SO
[All Beam Zero] Button (The right of the sheet)
When the background is colored red, the beam cannot be zeroed,
so that detection is not available.
[All Beam Zero] Button (The left of the sheet)
Each of the X-, Y-, and L-axis, is zeroed.
For actual procedure, press the [ON] button and then start by
pressing the [ENABLE] button on the operation panel.
[Jig Comp. Pickup & Fxd Camera Move] Button
After picking up the correction jig by the specified nozzle on the
specified head, the nozzle is moved into position for the fixed
camera A1 and recognized by the camera.
Before this operation, the vacuum nozzle has to be
attached on the head.
[Component Collection] Button
The correction jig picked up by the specified nozzle on the speci-
fied head is returned to the jig stocker.
• If the head and the nozzle for picking up the jig are not correctly
specified, the jig cannot be returned.
[Scan Start (NC Axis)] Button
The detecting is done by means of scanning the correction jig and
the offset values for the NC-, X-, Y- and L-axis are calculated.
12.3 Offset Teaching
0301-001
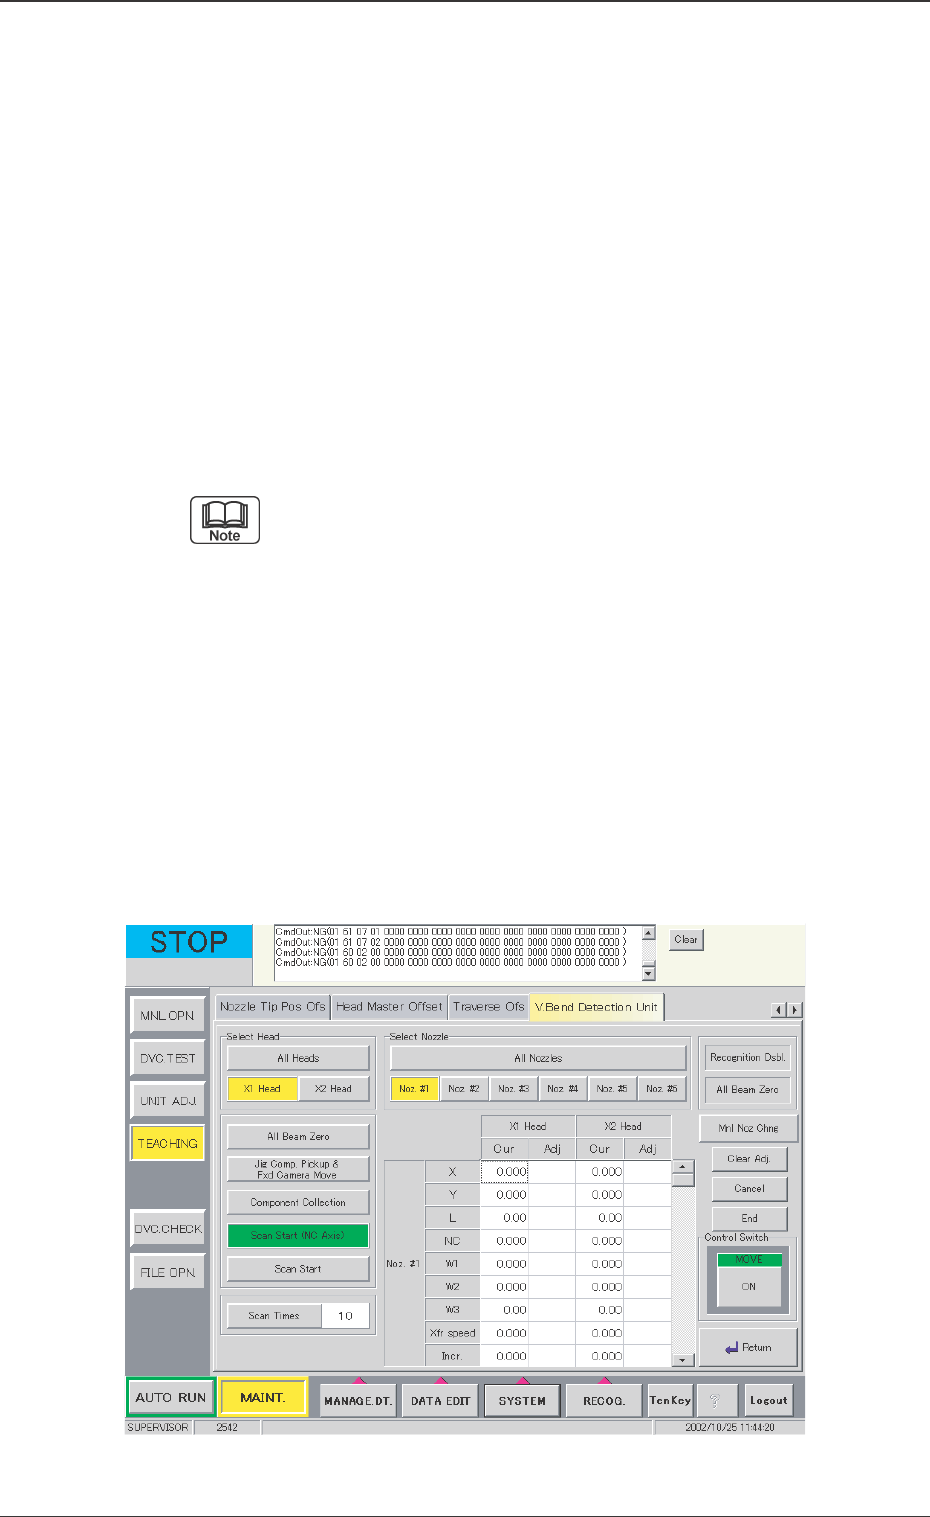
Fig. 35 "Offset Teaching" Window (Scan Start (NC-Axis))

61 Tg0742-PM-SO0301-001
12.3 Offset Teaching
• For "Scan Times", set the number of detection operations.
Standard: 6 times
• When the head and nozzle to be detected are specified, the
unit detects and calculates the offset value for the NC-axis.
[Scan Start] Button
• The detecting is done by means of scanning the correction jig,
and offset values for X-, Y- and L-axis are calculated. In addi-
tion, the detection and calculation for the W1, W2, W3, Xfr
speed and Incr. (correction jig size) are performed.
• For "Scan Times", set the number of detection operations.
Standard: 6 times
After performing [Scan Start (NC-Axis)], perform [Scan
Start].
[Mnl Noz Chng] Button
The "Mnl Noz Chng" window appears.
[Clear Adj] Button
The detected data is cleared.
[Cancel] Button
While the teaching window is displayed, no other operations are
available. In this case, if there is to be another operation, the
teaching function must be stopped by using this button.
[End] Button
The detected and adjusted values are saved as offset data.
[Return] Button
The previous window appears.

62 Tg0742-PM-SO
12.4 Offset Teaching Procedure
(1) Perform "Scan Start (NC-Axis)".
Put the correction jig on the jig stocker so that its mirror side is
turned down.
Return to the nozzle stocker all nozzles attached to the nozzle
clamp in the head.
Select [Scan Start (NC-Axis)] in the "Offset Teaching" window
and set the "Scan Times" to about 6 for all heads and all
nozzles. Then, perform [Scan Start (NC-Axis)].
(2) Check that the [Recognition Dsbl.] mode is not set.
(3) Start scanning.
Select [Scan Start] in the "Offset Teaching" window and set the
"Scan Times" to about 6 for all heads and all nozzles. Then
perform [Scan Start].
(4) Save the measured data.
Press the [End] button to save the adjusted values as offset
data.
0301-001
12.4 Offset Teaching Procedure