192277 - Micron Technical Reference Volume 3.pdf - 第188页
AIR IONI ZER MODULE REPLACEMENT PROCEDURES 31.8 Technical Reference Manual Chapter Issue 5, Aug 14 3. T o remove the electrode cartridge, twist it counter clockwise (1) an d pull it out of the ionizer assembly (2). 4. Di…
AIR IONIZER MODULE
REPLACEMENT PROCEDURES
Chapter Issue 5, Aug 14 Technical Reference Manual 31.7
Use the following procedures to clean and replace the electrodes if necessary.
Electrode Cleaning 1. Ensure that the machine is isolated from mains electrical supply and the air
supply is disconnected.
2. Remove the left hand side safety cover from the machine to gain access to
the air ionizer.
3. Locate the row of electrode cartridges on the base of the ionizer.
NOTE
The mounting brackets angle the ionizer toward the inside of the printer by
approximately 45 degrees. The units should be accessible without removing
machine covers.
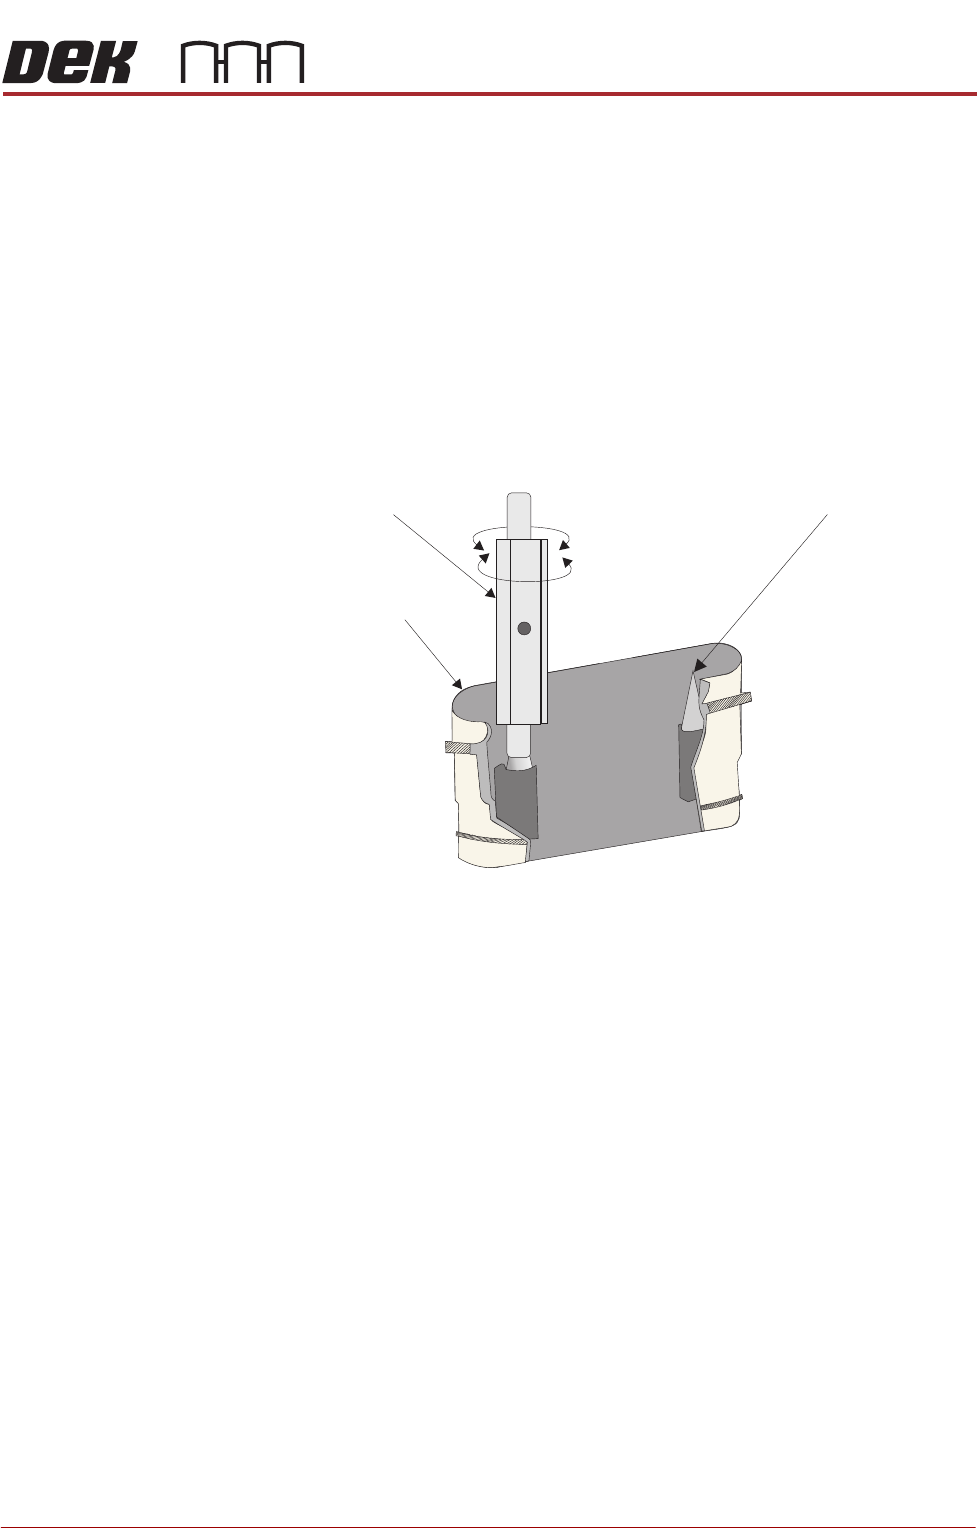
4. Using the electrode cleaner, clean the first electrode pair.
5. Repeat for the rest of the electrodes.
6. Refit the left hand side safety cover.
Electrode Cartridge
Replacement
When replacing an electrode due to wear, all the electrodes must be changed
at the same time for the air ionizer to work efficiently. To change the electrode
cartridges, use the following procedure:
1. Ensure that the machine is isolated from mains electrical supply and the air
supply is disconnected.
2. Remove the left hand side safety cover to gain access to the air ionizer.
Electrode Cartridge
Needle Tip
Twist
Electrode Cleaner
Electrode Holder (cut-away) Showing Electrode Needle Tips to be Cleaned
AIR IONIZER MODULE
REPLACEMENT PROCEDURES
31.8 Technical Reference Manual Chapter Issue 5, Aug 14
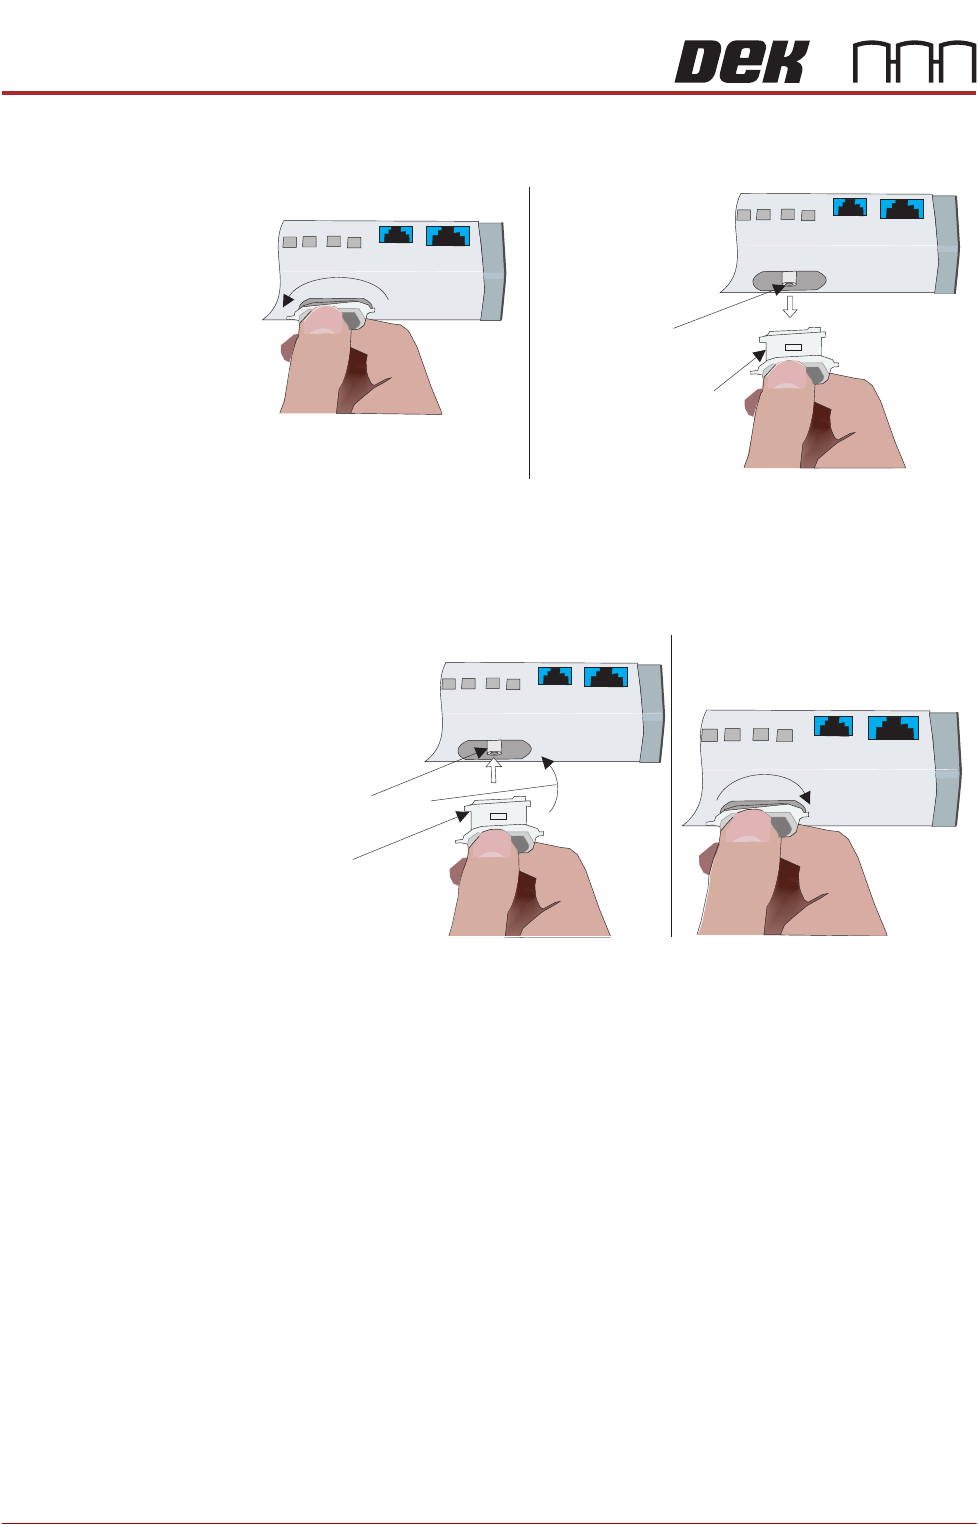
3. To remove the electrode cartridge, twist it counter clockwise (1) and pull it
out of the ionizer assembly (2).
4. Discard the electrode cartridge.
5. With the new electrode cartridge, slightly angled up toward the front face of
the assembly (1), slide it into the cartridge socket, ensuring that the unit
seats onto the alignment pin.
6. Twist the electrode cartridge clockwise to lock it in position (2).
7. Repeat Steps 3 to 6 for all the remaining electrode cartridges.
8. Refit the left hand side safety cover.
12
Twist to Unlock
Electrode Cartridge
Alignment Pin
Withdraw Electrode
Cartridge
Front Face
Electrode Cartridge
1
2
Alignment Pin
Angled Alignment
Front Face
Twist to Lock
BARCODE READER AND VERIFICATION AND TRACEABILITY
OVERVIEW
Chapter Issue 10, Feb 17 Technical Reference Manual 32.1
CHAPTER 32 BARCODE READER AND VERIFICATION AND TRACEABILITY
OVERVIEW
There are two types of barcode readers that may be fitted to the machine:
• Remote Barcode Reader
• Handheld Barcode Reader
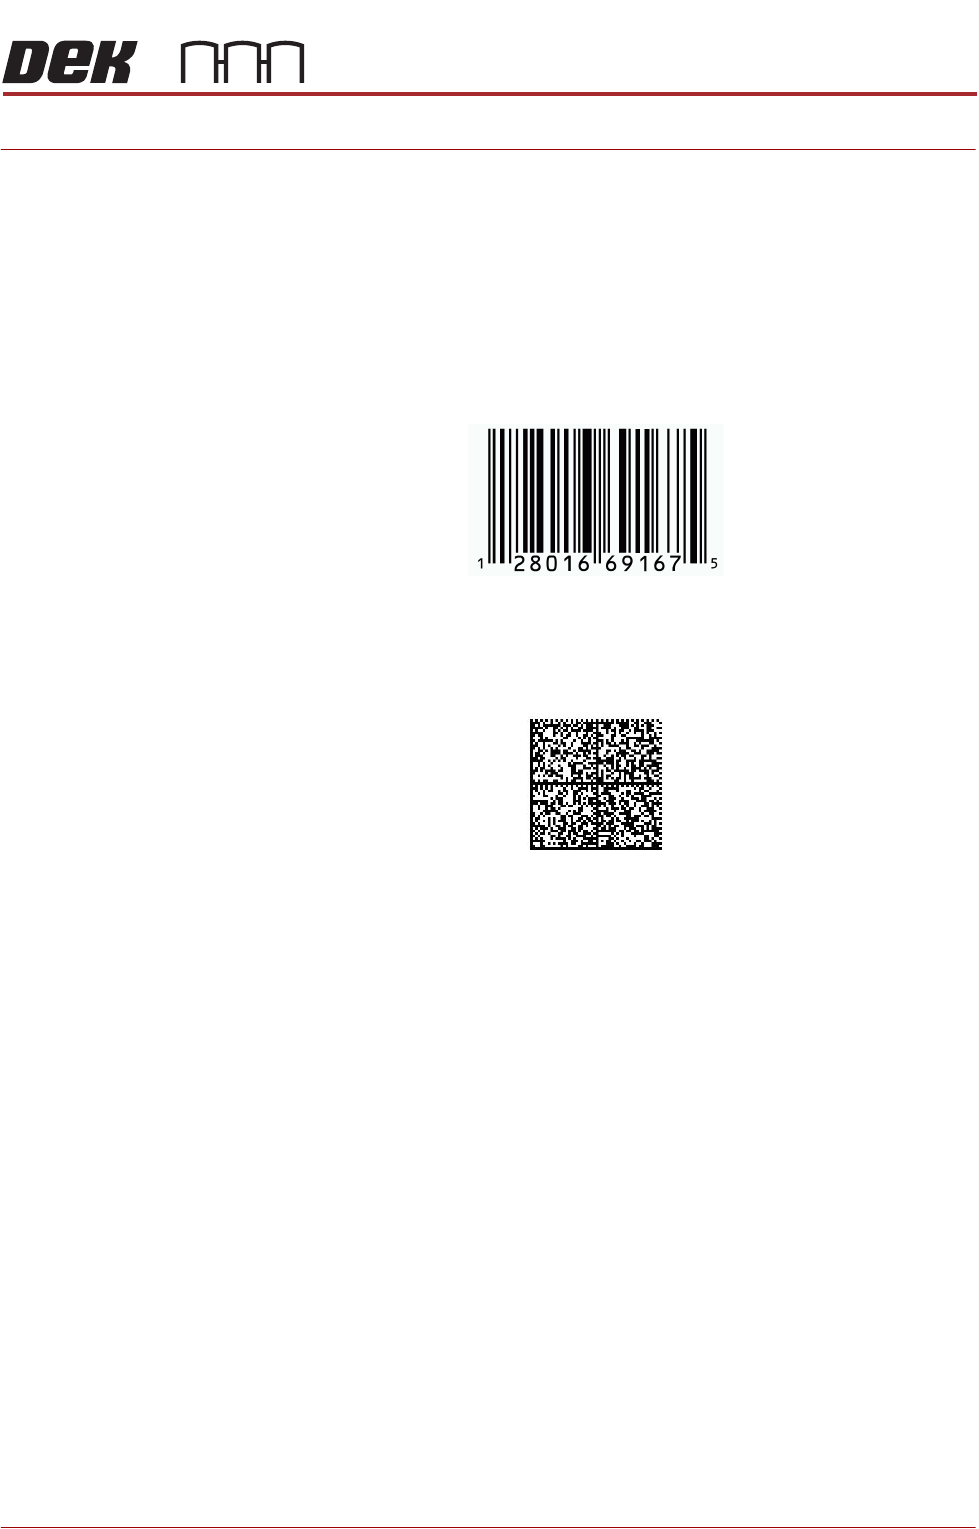
1D or one dimensional barcodes are the most common barcodes consisting of
a single row of different width bars.
2D or two dimensional barcodes consist of square modules constructed in a
matrix that may be square or rectangular.
NOTE
There are many different formats of barcodes: Data matrix, Aztec, QR, PDF
417. In the graphics above, these are single examples to demonstrate the
difference between 1D and 2D barcodes.
Example of a 1D Barcode
Example of a 2D Barcode