M8_ServiceManual_e.pdf - 第8页
6 ■ General Keep the machine and it s surrounding area safe and clean. Do not get on the feeder bank or machi ne top. Not to let any rats enter and stay inside of m ounter or its surrounding area, always keep there clean…
5
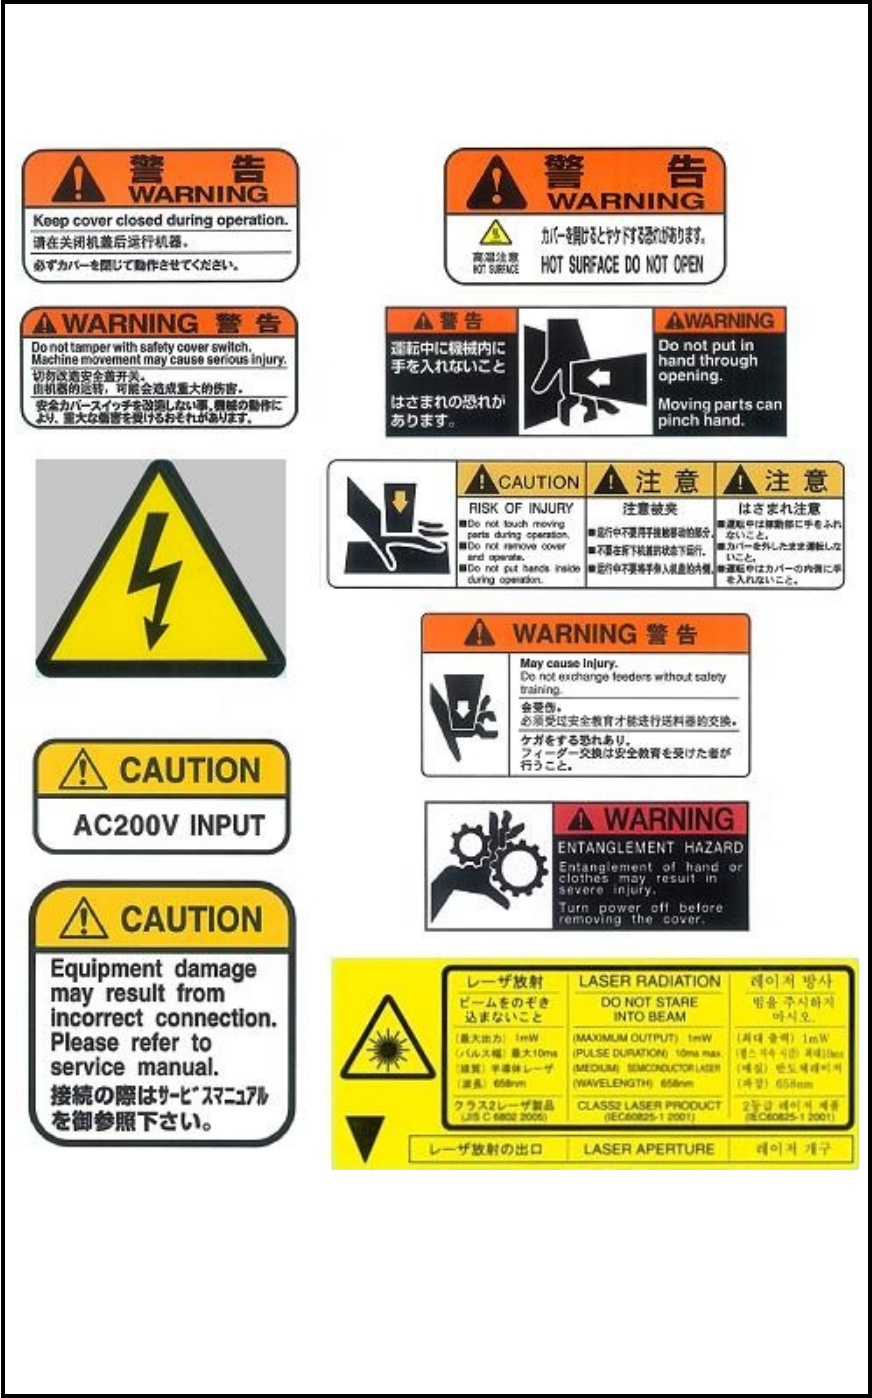
Warning labels
Please be sure to observe instructions of the warning labels attached on the mounter.

6
■ General
Keep the machine and its surrounding area safe and clean.
Do not get on the feeder bank or machine top.
Not to let any rats enter and stay inside of mounter or its surrounding area, always keep there clean, tidy and
locked up securely, taking care of prevention against machine damages by rats.
(Chapter 4 > Cautions about overall electrical items)
■ Operation
To prevent machine damage, before operation, make sure accessories such as parts feeders are set
completely and not to jump off.
To prevent machine damage, do not operate the mounter with foreign obstacles such as measurement tools
left on the conveyor or feeder bank.
After turning off the mounter, leave the machine 15 seconds or more before turning on again. Otherwise,
motor alarm can result.
■ Safety Interlock
The machine covers (front/rear) feature safety interlock mechanism. To safeguard the operator, this
mechanism is activated to stop the machine immediately by opening a machine cover or entering hand or
part of the body inside the operation area during operation.
Details
Installation
Operate the mounter in the following environments.
Environmental requirements
Ambient air temperature: Accuracy assurance 23 +/-2 degrees C
Operation assurance: +10 to +35 degrees C
(Average temperature over 24 hours should not exceed 30 degrees C.)
Relative humidity: 45 to 60%, no dew condensation
Altitude sea level: Below 1,000m
Atmosphere: Dust and corrosive gas free
The mounter is not designed to operate in residential and commercial area.
The maximum noise level is the mounter is 75.4 dB.
Caution

7
In noisy conditions (80db or louder), an operator should use a hearing protection to prevent hearing
problems.
Power supply terminals
Before turning on the main switch and pressing the ready switch, make sure that the power supply terminals
are connected properly.
In case of any of the terminals (L1 to L3) is open, the following failure occurs and it may lead to servo
amplifier damage.
1) L1 is open-phase;
Even if the main switch is pressed, the mounter does not boot up.
Nothing displays on the LCD.
2) L2 is open-phase;
When the main switch is pressed, the mounter boots up.
But if the ready switch is pressed, the red signal tower blinks with an alarm and the LCD blinks. After
then the error message ‘Axes motor error’ is given.
3) L3 is open-phase;
When the main switch is pressed, the mounter boots up.
But if the ready switch is pressed, the red signal tower blinks with an alarm and the LCD blinks. After
then the error message ‘Axes motor error’ is given.
Power supply terminals when the mounter is ON state.
In case of one of the terminals (L1 to L3) of the terminal assembly becomes open while the main switch and
the ready switch are pressed, the following failure occurs.
In this case, remove the cause first. Then reboot the mounter.
1) L1 is open-phase;
Power is turned off.
2) L2 is open-phase;
The LCD, feeder LEDs, and the signal tower blink. And a motor alarm is given.
3) L3 is open-phase;
The LCD, feeder LEDs, and the signal tower blink. And a motor alarm is given.
Power supply terminals with optional UPS installed
When the optional UPS is installed on the mounter and one of the power supply terminals (L1 to L3) is not
connected (open phase), the following failure occurs when the main switch is pressed.
The mounter does not boot up if any of the three terminals are open. Also nothing displays on the LCD.
In this case, make sure the connection of the terminals and remove the cause. After then reboot the mounter.
Caution