ServiceInstruction_Vision XP.pdf - 第59页
Vision XP+ V AC Page 55 2 Maintenance 2.14 Residual Oxygen Meter Operating Instructions V ersion 1.5 2.14.2 Exchange of activated carbon Fig. 2-9 3 Ex change act ivated carb on Fig. 2-9 4 Ex change act ivated carb on Fig…
Page 54 Vision XP+ VAC
2 Maintenance
2.14 Residual Oxygen Meter
Operating Instructions
Version 1.5
2.14 Residual Oxygen Meter
The residual oxygen meter are located at the back of the system.
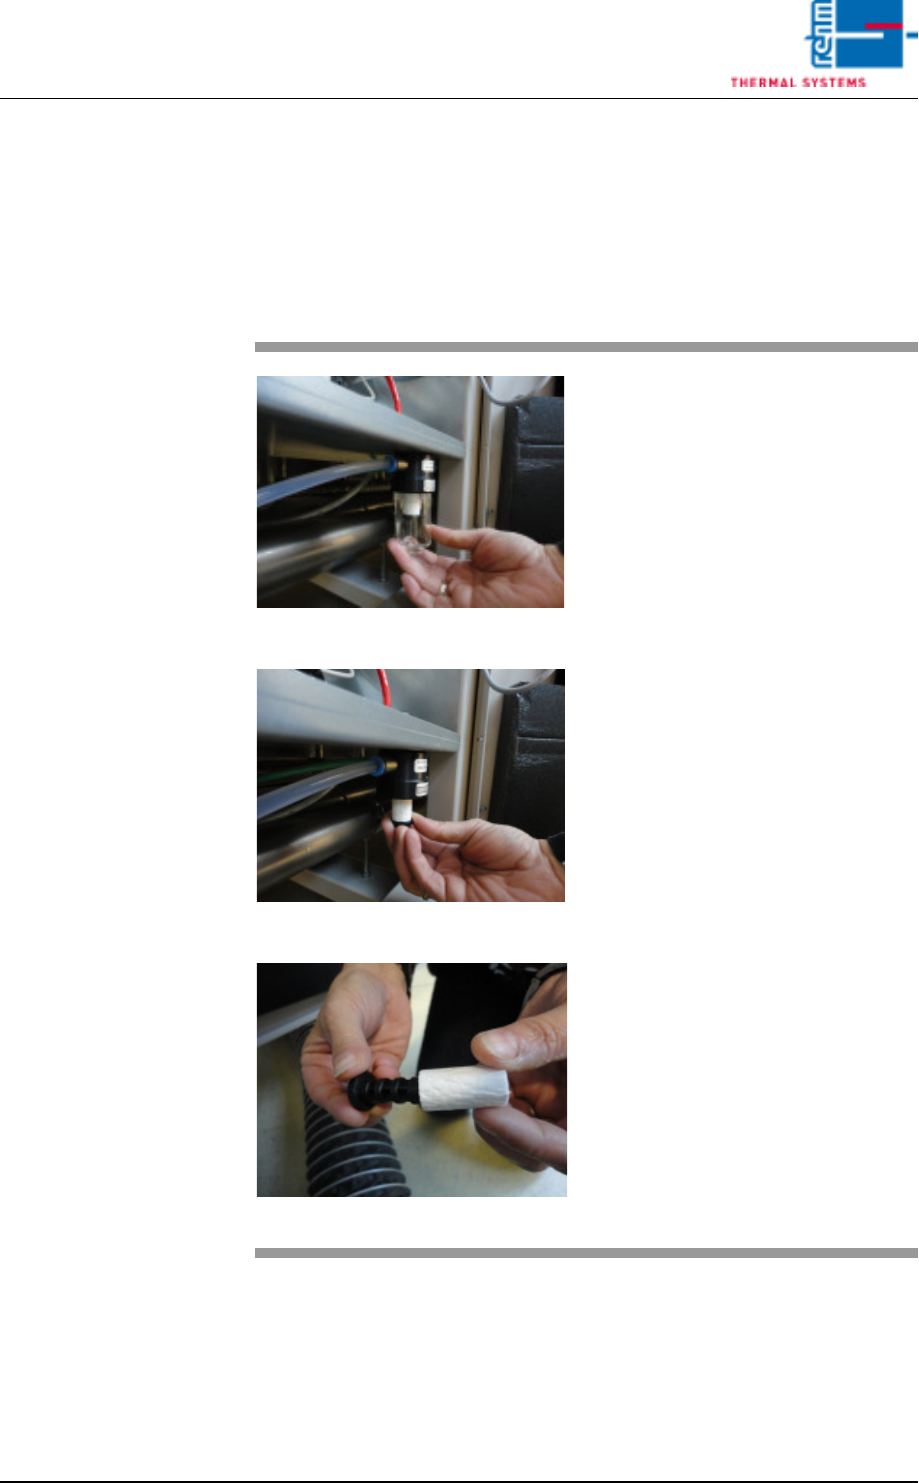
2.14.1 Replacing the Pre-Filter
Fig. 2-90 Unscrew the filter casing
Fig. 2-91 Unscrew the filter insert
Fig. 2-92 Put on the fluorocarbon filter
As well as the activated carbon is
replaced, the fluorocarbon filter has
also to be exchanged.
Procedure:
Unscrew the filter casing and the flu-
orocarbon filter insert.
Put the new fluorocarbon filter insert
onto the element holder and mount
together in reversed order.
Vision XP+ VAC Page 55
2 Maintenance
2.14 Residual Oxygen Meter
Operating Instructions
Version 1.5
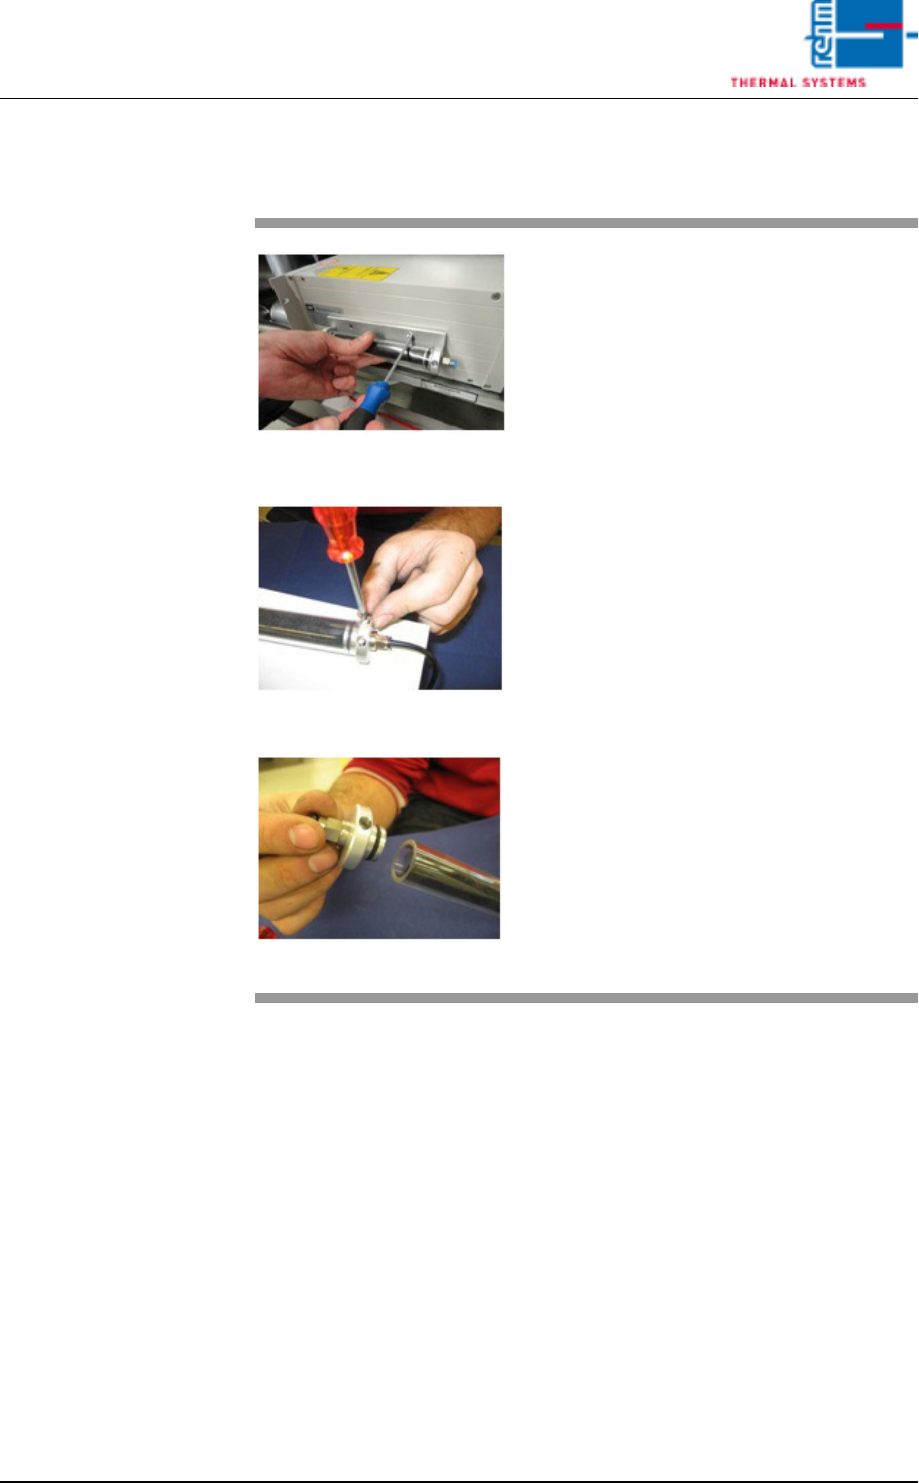
2.14.2 Exchange of activated carbon
Fig. 2-93 Exchange activated carbon
Fig. 2-94 Exchange activated carbon
Fig. 2-95 Exchange activated carbon
Material:
• Activated carbon
• 2 pcs. woven filter medium
• gloves, goggles as well as protec-
tion mask
Tools:
• Hexagon socket wrench 2,5 mm
• Tweezers
Procedure:
Remove the piping system and
screw off the activated carbon filter
with mounting plate from the analyz-
ing unit.
Remove 4 fixing screws and put
them aside.
Take off the cover from activated
carbon filter.
Page 56 Vision XP+ VAC
2 Maintenance
2.14 Residual Oxygen Meter
Operating Instructions
Version 1.5
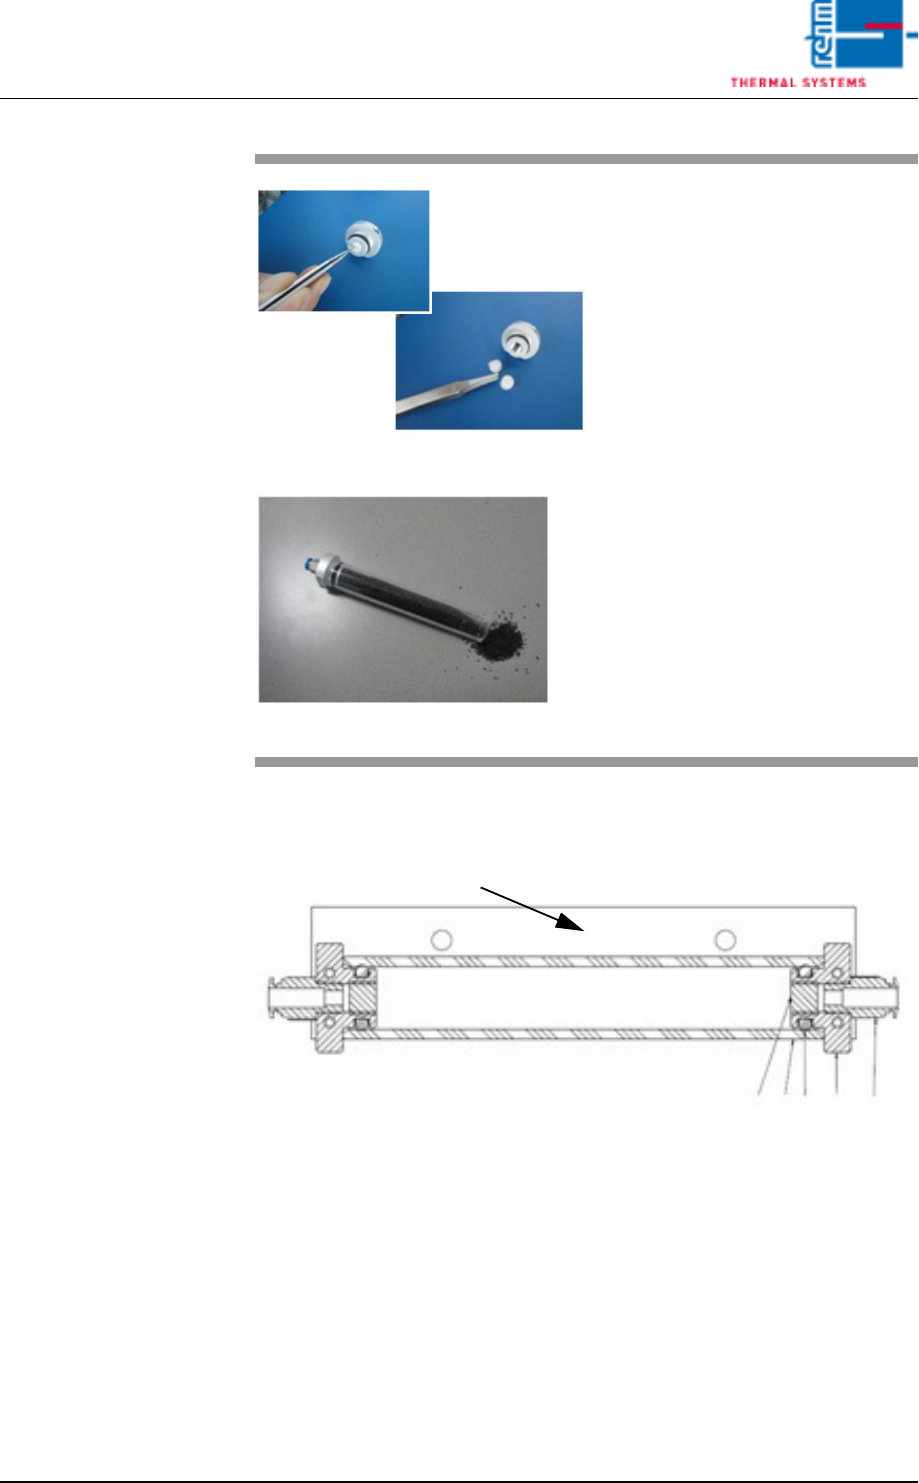
Detail drawing of the activated carbon filter on the adapter plate.
1. Cover activated carbon filter
2. Tube activated carbon filter
3. Woven filter medium
4. Plug-in connection QS – 1/8-6
5. O-Ring 12 x 4 mm
6. Adapter activated carbon filter
Fig. 2-96 Exchange activated carbon
Fig. 2-97 Exchange activated carbon
Now, exchange each one non-wo-
ven insertions on both sides of the
activated carbon filter with the twee-
zers.
Exchange activated carbon and
densify it.
Now, mount everything in reversed
order.
6
3
2
5
1
4